Kompressor
Senior Member
- Joined
- May 7, 2007
- Messages
- 219
- Reaction score
- 1
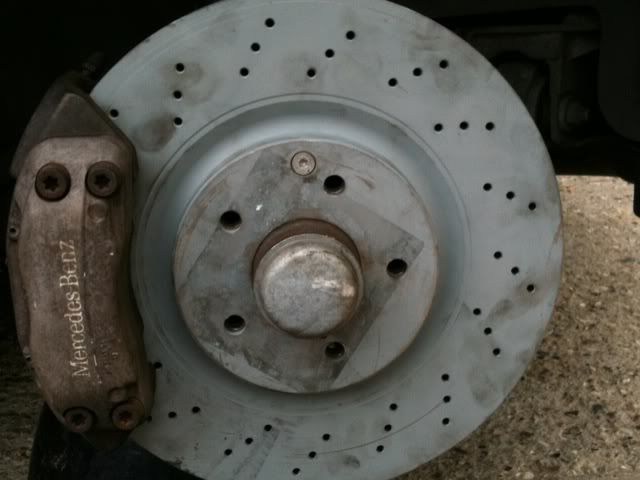
OK I am going use this thread to show a step by step guide in changinng the brakes on a C200 Kompressor W203 model with the sports pack. Feel free to edit, correct or suggests things I should cover etc. as this this job will be done by this weekend. Pics will be included.
STEP 1
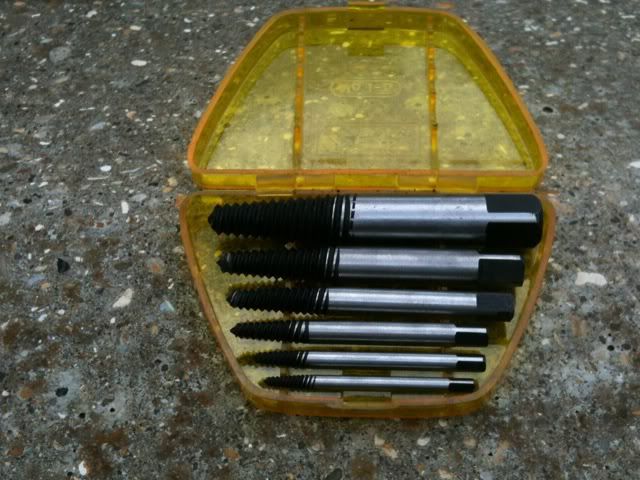
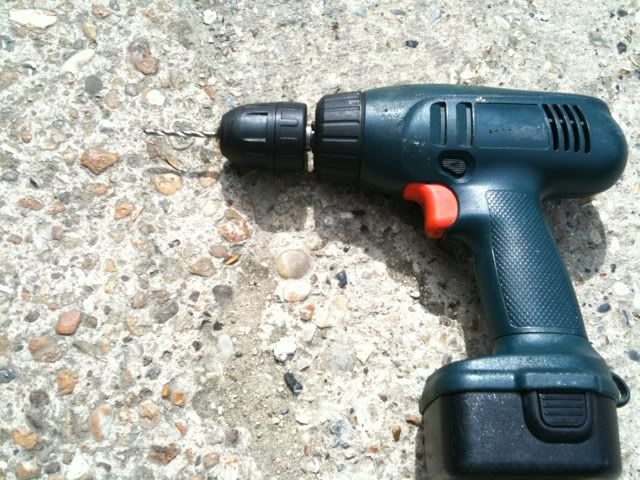
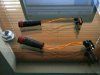
The tools you need are:
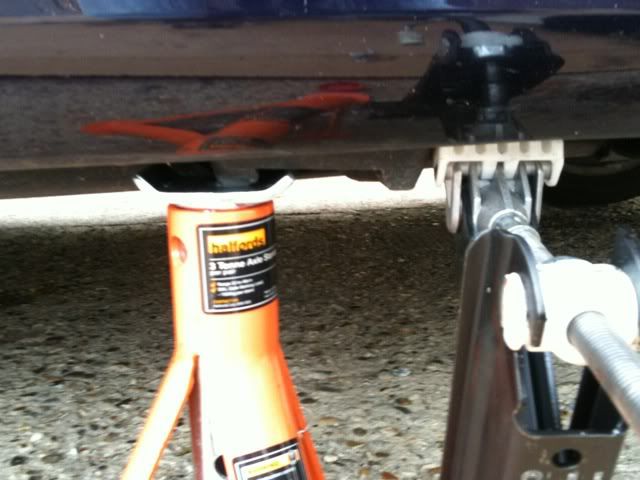
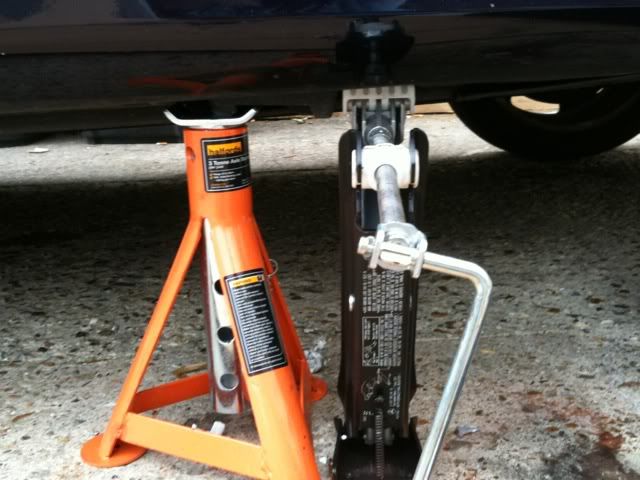
2 or 3 Tonne axle stand - (I got a 3 tonne being me)
2 or 3 Tonne trolley/hydrolic jack or MB jack that came with your car
Wooden blocks or wheel stops - (SAFETY: to prevent car rolling back when on axle stands)
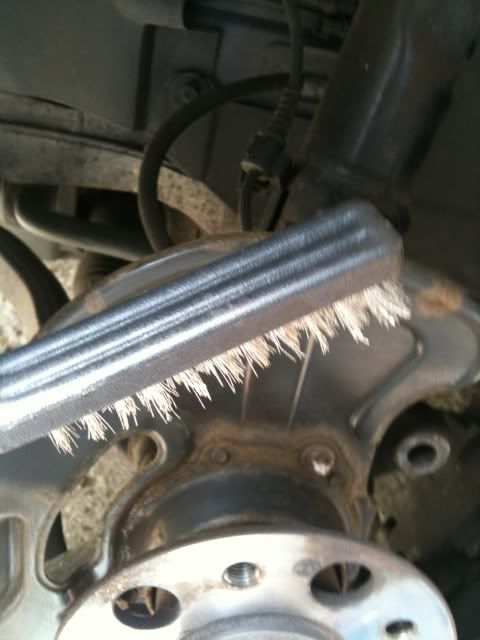
Wire brush
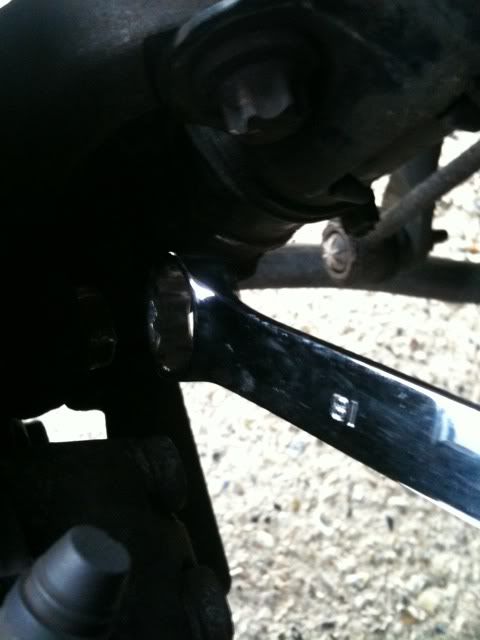
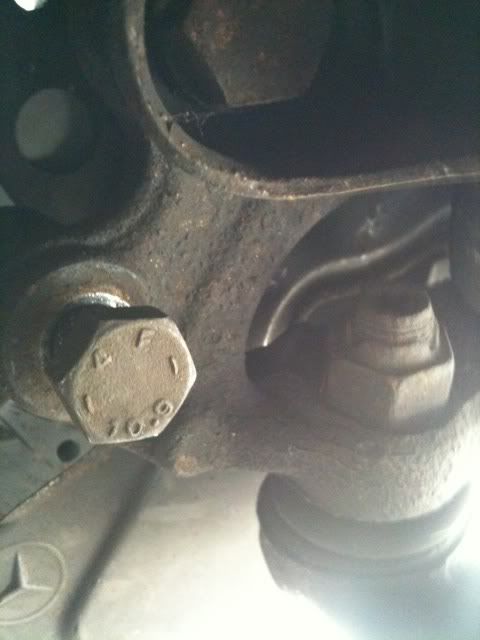
16mm ring spanner
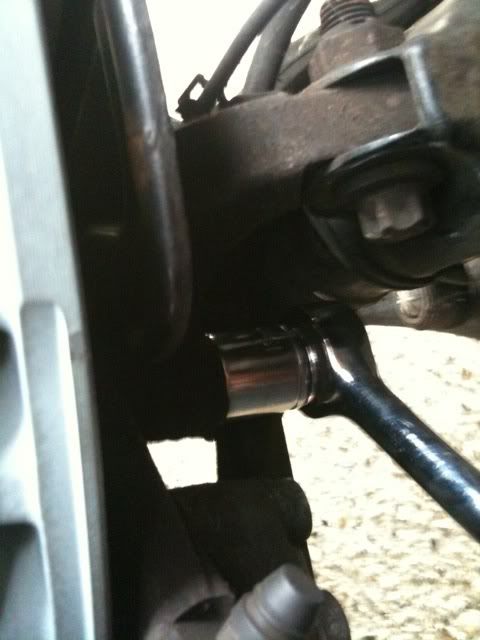
16mm rachet - (from a rachet set)
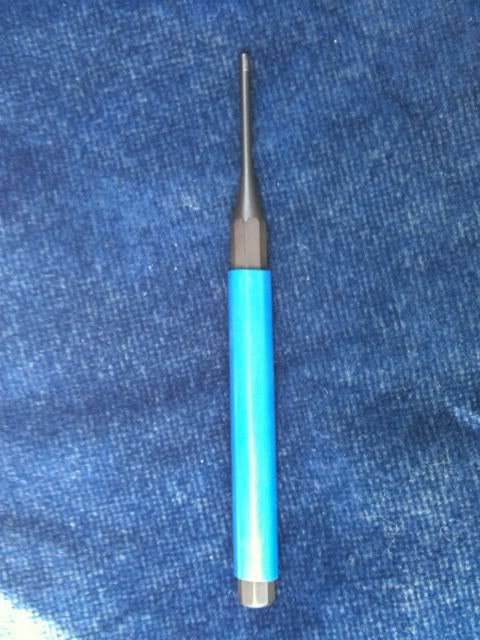
7mm allen key
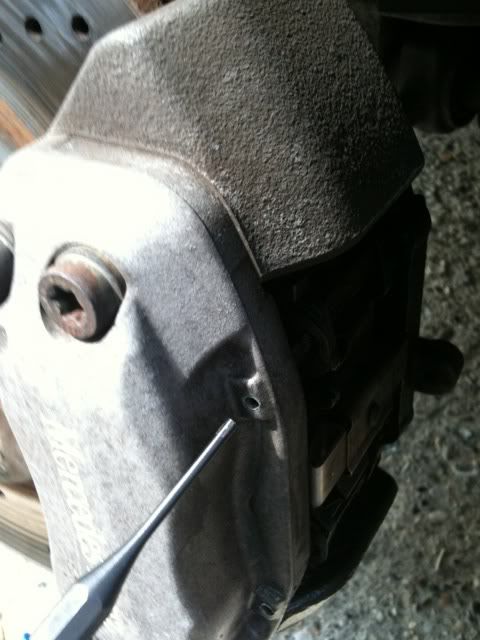
Sharp chisel (wider the better)
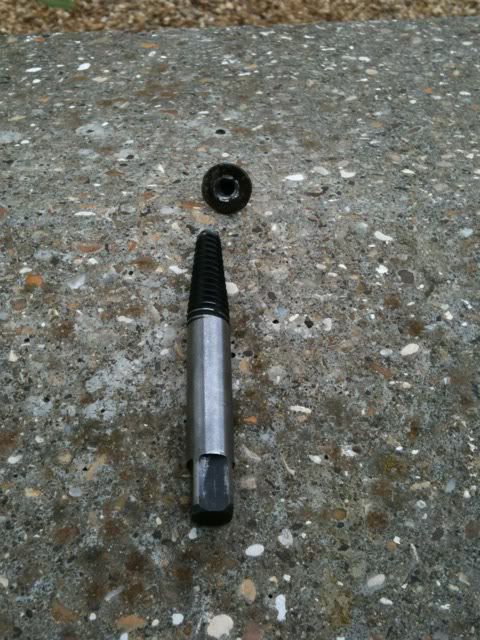
Set of torx sosckets (star shape: T20 to T55)
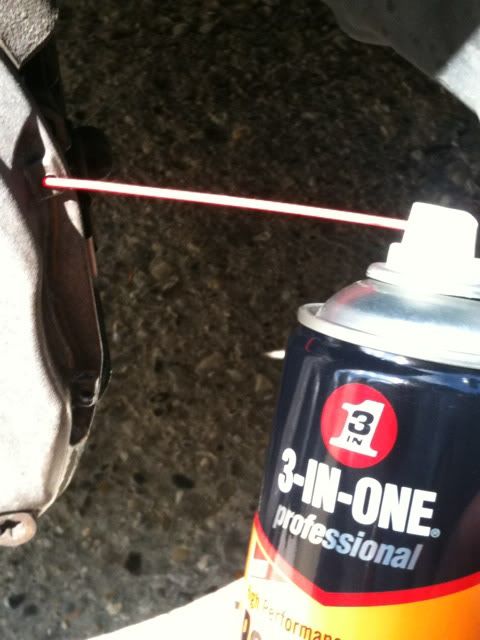
Cooper slip grease (I got copper ease anti seize assembly compound)
Degreaser
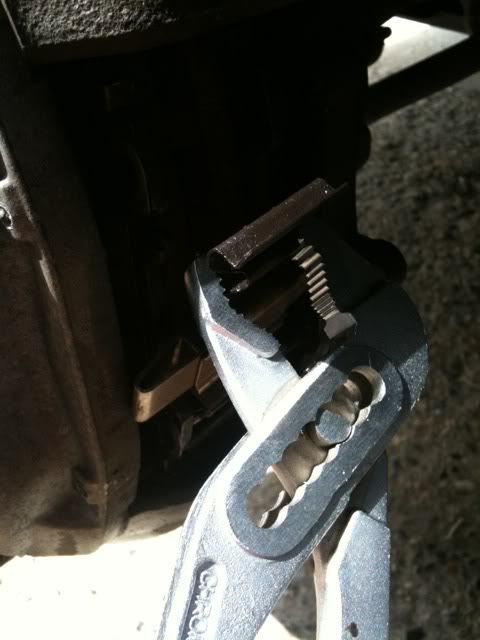
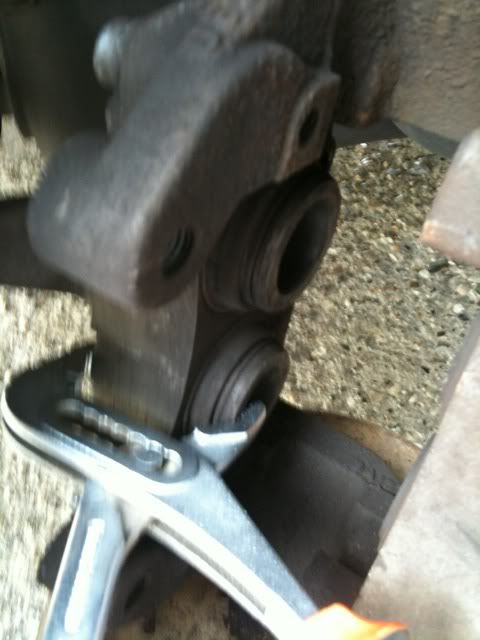
Water pump plier (yes water pump plier)
Mallet (Hard Rubber type)
STEP 2
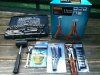
Parts you need - dependent what needs changing:
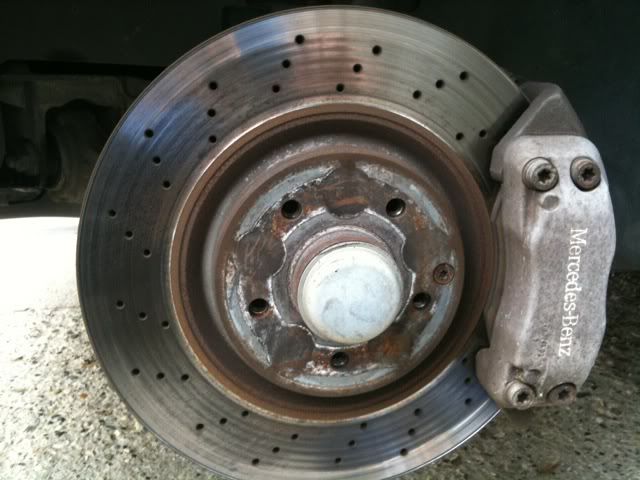
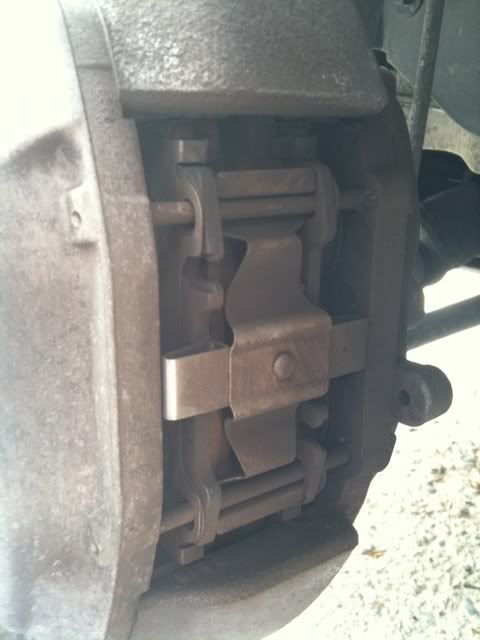
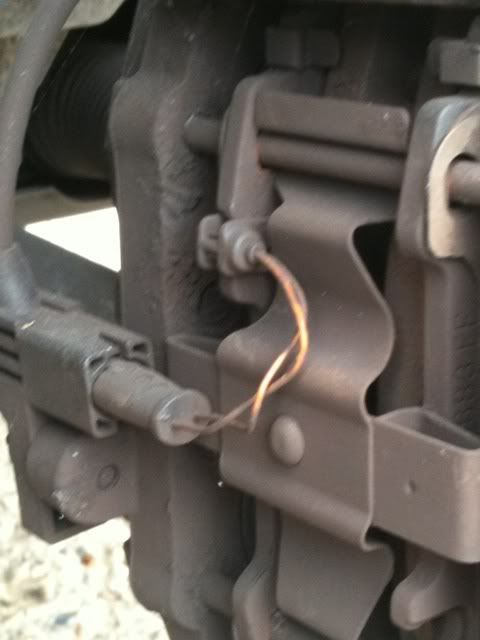
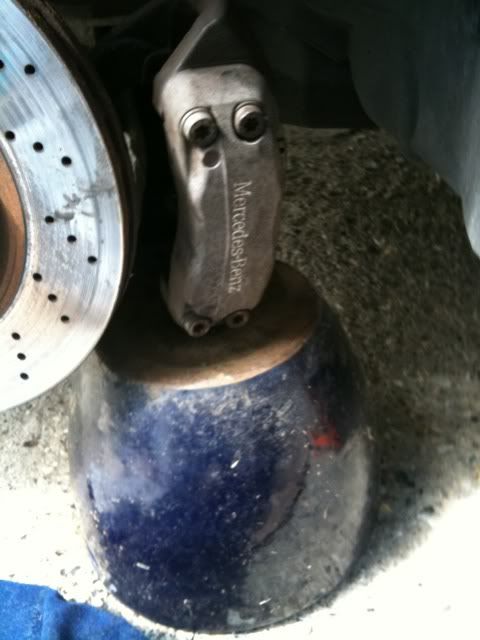
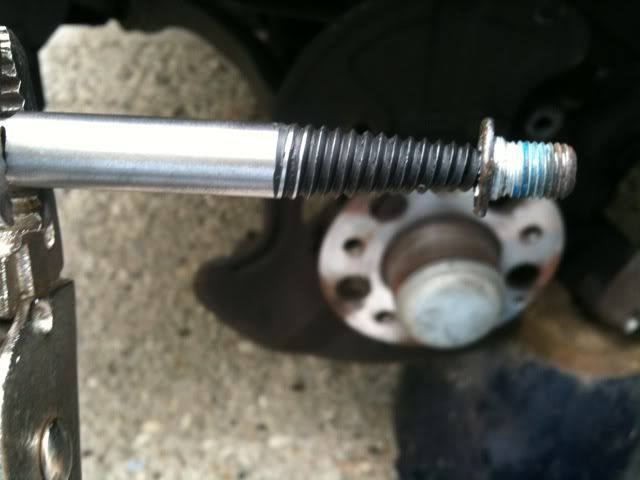
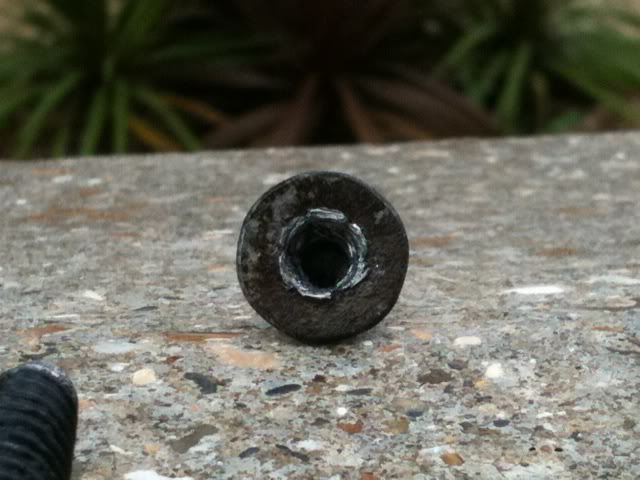
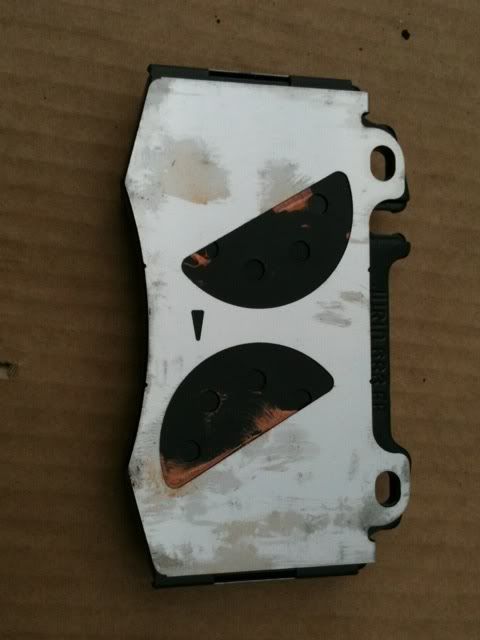
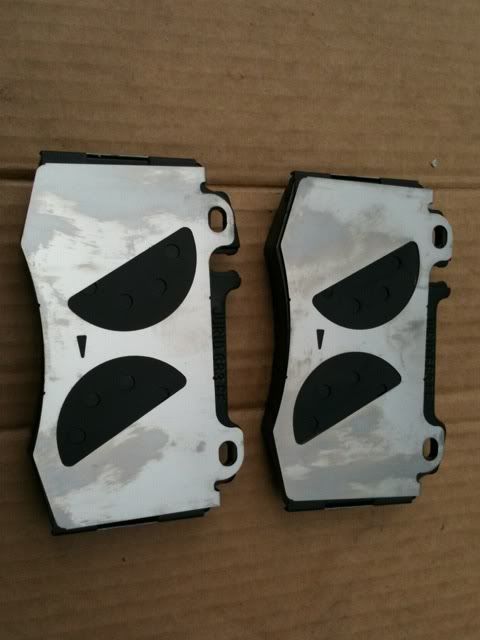
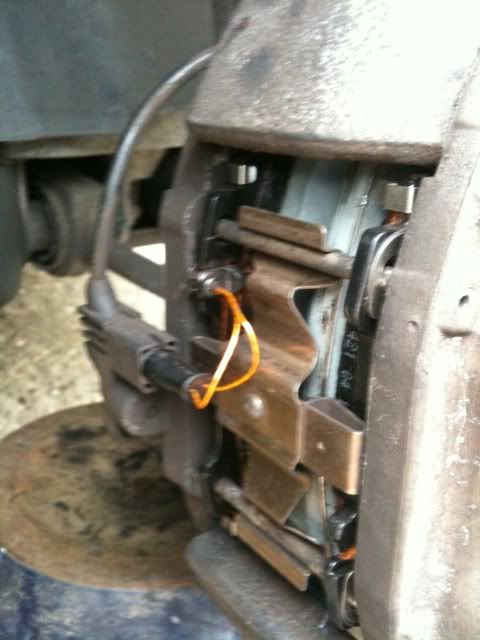
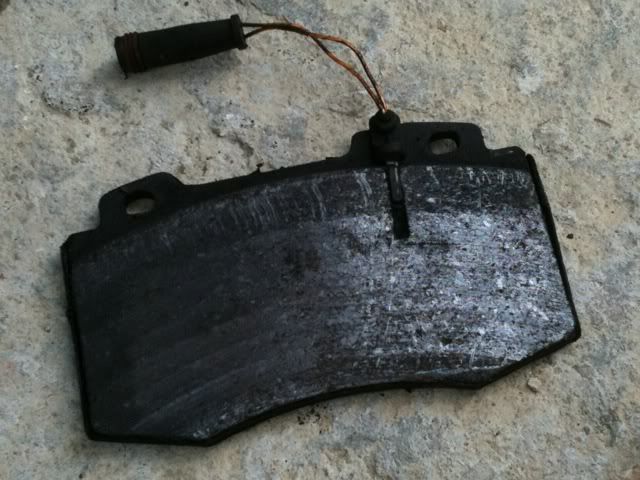
Brake pads and sensors - (sensors important: 1 for front and 1 for rear)
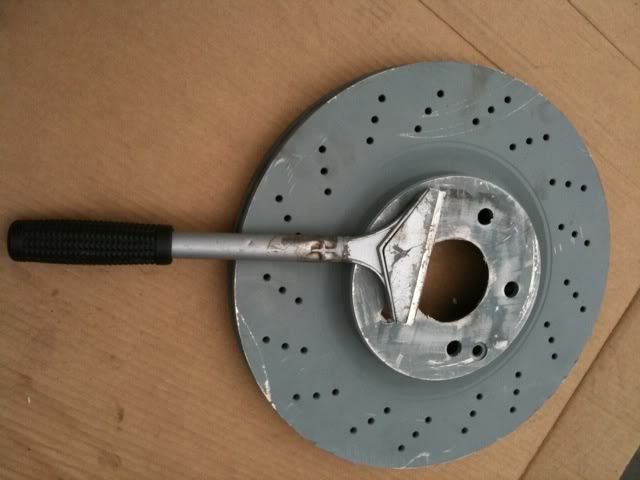
Brake shoes and discs front or back
STEP 1
The tools you need are:
2 or 3 Tonne axle stand - (I got a 3 tonne being me)
2 or 3 Tonne trolley/hydrolic jack or MB jack that came with your car
Wooden blocks or wheel stops - (SAFETY: to prevent car rolling back when on axle stands)
Wire brush
16mm ring spanner
16mm rachet - (from a rachet set)
7mm allen key
Sharp chisel (wider the better)
Set of torx sosckets (star shape: T20 to T55)
Cooper slip grease (I got copper ease anti seize assembly compound)
Degreaser
Water pump plier (yes water pump plier)
Mallet (Hard Rubber type)
STEP 2
Parts you need - dependent what needs changing:
Brake pads and sensors - (sensors important: 1 for front and 1 for rear)
Brake shoes and discs front or back
Last edited:
")