Top Cat
Senior Member
- Joined
- Oct 23, 2008
- Messages
- 667
- Reaction score
- 0
- Location
- Milton Keynes
- Your Mercedes
- (97) W202 C230 Elegance Estate
I had a door lock that was playing up (it would turn one way but not the other), and I know I could have just swapped it for the passenger lock but that would just have transferred the problem rather than addressing it. Having found lots of little bits of information dotted around the internet and various MB forums, I’ve decided to write it all up in one place for future reference, with some pictures to help.
Firstly, it is very easy to remove the lock, you just need a small allen key (from memory I think 3 or 4mm), remove the blanking plug in the door as shown, undo the grub screw, but as it starts to free up it is easier to leave it in place, just back it off until the lock is free. To free the lock, insert and turn the top of the key approximately 45 degrees towards the rear, then slide the lock towards the rear and pull outwards.

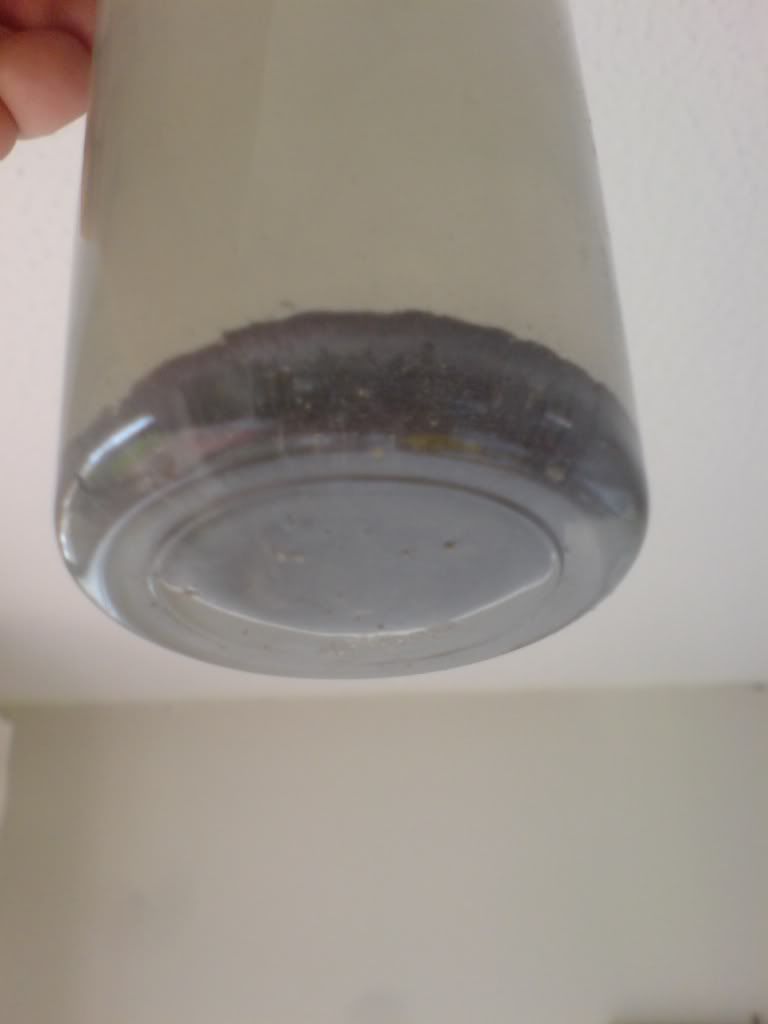
Having spoken to a few locksmiths and read advice on here, I was advised next to soak the lock over night in either diesel, petrol or white spirits. The reason for this is that it might have just been gunged up internally and this would help dissolve the (in my case 19) years of crud. Whilst soaking, occasionally give the key a wiggle in the lock to get things freed up. Here is what came out of it, about 2mm deep of silt, swarf, gunge and small hardened bits of grease.
This soaking did not work in my case, so I had to disassemble the lock now, here it is as removed from the car.
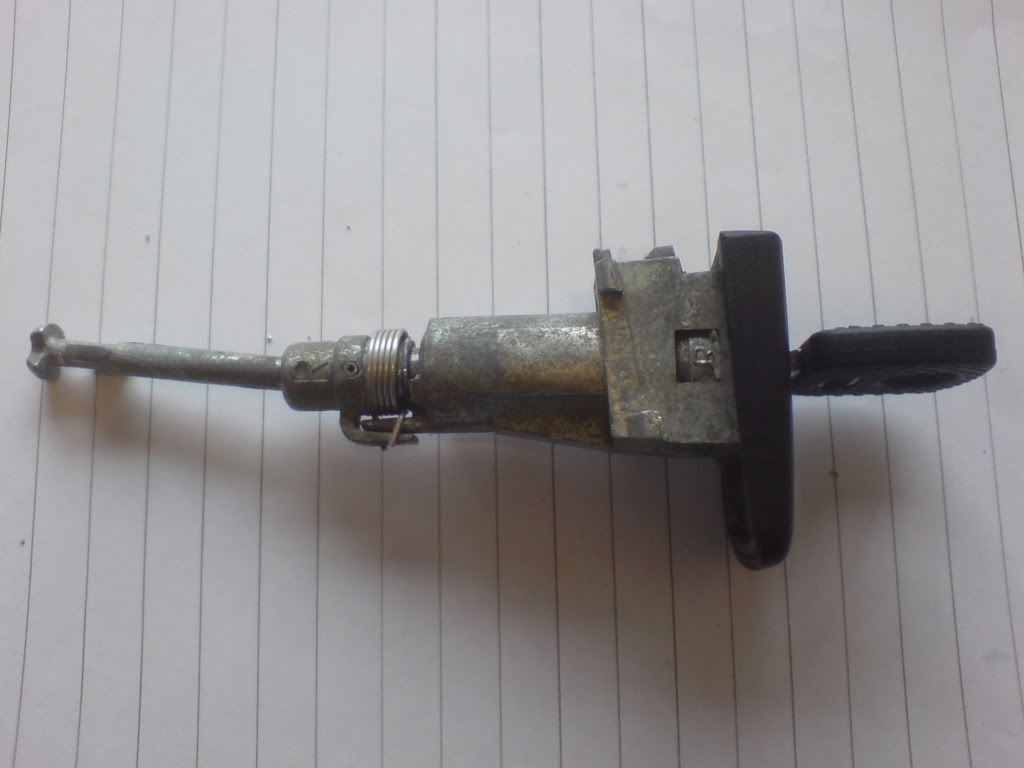
Now you need to remove the pin as shown below, using a very small jewellers screwdriver as a punch and firm tapping pushed mine out. The whole end section that actually turns your lock in the door now simply slides off. Holding what remains of the lock, insert the key and turn 90 degrees anti clockwise (this was the drivers door, action may be reversed for passenger side) and pull the barrel out – you may also need A VERY LIGHT tap on the opposite end, or just press the end onto a work surface and apply light pressure (YOU REALLY DO NOT WANT THE BARREL TO FLY OUT AND EXTREMELY SMALL PARTS TO FIRE OFF IN ALL DIRECTIONS SO TAKE THIS PART SLOWLY).

You will now have something looking like this, but maybe more corroded and manky.

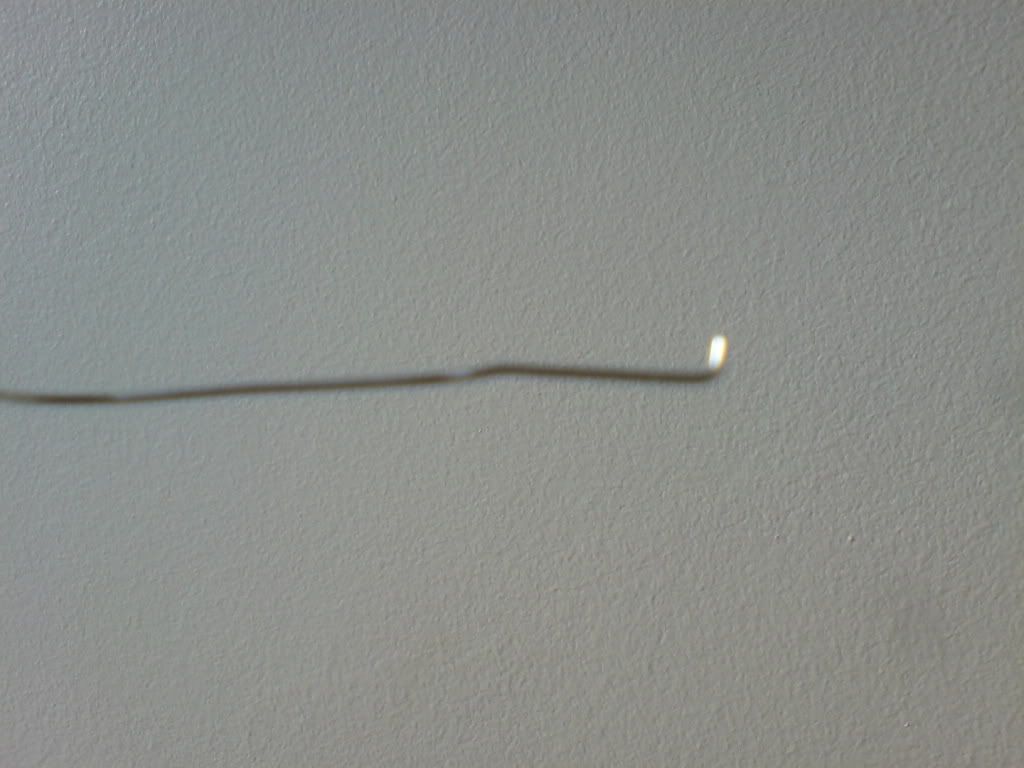
Before removing the barrel from the door part of the lock, I made this picking tool from a long sturdy paperclip, and worked it around in the lock to determine that most of the internal wafers were working fine, but I could definitely feel a few that did not push away and spring return, that gave me a clue what I was up against next.
Whilst the key is in the lock, all of the 10 wafers (5 per side) that give your key and lock its combination will be held in place and fully retracted. If any are not retracted (as 3 were in my case) the lock will not turn in the cylinder. Each brass wafer is spring loaded so be VERY careful now. If you want to go further and remove each one slowly, lay the lock down in a tray and remove the key slowly. As each wafer comes out, place it in a position so you will remember where it came from, and note down the number/letter on each one (engraved on the surface), also keep the wafers on the side of the lock they originated.
In my case, the 7 wafers that moved very freely were left in place in the barrel, and I held them there with a thumb and finger. Then I had to carefully (using the jewellers screwdriver) prise the 3 dodgy wafers out as they were corroded in, once they were out I re-inserted the key to keep the rest in place and put the barrel aside.
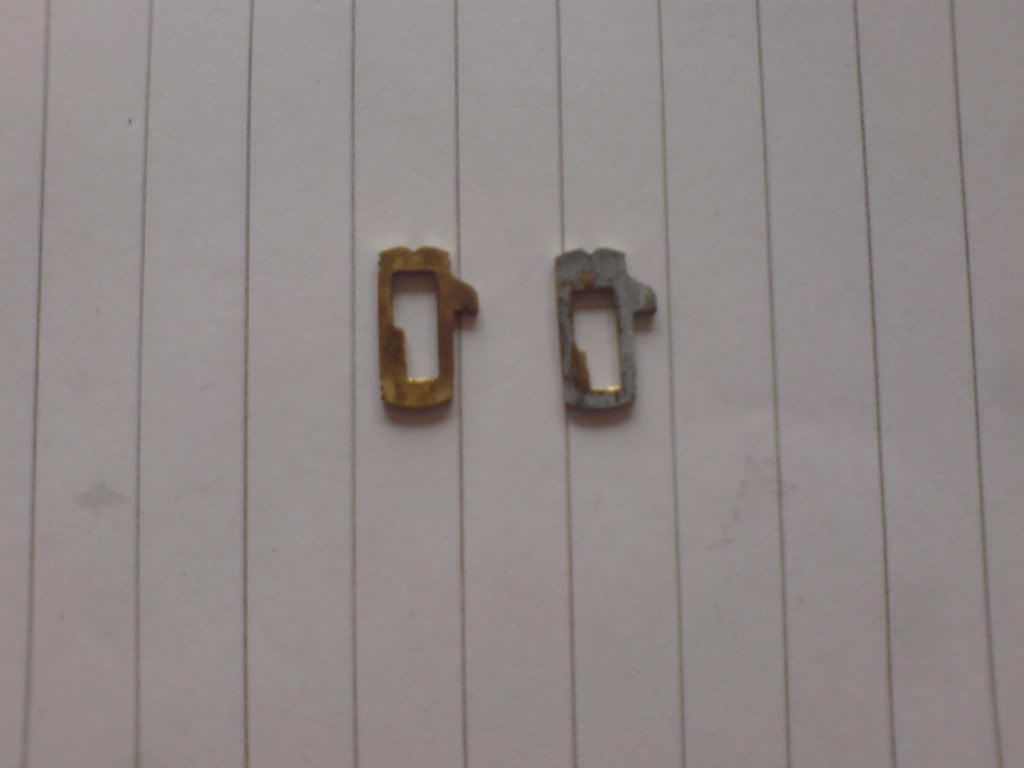
Here is the worst one, it is coated in a limescale type build up that jammed it into place. It is from the position very nearest the outside of the lock where the key is inserted, I guess this made it more susceptible to rain water and external debris than the rest.
The other 2 wafers were ok in themselves, but looking down the cylinder they had badly scored the edges of the wall that they engaged with to the point that they were sticking and catching randomly. Also, given that the really bad wafer (as shown above) was heavily coated in crud, and likely its slot would be in an equally bad state deep inside, I decided to leave these out of my barrel, but you could, if you had the time/patience/eyesight, rub them down and make each one work smoothly. I couldn’t do anything with the 2 that scored the barrel on mine though, the damage was deep inside where I could not reach. So now my lock has, effectively, only got 7/10ths the original locking combination, but at least it still works with my original key. I gently sprayed it with some WD40 before reinstalling everything I had disassembled (it is all I had but I’ve since squirted some PTFE spray in there).
Mods - hopefully this helps someone and is maybe worth keeping for future reference, and added to as necessary.
A lot of thanks goes to Dec on here for his guidance and clear photos in his lock repair threads which spurred me on to tackle mine and to share it with others, and also the photo of the barrel is his as I forgot to photograph mine while I had it apart (but it is virtually the same design inside).
Firstly, it is very easy to remove the lock, you just need a small allen key (from memory I think 3 or 4mm), remove the blanking plug in the door as shown, undo the grub screw, but as it starts to free up it is easier to leave it in place, just back it off until the lock is free. To free the lock, insert and turn the top of the key approximately 45 degrees towards the rear, then slide the lock towards the rear and pull outwards.
Having spoken to a few locksmiths and read advice on here, I was advised next to soak the lock over night in either diesel, petrol or white spirits. The reason for this is that it might have just been gunged up internally and this would help dissolve the (in my case 19) years of crud. Whilst soaking, occasionally give the key a wiggle in the lock to get things freed up. Here is what came out of it, about 2mm deep of silt, swarf, gunge and small hardened bits of grease.
This soaking did not work in my case, so I had to disassemble the lock now, here it is as removed from the car.
Now you need to remove the pin as shown below, using a very small jewellers screwdriver as a punch and firm tapping pushed mine out. The whole end section that actually turns your lock in the door now simply slides off. Holding what remains of the lock, insert the key and turn 90 degrees anti clockwise (this was the drivers door, action may be reversed for passenger side) and pull the barrel out – you may also need A VERY LIGHT tap on the opposite end, or just press the end onto a work surface and apply light pressure (YOU REALLY DO NOT WANT THE BARREL TO FLY OUT AND EXTREMELY SMALL PARTS TO FIRE OFF IN ALL DIRECTIONS SO TAKE THIS PART SLOWLY).
You will now have something looking like this, but maybe more corroded and manky.
Before removing the barrel from the door part of the lock, I made this picking tool from a long sturdy paperclip, and worked it around in the lock to determine that most of the internal wafers were working fine, but I could definitely feel a few that did not push away and spring return, that gave me a clue what I was up against next.
Whilst the key is in the lock, all of the 10 wafers (5 per side) that give your key and lock its combination will be held in place and fully retracted. If any are not retracted (as 3 were in my case) the lock will not turn in the cylinder. Each brass wafer is spring loaded so be VERY careful now. If you want to go further and remove each one slowly, lay the lock down in a tray and remove the key slowly. As each wafer comes out, place it in a position so you will remember where it came from, and note down the number/letter on each one (engraved on the surface), also keep the wafers on the side of the lock they originated.
In my case, the 7 wafers that moved very freely were left in place in the barrel, and I held them there with a thumb and finger. Then I had to carefully (using the jewellers screwdriver) prise the 3 dodgy wafers out as they were corroded in, once they were out I re-inserted the key to keep the rest in place and put the barrel aside.
Here is the worst one, it is coated in a limescale type build up that jammed it into place. It is from the position very nearest the outside of the lock where the key is inserted, I guess this made it more susceptible to rain water and external debris than the rest.
The other 2 wafers were ok in themselves, but looking down the cylinder they had badly scored the edges of the wall that they engaged with to the point that they were sticking and catching randomly. Also, given that the really bad wafer (as shown above) was heavily coated in crud, and likely its slot would be in an equally bad state deep inside, I decided to leave these out of my barrel, but you could, if you had the time/patience/eyesight, rub them down and make each one work smoothly. I couldn’t do anything with the 2 that scored the barrel on mine though, the damage was deep inside where I could not reach. So now my lock has, effectively, only got 7/10ths the original locking combination, but at least it still works with my original key. I gently sprayed it with some WD40 before reinstalling everything I had disassembled (it is all I had but I’ve since squirted some PTFE spray in there).
Mods - hopefully this helps someone and is maybe worth keeping for future reference, and added to as necessary.
A lot of thanks goes to Dec on here for his guidance and clear photos in his lock repair threads which spurred me on to tackle mine and to share it with others, and also the photo of the barrel is his as I forgot to photograph mine while I had it apart (but it is virtually the same design inside).
