Silver_Star
Senior Member
- Joined
- Apr 20, 2009
- Messages
- 2,302
- Reaction score
- 14
- Your Mercedes
- W203.006, S211.208 Land Rover 90
How to change front coil springs on a W203.
DANGER - Compressed coil springs are very dangerous and could cause death or serious injury if they were to slip out of the equipment used to compress them. Do not attempt this procedure without a proper spring compressor. Standard spring compressors will not suffice on the front of a W203 due to the fact that the springs need compressing a long way.
No liability is offered or implied. I am not saying this is the right way to do it; it is how I did it. If you chose to carry out the below procedure, you do so at your own risk.
When replacing springs it is advisable to replace them in an axle pair. Springs are best sourced from the dealers providing them with your full VIN, this way they are matched exactly to your equipment level. Going aftermarket is false economy with MB springs and I highly advise against it.
Here is the procedure:
Slacken road wheel bolts of the wheel where the spring in question is.
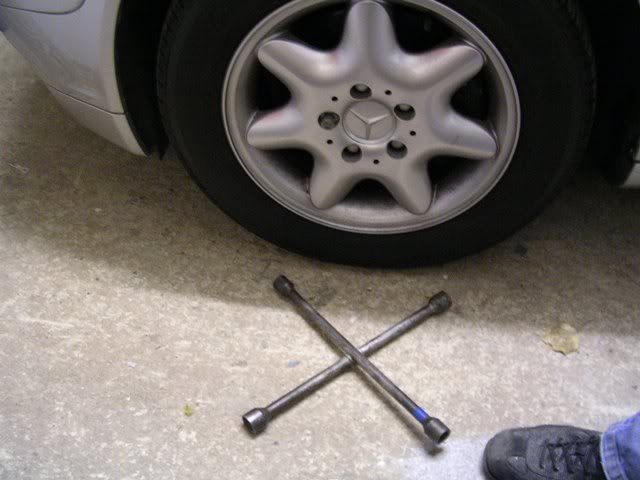
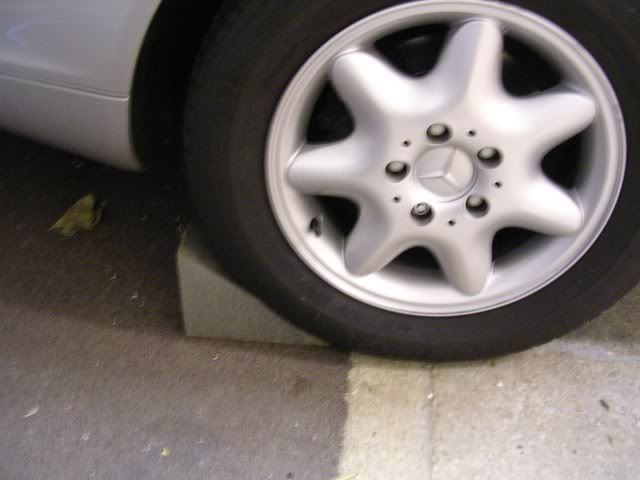
Chock both rear wheels.
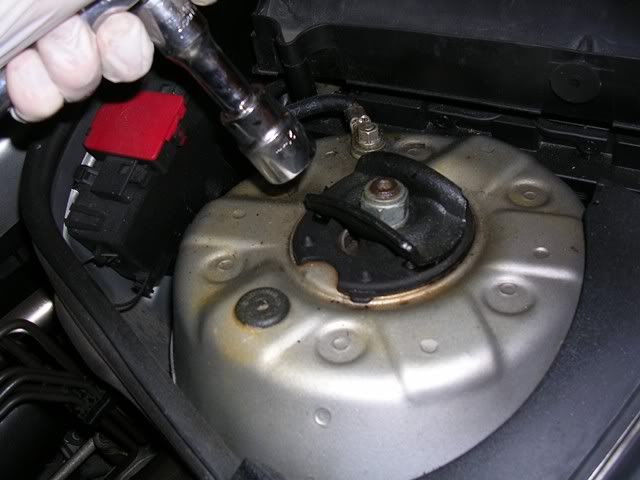
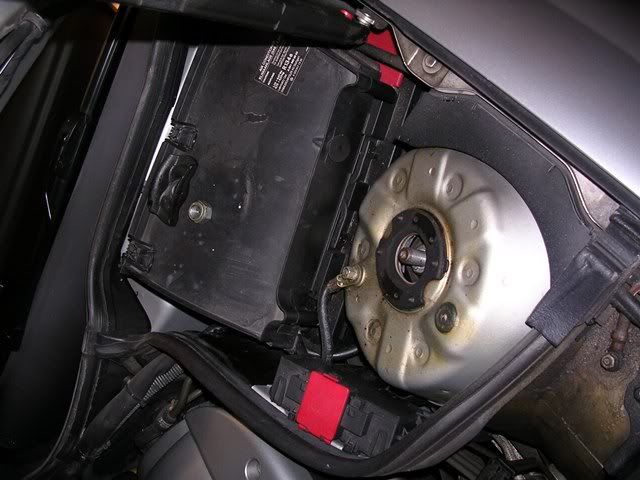
Slacken strut top mount 1/2 turn with ratchet and 21mm socket.
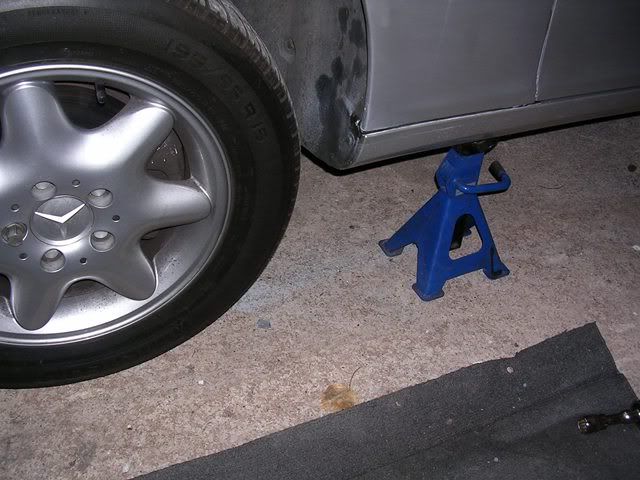
Jack the front of the car up using the front central jacking point and support the car on
axle stands at each side. This will enable you to put some lock on easily either way to access bolts on the strut.
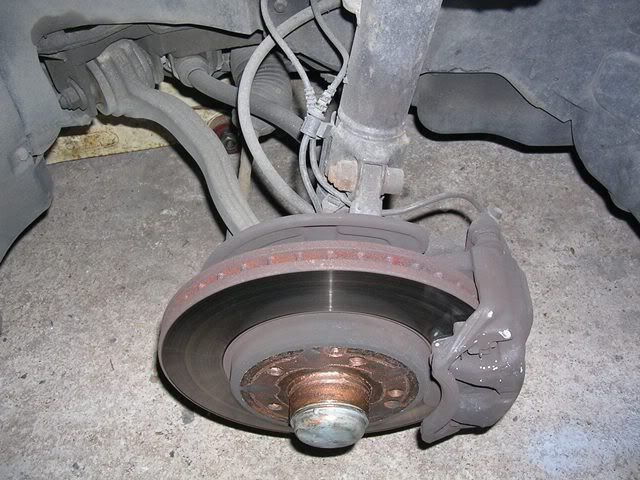
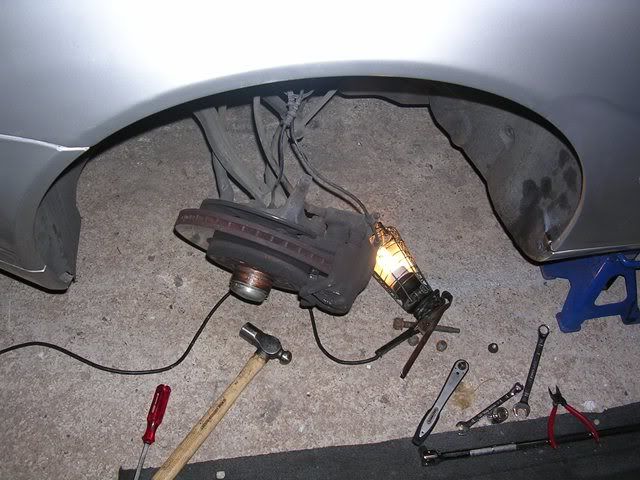
With the road wheel off, it should reveal this.
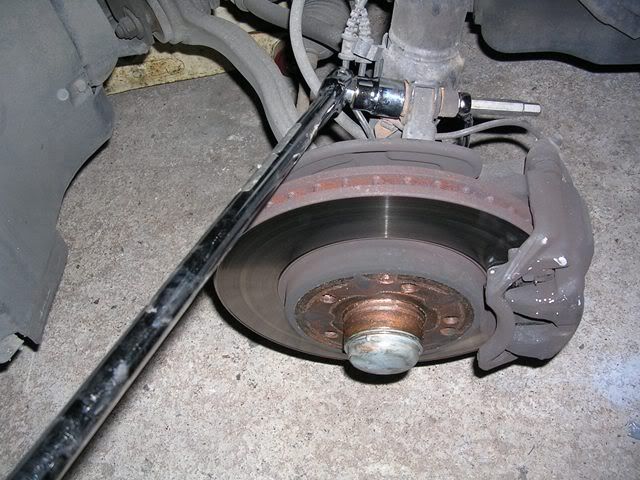
Next task is to slacken off the top lower strut bolt. It is a 22mm nut and 12mm hex bit.
I don't have the luxury of an impact gun so got the breaker bar on the case, it squealed
but freed off easily enough. It will take some effort to remove the nut manually but
persevere. Leave the bolt in situ and the nut on a couple of threads.
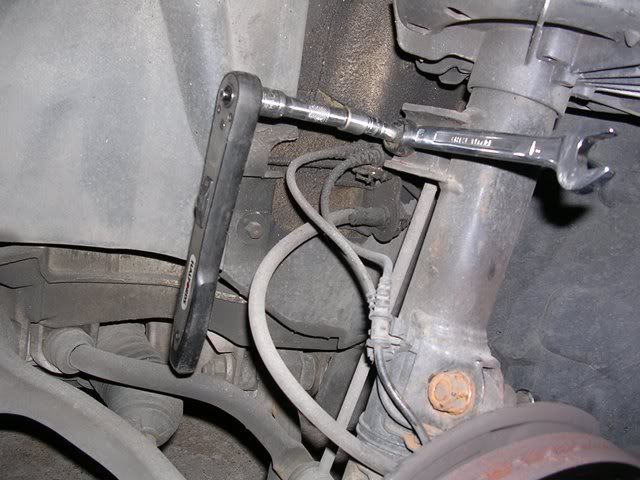
You will now need to remove the anti-roll bar drop link where it attaches to the strut.
Use a 16mm ring spanner and a 7mm ratchet. Once the nut is off you should be able to move
the link back out of the way.
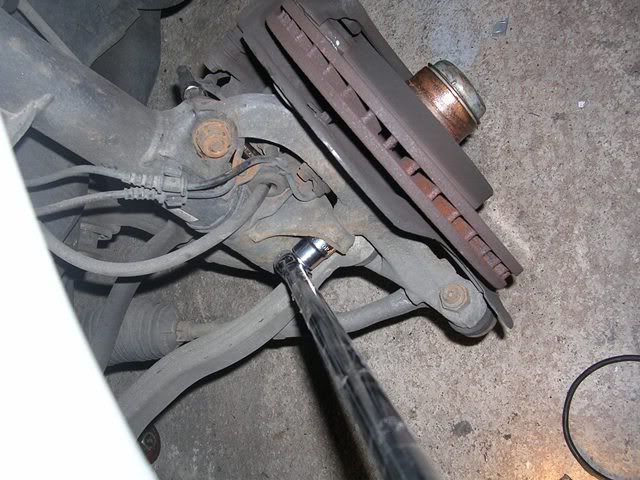
Now we need to move onto the 2 lower strut to hub bolts 19mm. I managed one with the
ratchet but had to get the breaker bar on the other. Remove these bolts fully.
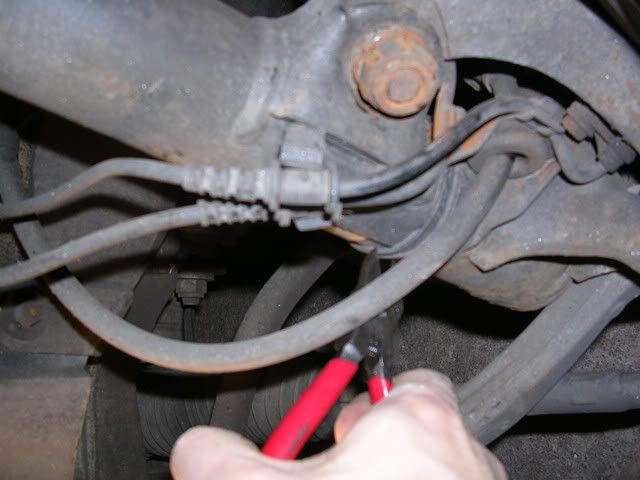
Next step is to remove the plastic bracket at the bottom of the shock which the ABS/Brake
Pad and Brake line clip into. To do this cut the cable tie with a pair of snips that
attaches it to the strut. Be very careful not to cut anything else!! Then unclip the 2
wires from the bracket (you will have to leave the brake hose going through it). Then
remove the clip out of the way.
Next step is to remove the strut stop nut and bracket which you slackened earlier.
With this out of the way, remove the bolt which you have already slackened connecting the
shock to the hub (remembering which way round it faces) and remove the shocker assembly.
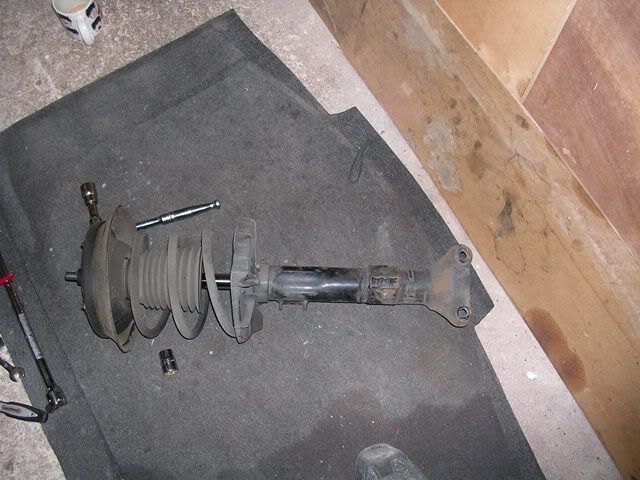
Now put the shock assembly in the spring/strut compressor and compress it.
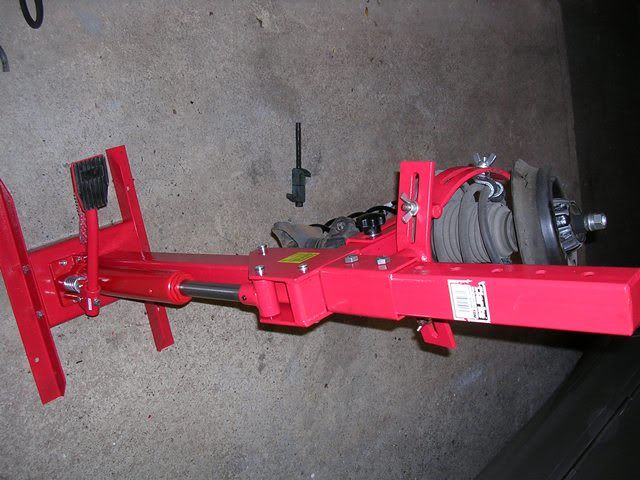
DANGER - Compressed coil springs are very dangerous and could cause death or serious injury if they were to slip out of the equipment used to compress them. Do not attempt this procedure without a proper spring compressor. Standard spring compressors will not suffice on the front of a W203 due to the fact that the springs need compressing a long way.
No liability is offered or implied. I am not saying this is the right way to do it; it is how I did it. If you chose to carry out the below procedure, you do so at your own risk.
When replacing springs it is advisable to replace them in an axle pair. Springs are best sourced from the dealers providing them with your full VIN, this way they are matched exactly to your equipment level. Going aftermarket is false economy with MB springs and I highly advise against it.
Here is the procedure:
Slacken road wheel bolts of the wheel where the spring in question is.
Chock both rear wheels.
Slacken strut top mount 1/2 turn with ratchet and 21mm socket.
Jack the front of the car up using the front central jacking point and support the car on
axle stands at each side. This will enable you to put some lock on easily either way to access bolts on the strut.
With the road wheel off, it should reveal this.
Next task is to slacken off the top lower strut bolt. It is a 22mm nut and 12mm hex bit.
I don't have the luxury of an impact gun so got the breaker bar on the case, it squealed
but freed off easily enough. It will take some effort to remove the nut manually but
persevere. Leave the bolt in situ and the nut on a couple of threads.
You will now need to remove the anti-roll bar drop link where it attaches to the strut.
Use a 16mm ring spanner and a 7mm ratchet. Once the nut is off you should be able to move
the link back out of the way.
Now we need to move onto the 2 lower strut to hub bolts 19mm. I managed one with the
ratchet but had to get the breaker bar on the other. Remove these bolts fully.
Next step is to remove the plastic bracket at the bottom of the shock which the ABS/Brake
Pad and Brake line clip into. To do this cut the cable tie with a pair of snips that
attaches it to the strut. Be very careful not to cut anything else!! Then unclip the 2
wires from the bracket (you will have to leave the brake hose going through it). Then
remove the clip out of the way.
Next step is to remove the strut stop nut and bracket which you slackened earlier.
With this out of the way, remove the bolt which you have already slackened connecting the
shock to the hub (remembering which way round it faces) and remove the shocker assembly.
Now put the shock assembly in the spring/strut compressor and compress it.
