television
Always remembered RIP
- Joined
- Mar 14, 2005
- Messages
- 164,073
- Reaction score
- 367
- Age
- 89
- Location
- Daventry
- Your Mercedes
- 2002 SL500, 216 CL500, all fully loaded
How to fix 230 boot leaks (new version)
The 230 water leaks can be the rear window bottom rubber, and/or the C pillar seals or both.
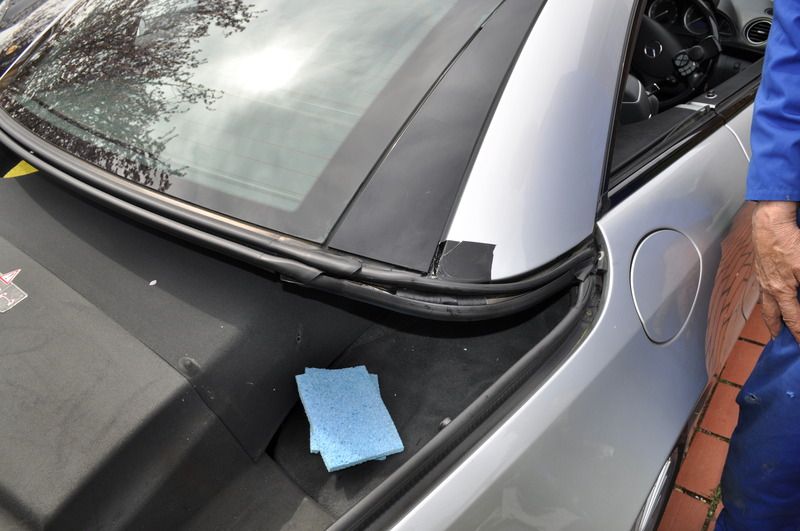
To check them, after the car has been out in the rain for some time, wipe the boot lid dry, and open it. Feel under the C pillar where it meets the rear window where the 2 drain pipes are fitted, if your hand or fingers have any water on them, then its leaking.
The rubbers around the rear window and C pillars could be badly distorted due to the moss and debris that is under the rubber, or the rubbers can still be laying flat. Do not assume that this only affects the early cars, it does not and my 2009 car was as bad under the rear screen as my 2002 car.
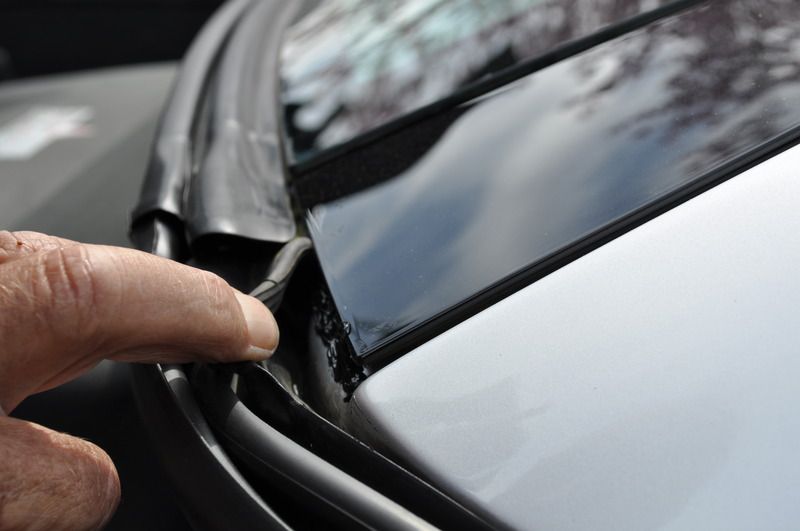
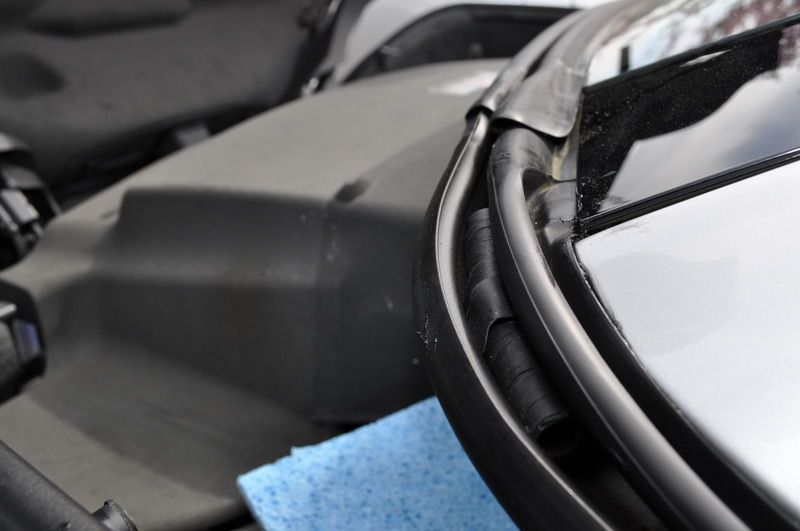
The rear rubber that is under the window has 2 water channels; the one nearest to the boot is nothing more than a drain channel to catch any water that would run off the boot if you opened it in the rain or while wet. The drains at the top of the wings deal with this water.
The water channel nearest the rear window is the main channel and it is this as above that gets out of shape, there are 2 drains just under the C pillars in the form of pipes.
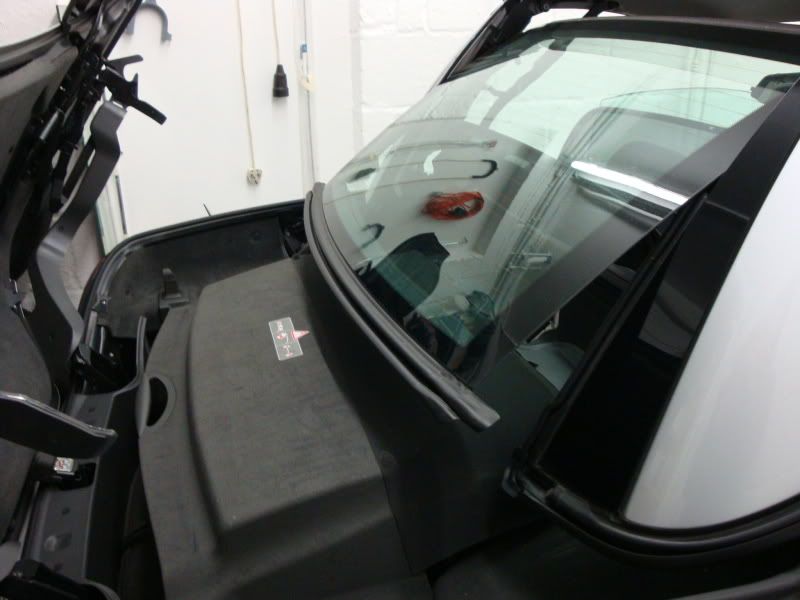
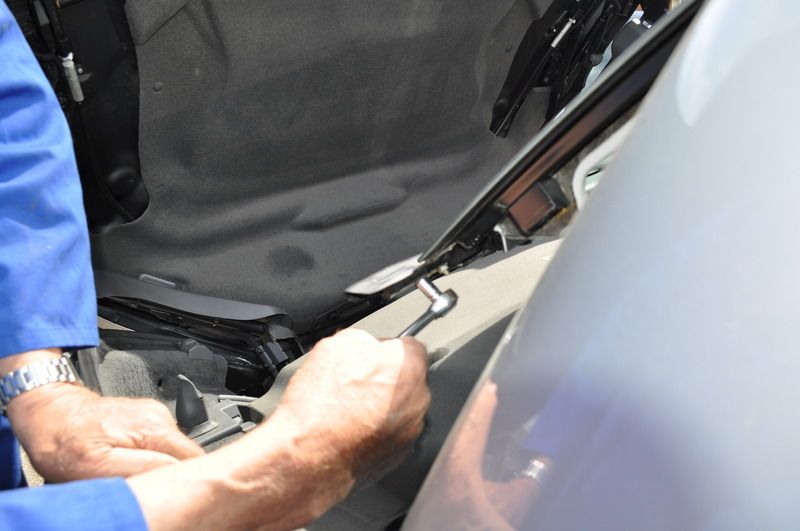
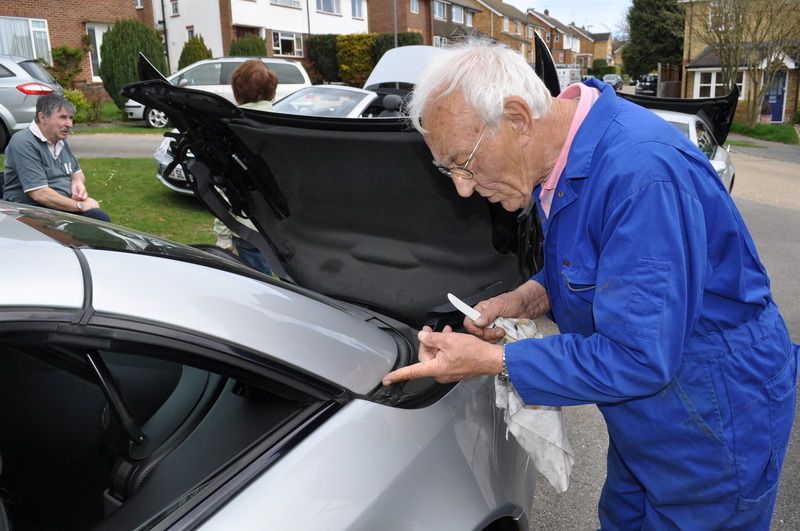
To get started with the car on level ground, you need to get the roof partially open in the intermediate position. You will need a piece of wood about 9” long by 6” wide, Start to open the roof and as soon as the top has moved back about 12” stop and turn off, the bleeper will sound, but that will stop. After 7 seconds the roof will slide forward again, or you can pull the roof forward, hold the wood so that it is on the roof lining and A pillar top lining as in the picture.

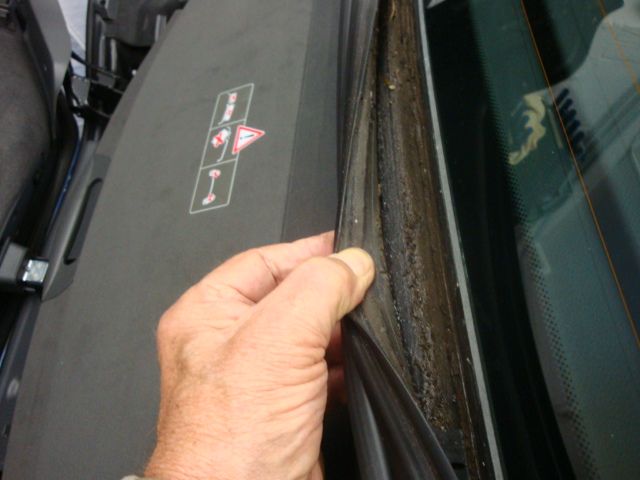
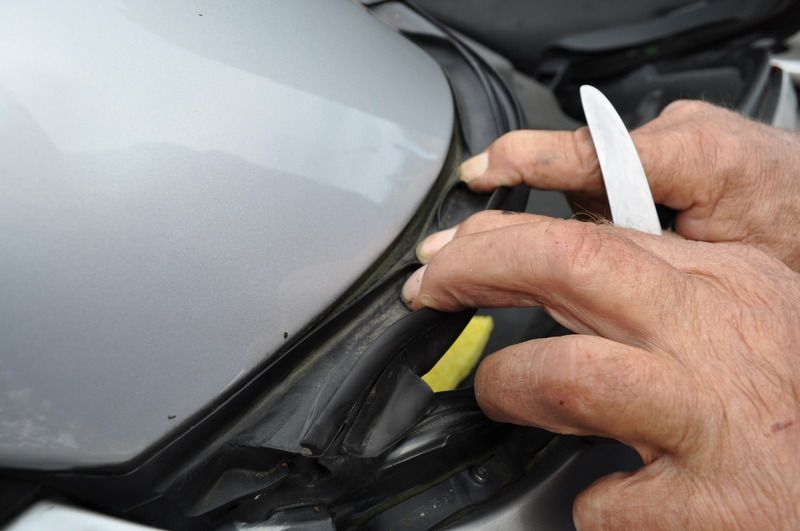
The first thing to do is the rear seal at the bottom of the rear window, it is held on with 2 nuts at each end. I found it easier to pull the rubber off by lifting in the centre of the screen, and work your way to the ends, just pull the bottom out all the way along and it comes off, this way no damage to the rubber.
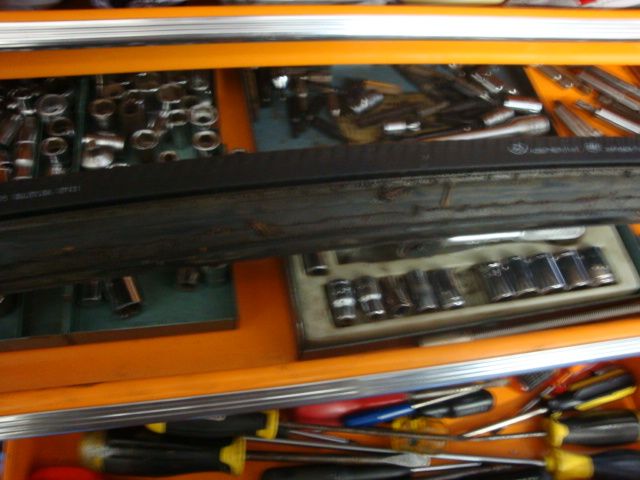
I used petrol on metal plate under the glass to clean of the old sealer. The rubber is much harder to clean. I found that a blunt wood chisel took most off, but much easier using a warm air gun and scraping again, finally cleaning down with petrol and 99% was removed
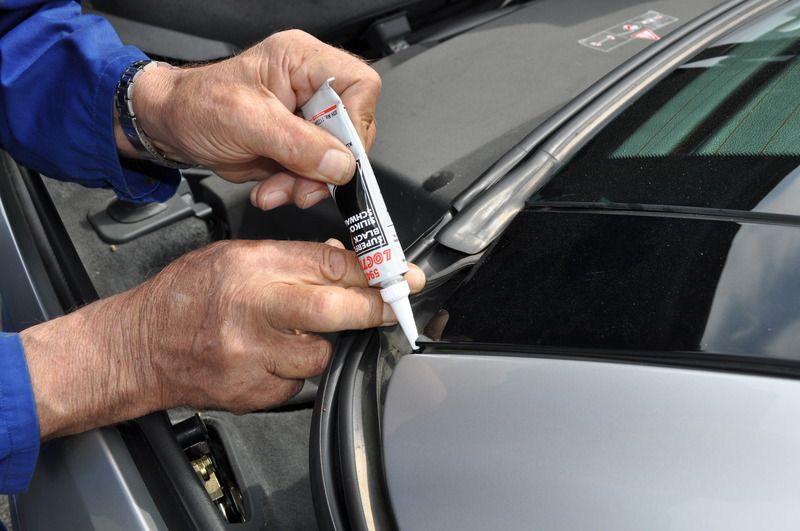
You can use any silicon rubber sealer, I have used the Loctite 5940 and those sold by motor shops. Again as the rubber is only stuck to the metal, it was easier to run two beads of sealer, one under the curve on the metal, and another below.
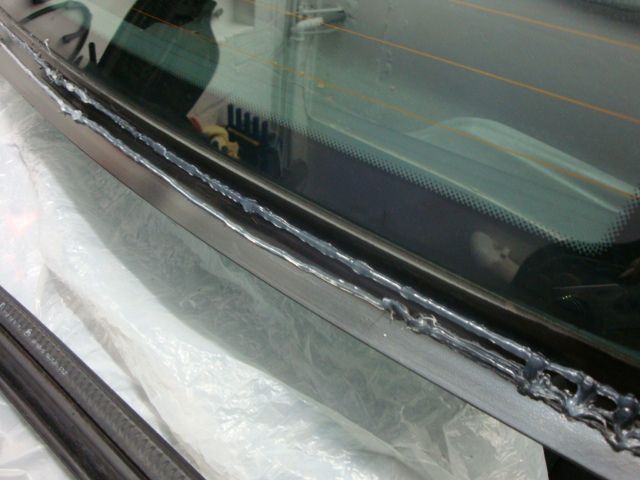
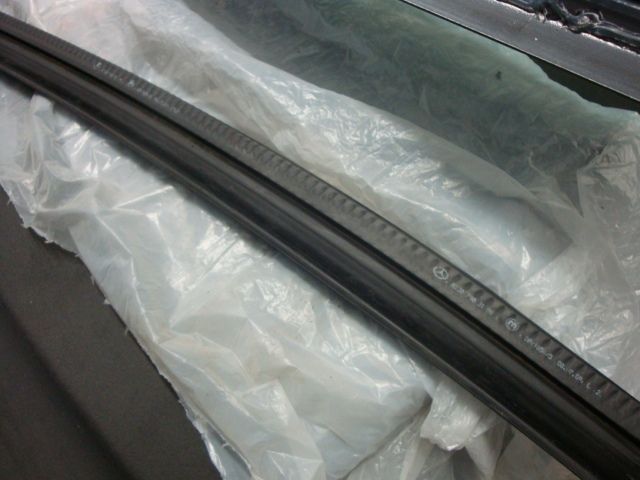
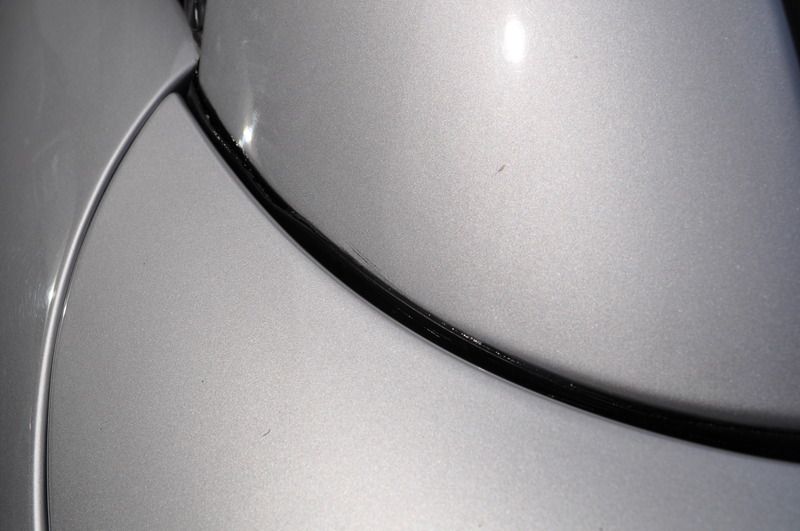
By putting it on the metal you do not smudge it when fitting the rubber. Start at one end by putting the screw studs through the holes and work your way along to the other end. Gently press the rubber down all the way along making sure that it is pushed up at the bottom all the way along. One can leave it for ½ hour at this stage. Now run your finger along and make sure it is all flat and open then roof so that the wood is free, and close the roof completely so that the boot is closed. The next job is to run a thin bead of sealer under the top edge of the rubber, easily done, just lift the top of the rubber at the top one end and insert the sealer nozzle and squeeze out a thin bead of sealer all the way along. Next start pressing down the rubber so that it flattens. Leave for ½ hour and go back running your finger all the way along the rubber and it will slowly go flat. Any sealer that has oozed out at the top can be wiped away with petrol on a cloth.
If your rubbers were dead flat when you started, then that is it, leave for 1 day in the dry if you can.
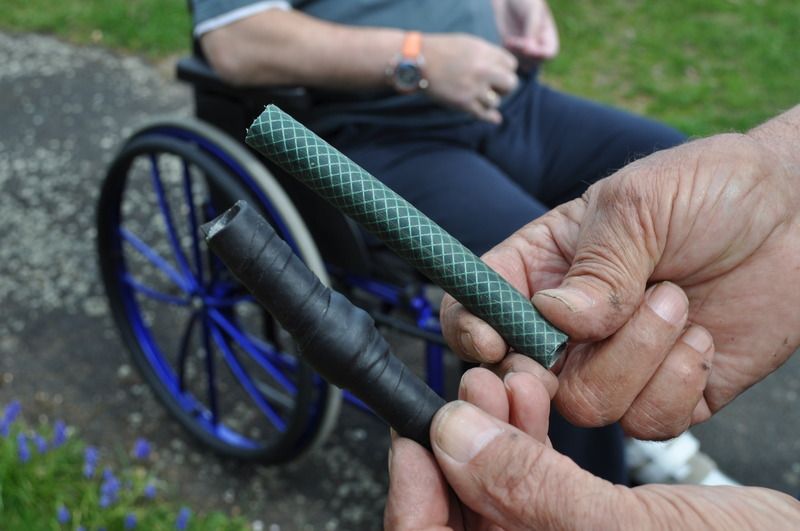
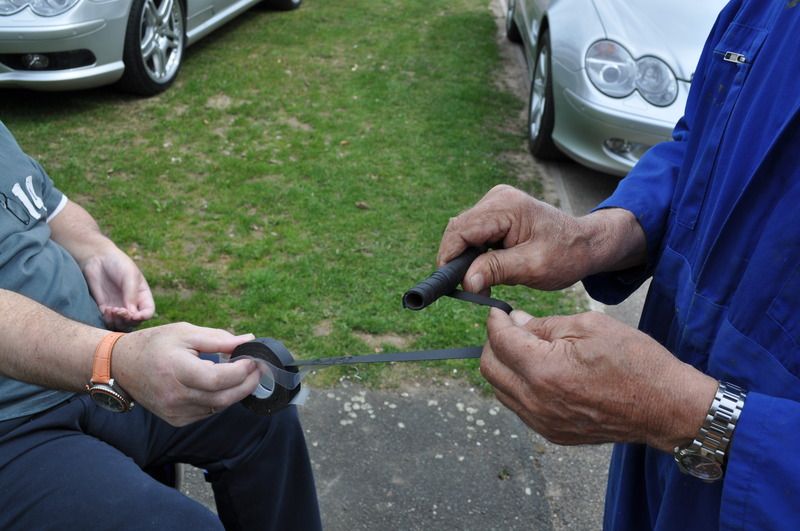
If you rubbers were distorted and lost their shape, you will need to do the following while the sealers are still soft. You will need 2 pieces of standard hose pipe with some insulating tape wrapped around to make it slightly fatter so that it is a tight fit when pushed down between the 2 bottom rubber channels will do the job nicely. On my early car the rubbers were badly out of shape, so I pushed 2 pieces of hosepipe in about 9” long, they can be cut down to about 1½" in the final stages. We are only using the 9" long pieces to stop the rubbers from pulling away while the sealer sets.
This will not stop the draining channels from working as any excess water will go through the hose pipe, plus when all done and sealer set these pipes can cut down to 1½”
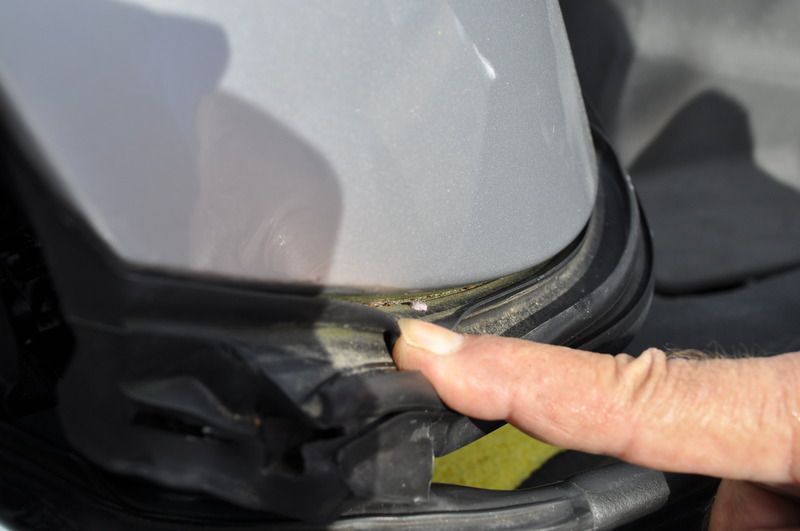
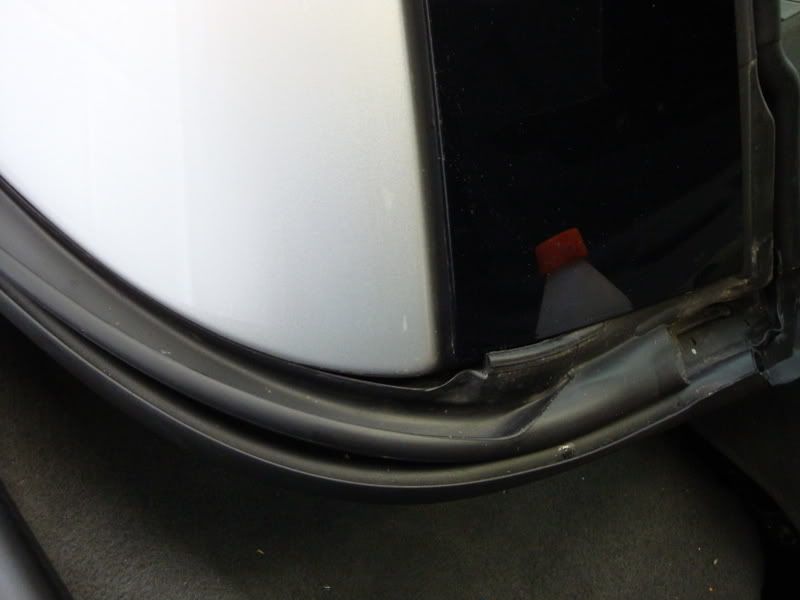
C pillar seal
The next job is the C pillar seal, here we have the problem that water will go down the outside, up on the inside into the boot. I found it best to do the inside first. One can only do 90% of this as no access and done with the roof down and boot open by letting the roof open backwards and stopping when open. Just lift the rubber seal and if dry and clean squeeze some sealer all the way round as far as you can get, the last bit you can do later. Make sure all flat and sealed, tape it down if need be. Next the roof has to go back to the intermediate position by inserting the wood in the front again. You must clean out the muck and moss from the bottom of this rubber, a strong vinegar will kill the moss and cannot harm paintwork. Once dry squeeze in the mastic all the way to both ends. The hose pipe will be needed again to keep the pressure on the rubber to keep nice and flat to the metal
My thanks to Steve (carnut) for driving down to take the pictures.
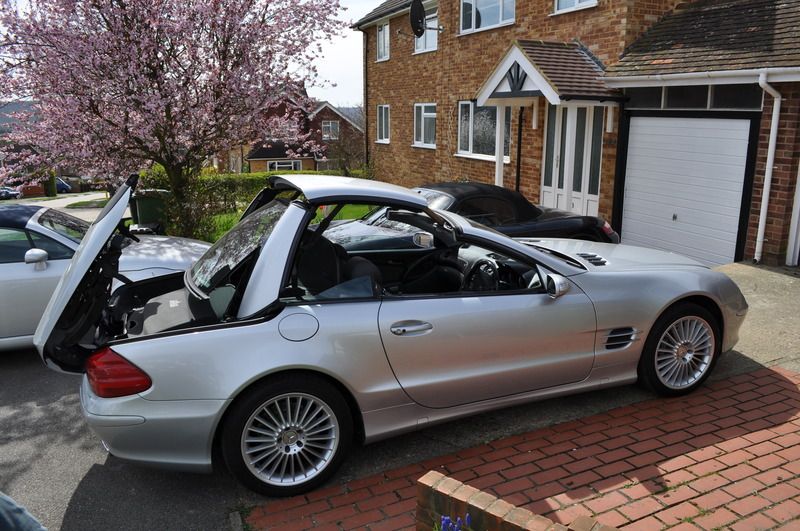
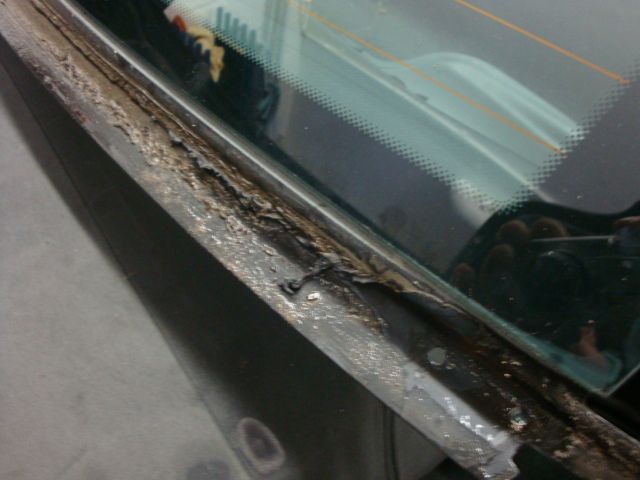
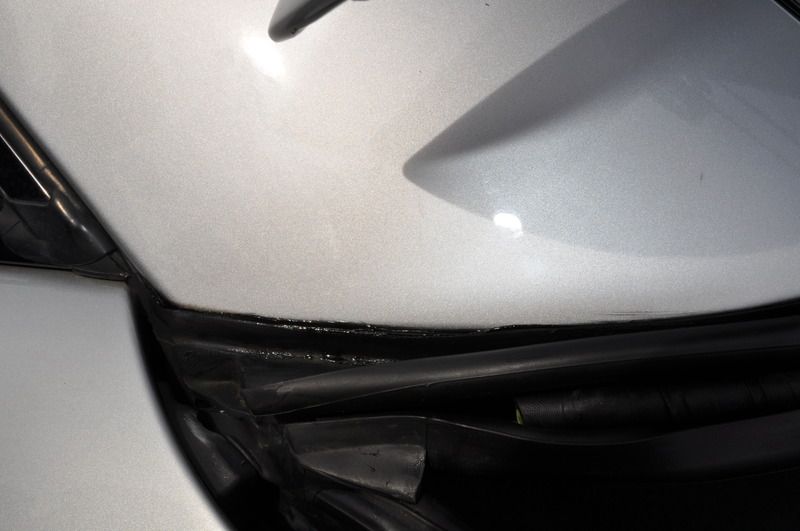
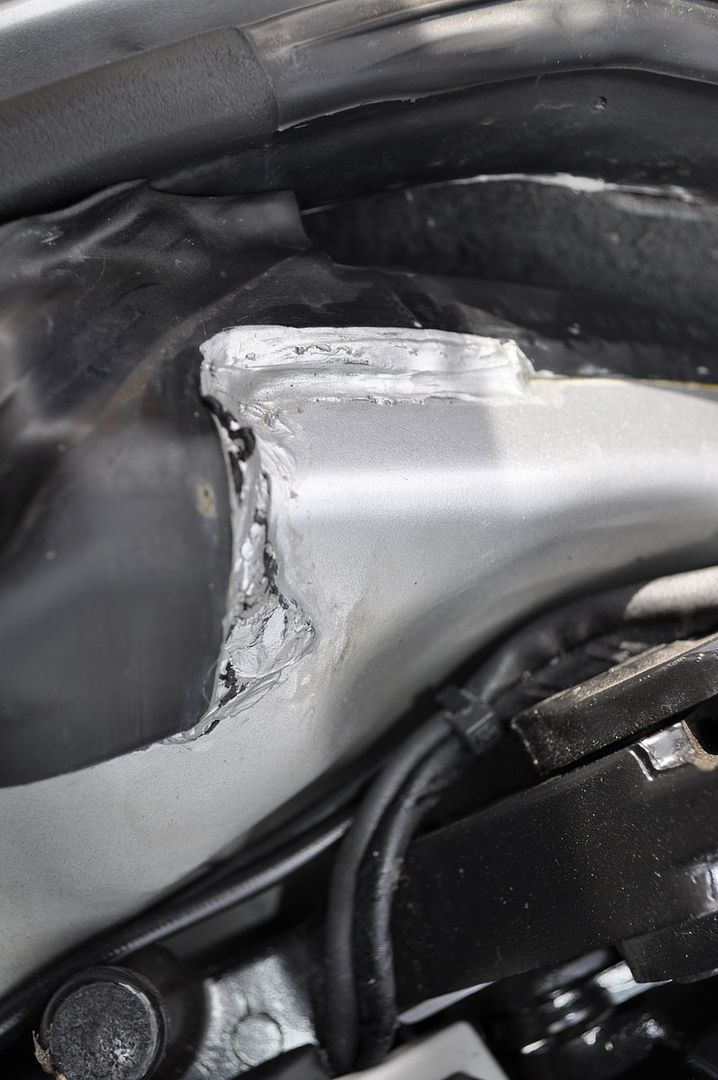
This car had been subject to a very poor repair and a mess
The end of the day

The 230 water leaks can be the rear window bottom rubber, and/or the C pillar seals or both.
To check them, after the car has been out in the rain for some time, wipe the boot lid dry, and open it. Feel under the C pillar where it meets the rear window where the 2 drain pipes are fitted, if your hand or fingers have any water on them, then its leaking.
The rubbers around the rear window and C pillars could be badly distorted due to the moss and debris that is under the rubber, or the rubbers can still be laying flat. Do not assume that this only affects the early cars, it does not and my 2009 car was as bad under the rear screen as my 2002 car.
The rear rubber that is under the window has 2 water channels; the one nearest to the boot is nothing more than a drain channel to catch any water that would run off the boot if you opened it in the rain or while wet. The drains at the top of the wings deal with this water.
The water channel nearest the rear window is the main channel and it is this as above that gets out of shape, there are 2 drains just under the C pillars in the form of pipes.
To get started with the car on level ground, you need to get the roof partially open in the intermediate position. You will need a piece of wood about 9” long by 6” wide, Start to open the roof and as soon as the top has moved back about 12” stop and turn off, the bleeper will sound, but that will stop. After 7 seconds the roof will slide forward again, or you can pull the roof forward, hold the wood so that it is on the roof lining and A pillar top lining as in the picture.
The first thing to do is the rear seal at the bottom of the rear window, it is held on with 2 nuts at each end. I found it easier to pull the rubber off by lifting in the centre of the screen, and work your way to the ends, just pull the bottom out all the way along and it comes off, this way no damage to the rubber.
I used petrol on metal plate under the glass to clean of the old sealer. The rubber is much harder to clean. I found that a blunt wood chisel took most off, but much easier using a warm air gun and scraping again, finally cleaning down with petrol and 99% was removed
You can use any silicon rubber sealer, I have used the Loctite 5940 and those sold by motor shops. Again as the rubber is only stuck to the metal, it was easier to run two beads of sealer, one under the curve on the metal, and another below.
By putting it on the metal you do not smudge it when fitting the rubber. Start at one end by putting the screw studs through the holes and work your way along to the other end. Gently press the rubber down all the way along making sure that it is pushed up at the bottom all the way along. One can leave it for ½ hour at this stage. Now run your finger along and make sure it is all flat and open then roof so that the wood is free, and close the roof completely so that the boot is closed. The next job is to run a thin bead of sealer under the top edge of the rubber, easily done, just lift the top of the rubber at the top one end and insert the sealer nozzle and squeeze out a thin bead of sealer all the way along. Next start pressing down the rubber so that it flattens. Leave for ½ hour and go back running your finger all the way along the rubber and it will slowly go flat. Any sealer that has oozed out at the top can be wiped away with petrol on a cloth.
If your rubbers were dead flat when you started, then that is it, leave for 1 day in the dry if you can.
If you rubbers were distorted and lost their shape, you will need to do the following while the sealers are still soft. You will need 2 pieces of standard hose pipe with some insulating tape wrapped around to make it slightly fatter so that it is a tight fit when pushed down between the 2 bottom rubber channels will do the job nicely. On my early car the rubbers were badly out of shape, so I pushed 2 pieces of hosepipe in about 9” long, they can be cut down to about 1½" in the final stages. We are only using the 9" long pieces to stop the rubbers from pulling away while the sealer sets.
This will not stop the draining channels from working as any excess water will go through the hose pipe, plus when all done and sealer set these pipes can cut down to 1½”
C pillar seal
The next job is the C pillar seal, here we have the problem that water will go down the outside, up on the inside into the boot. I found it best to do the inside first. One can only do 90% of this as no access and done with the roof down and boot open by letting the roof open backwards and stopping when open. Just lift the rubber seal and if dry and clean squeeze some sealer all the way round as far as you can get, the last bit you can do later. Make sure all flat and sealed, tape it down if need be. Next the roof has to go back to the intermediate position by inserting the wood in the front again. You must clean out the muck and moss from the bottom of this rubber, a strong vinegar will kill the moss and cannot harm paintwork. Once dry squeeze in the mastic all the way to both ends. The hose pipe will be needed again to keep the pressure on the rubber to keep nice and flat to the metal
My thanks to Steve (carnut) for driving down to take the pictures.
This car had been subject to a very poor repair and a mess
The end of the day

