- Joined
- Mar 25, 2010
- Messages
- 15,136
- Reaction score
- 6,294
- Location
- Tonbridge
- Your Mercedes
- W221 S65 AMG - W204 C63 AMG + Various other MB's
- Moderator
- #1
Contents posted in a post as requested:
A friend of mine recently upgraded his car, and his old car had a Parrot CK3200 series installed in it. As it was being scrapped, he removed it and donated it to me (As his new car had factory installed bluetooth). Happy days for me! Free bluetooth. Now to get installing this:

The unit consists of a screen unit, a microphone that installs up near the sun visor and a control box you stuff behind the dash. This guide will show you how to install it in a W210 Mercedes E class with comand. The procedure is most likely very*similar*for other E classes with standard audio 10/20.
Step 1:
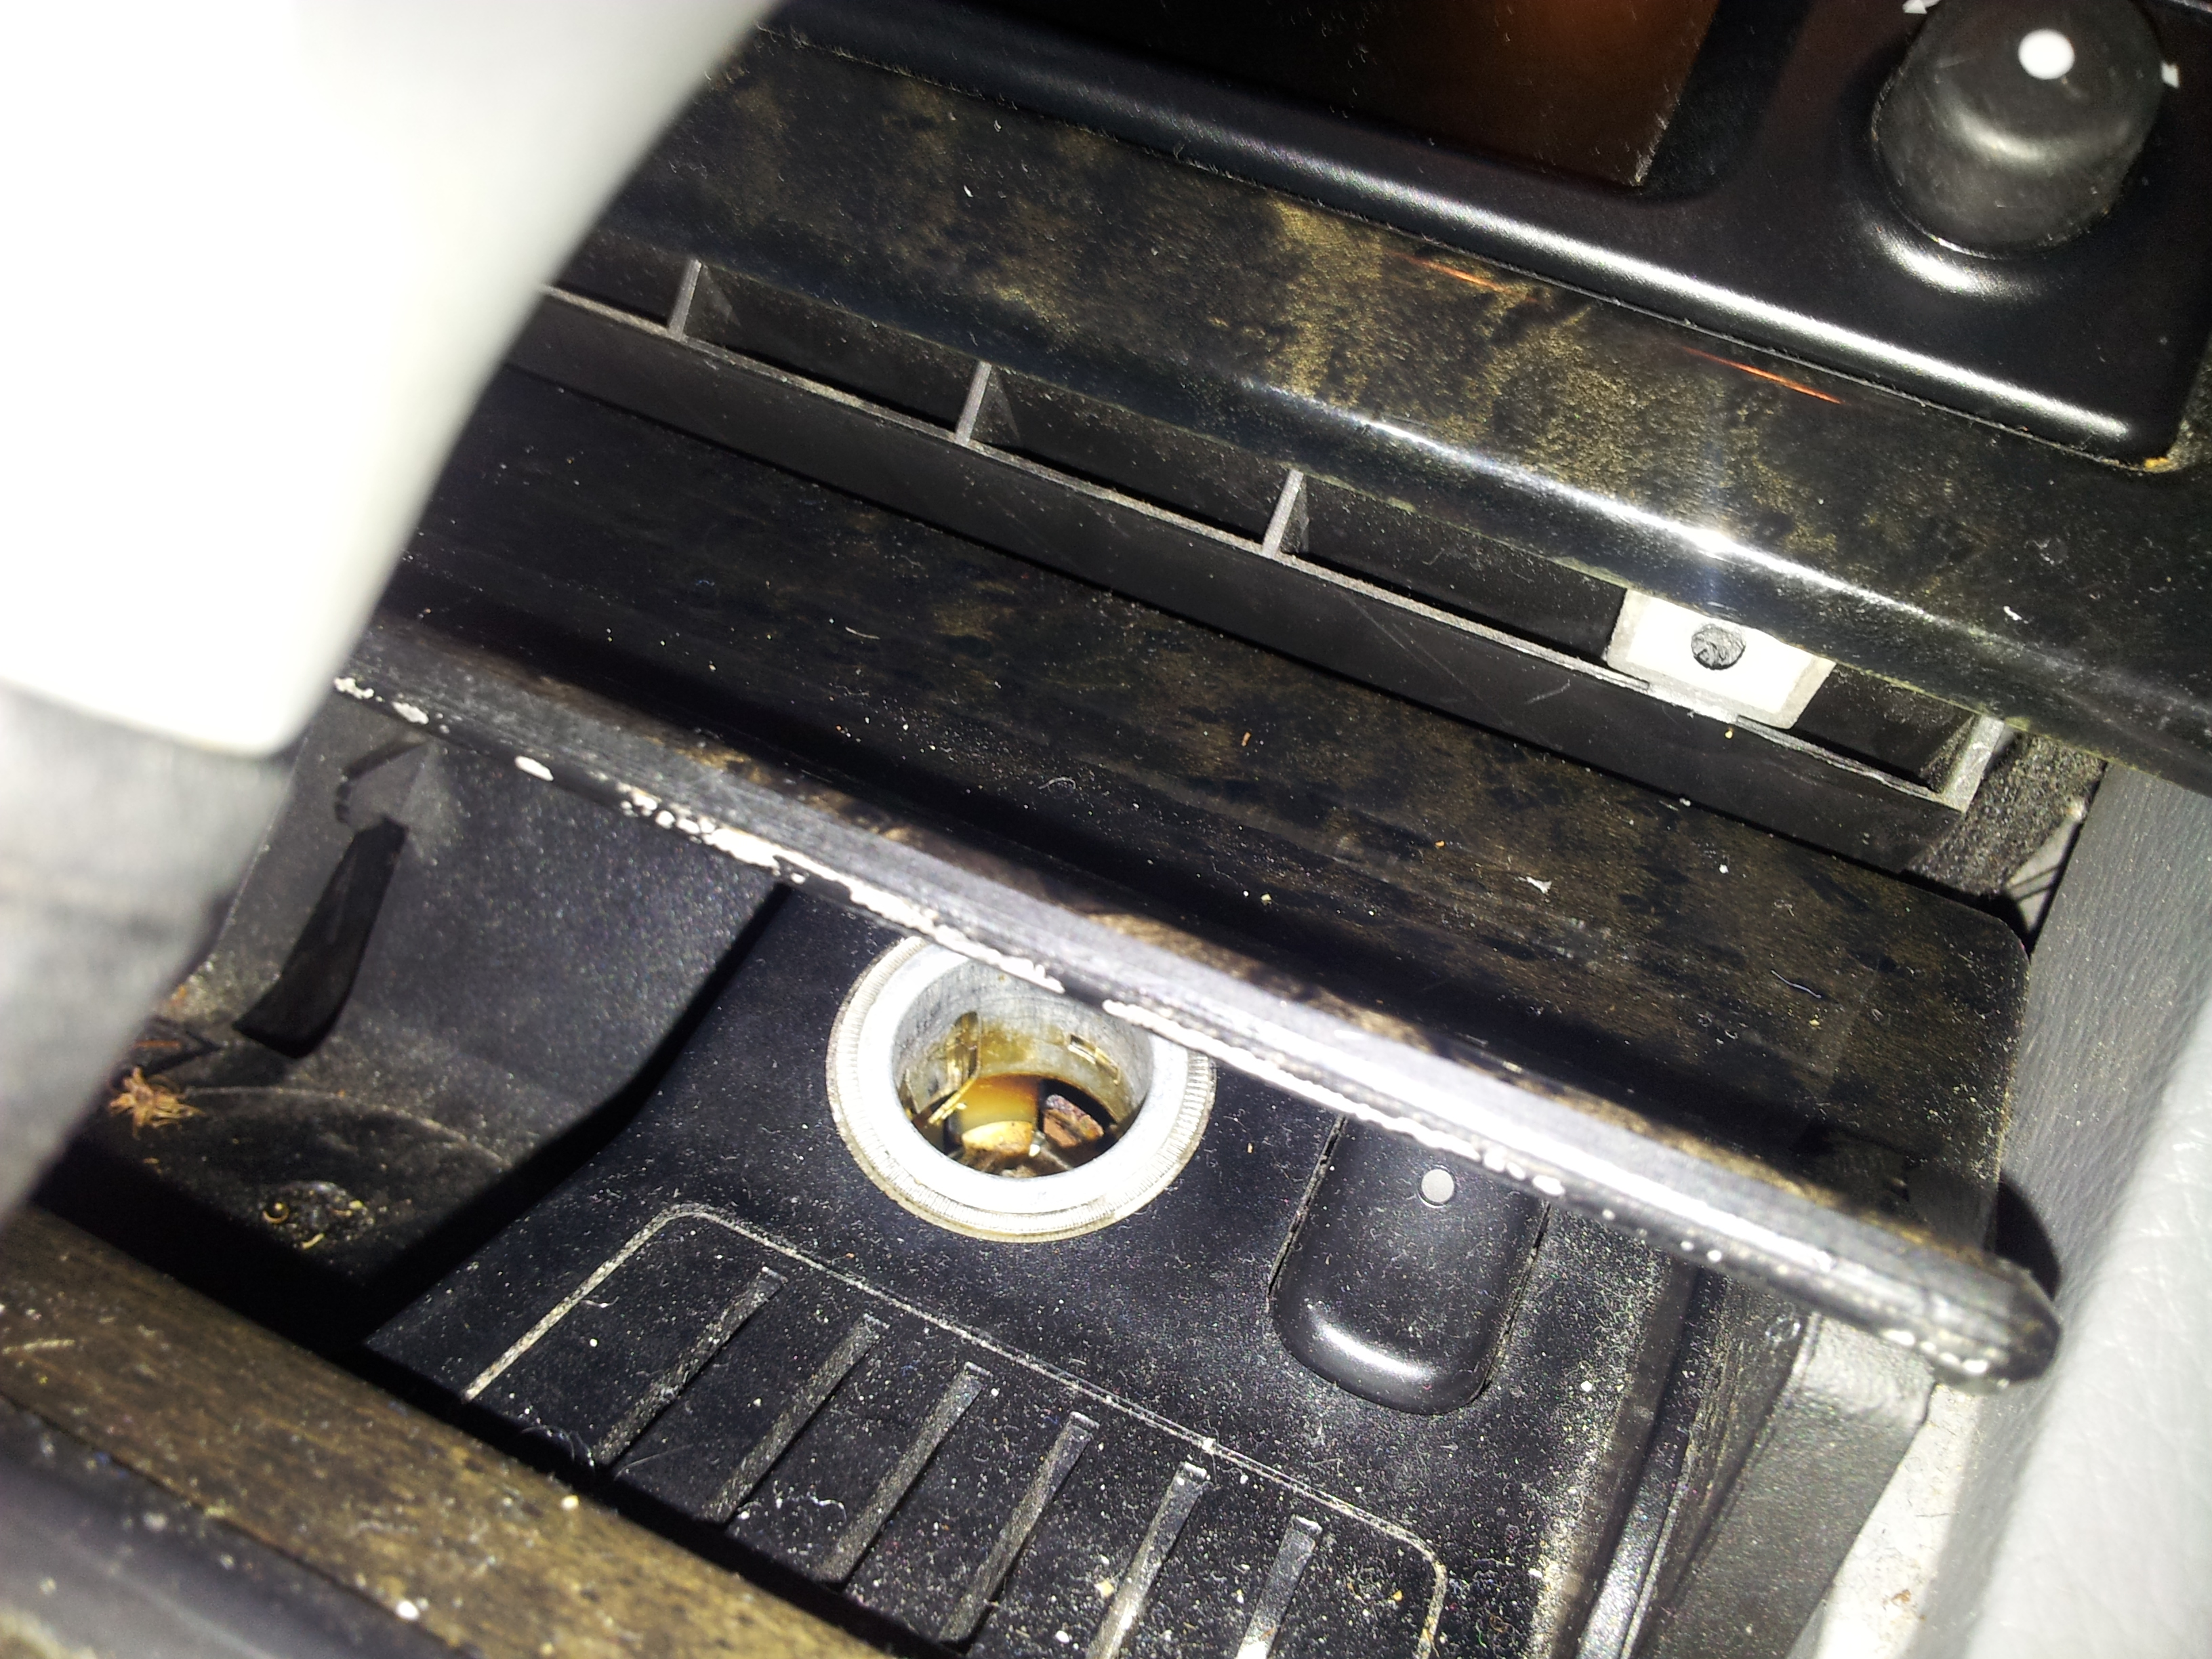
Remove the Screws holding the wood panelling in that surrounds the comand and the heater controls. These where hidden above the ashtray on mine, just above the door. I tried to take a picture:
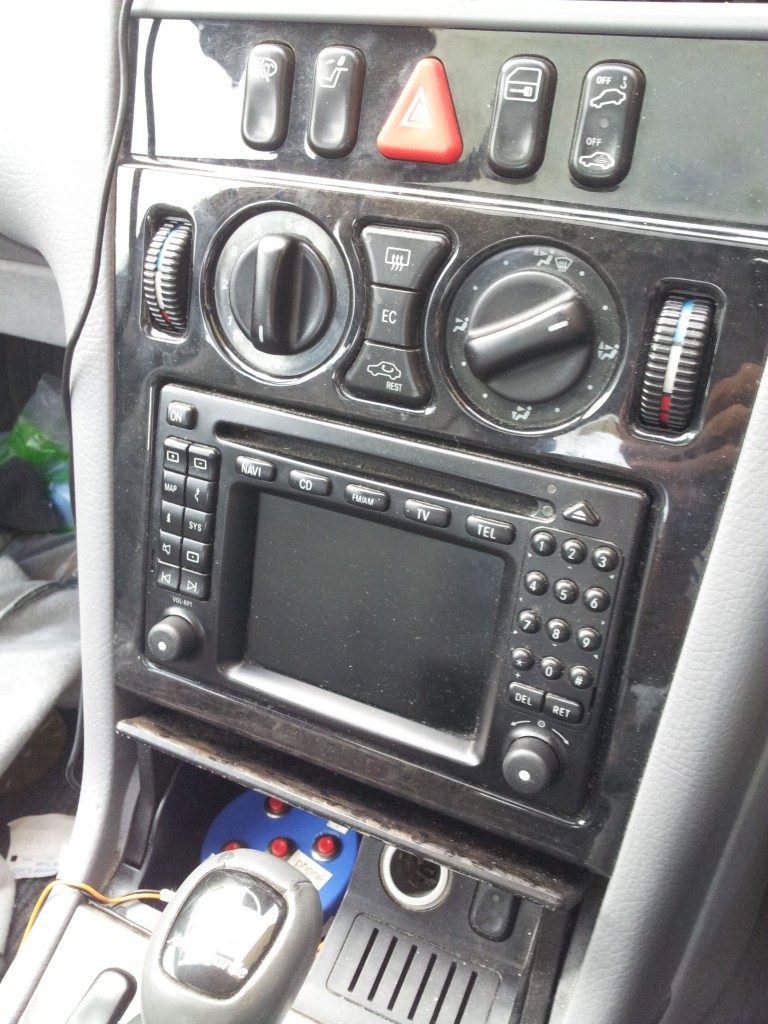
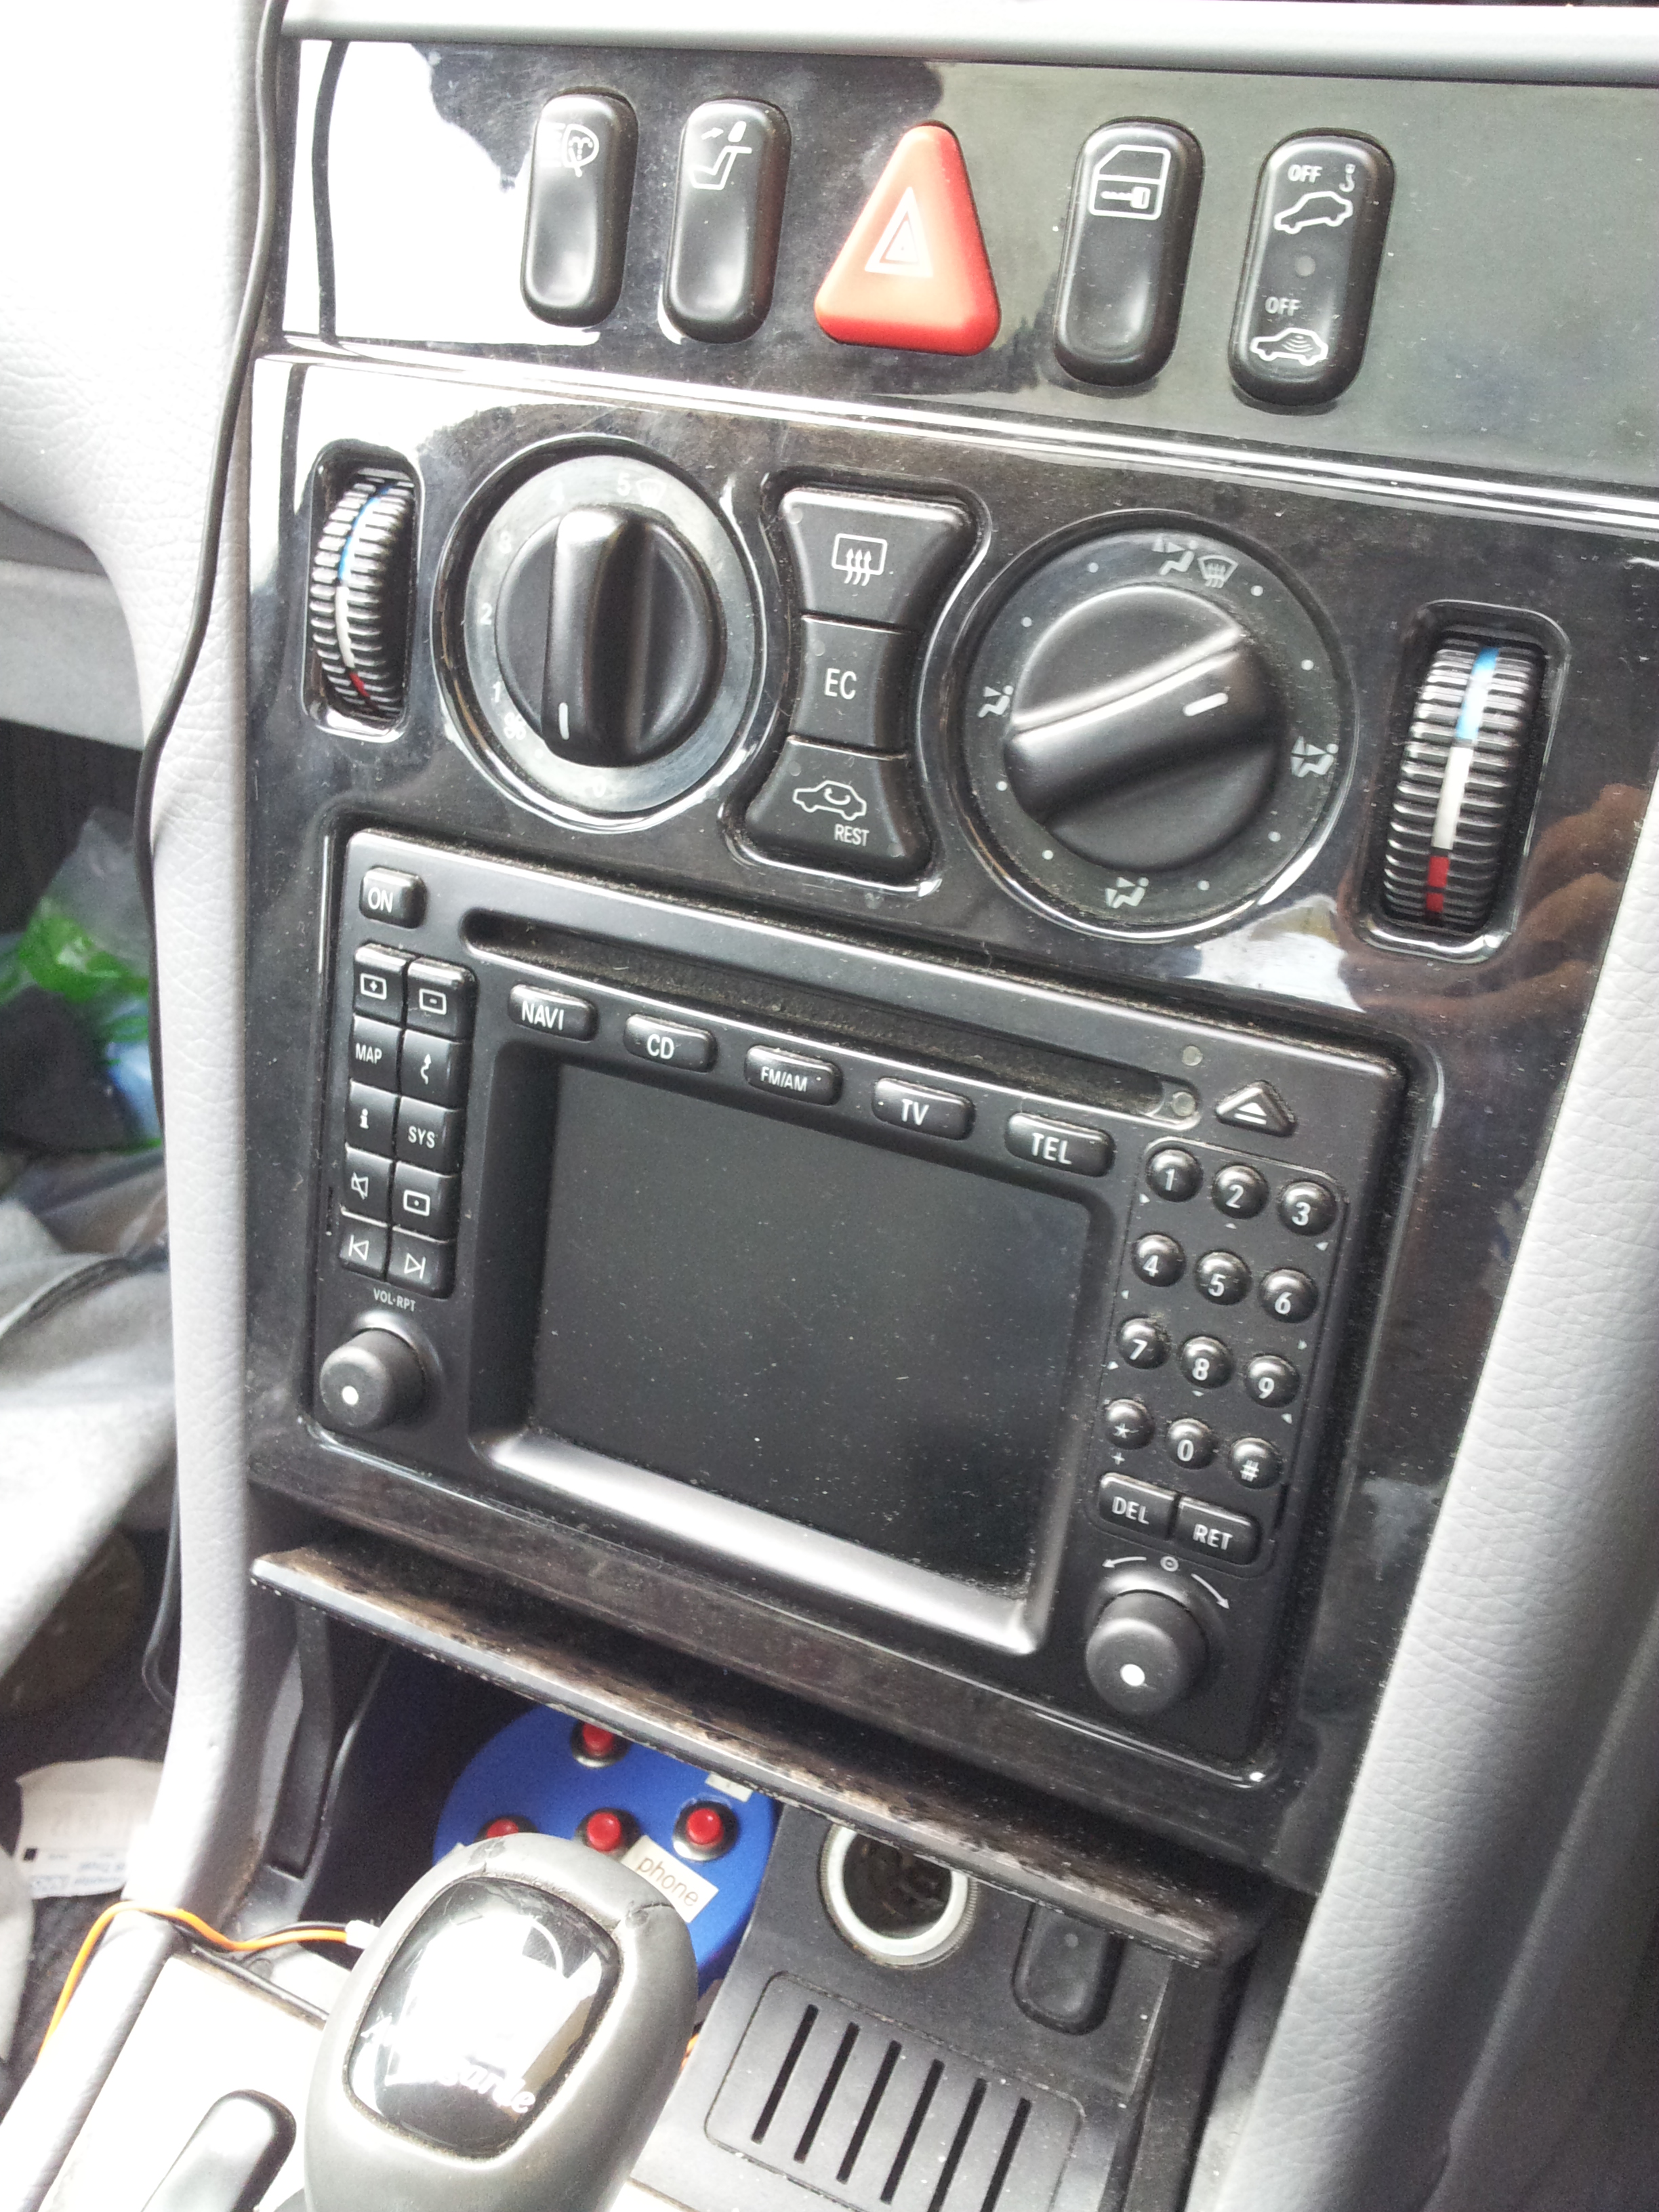
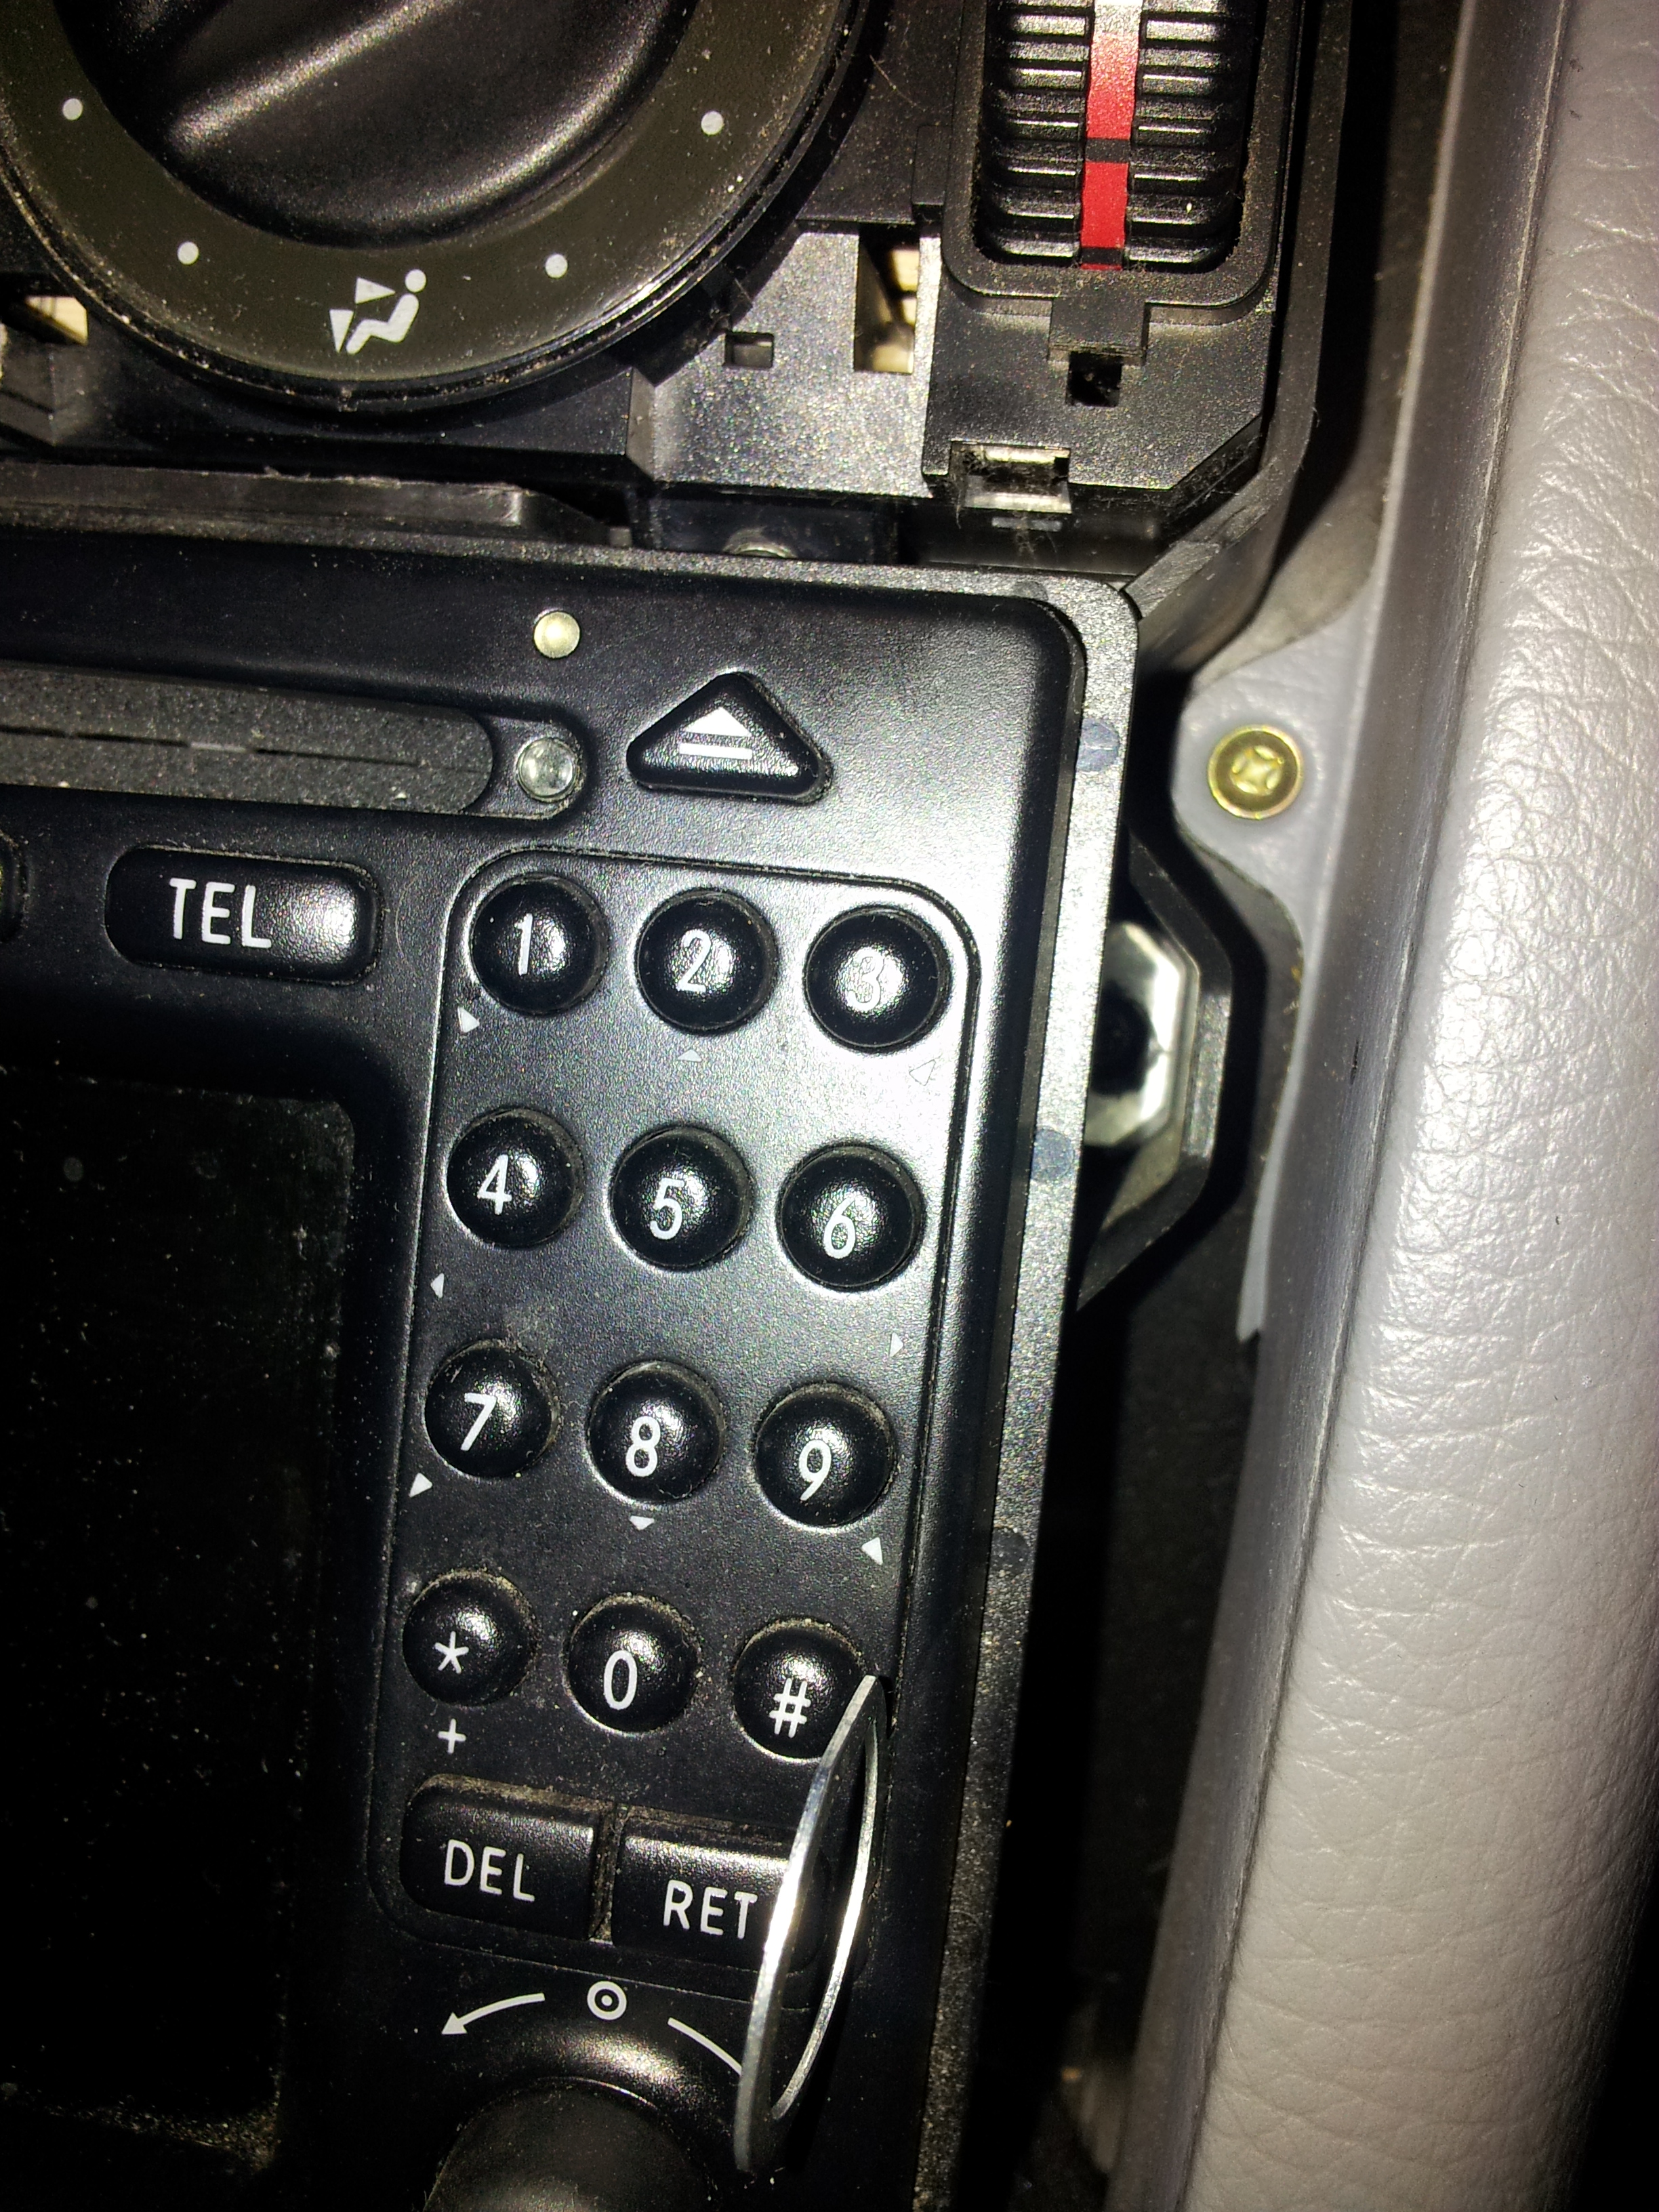
There are 2 screws on either side. Once they have been removed, slide the wood panel down and out. You will be left with the comand system showing:
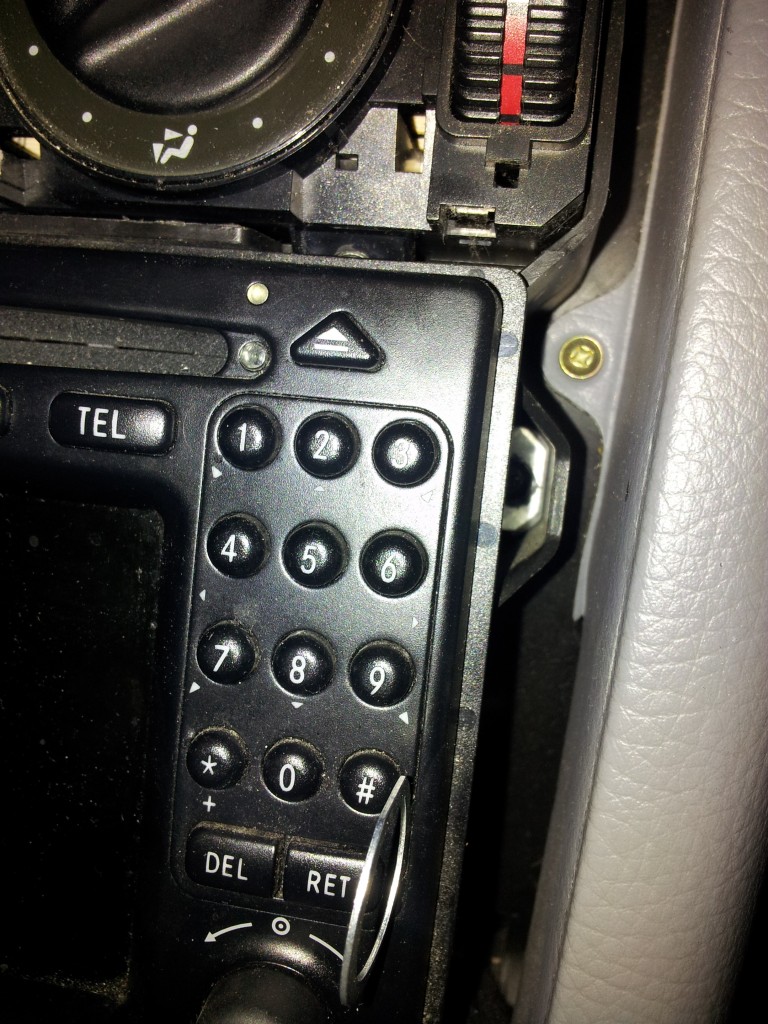
2. Remove the 2 torqs screws on either side of the comand system to remove it (rather than attempting to use radio removal keys like me! )
)
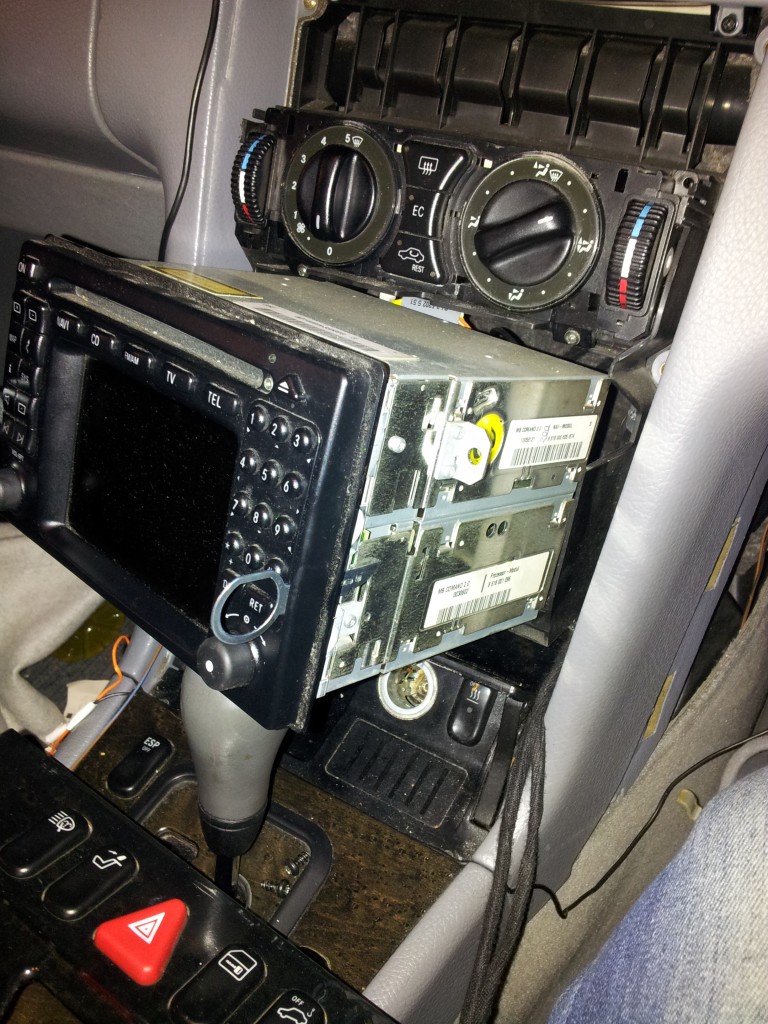
Remove all the connectors from the back of the command unit and place it aside.
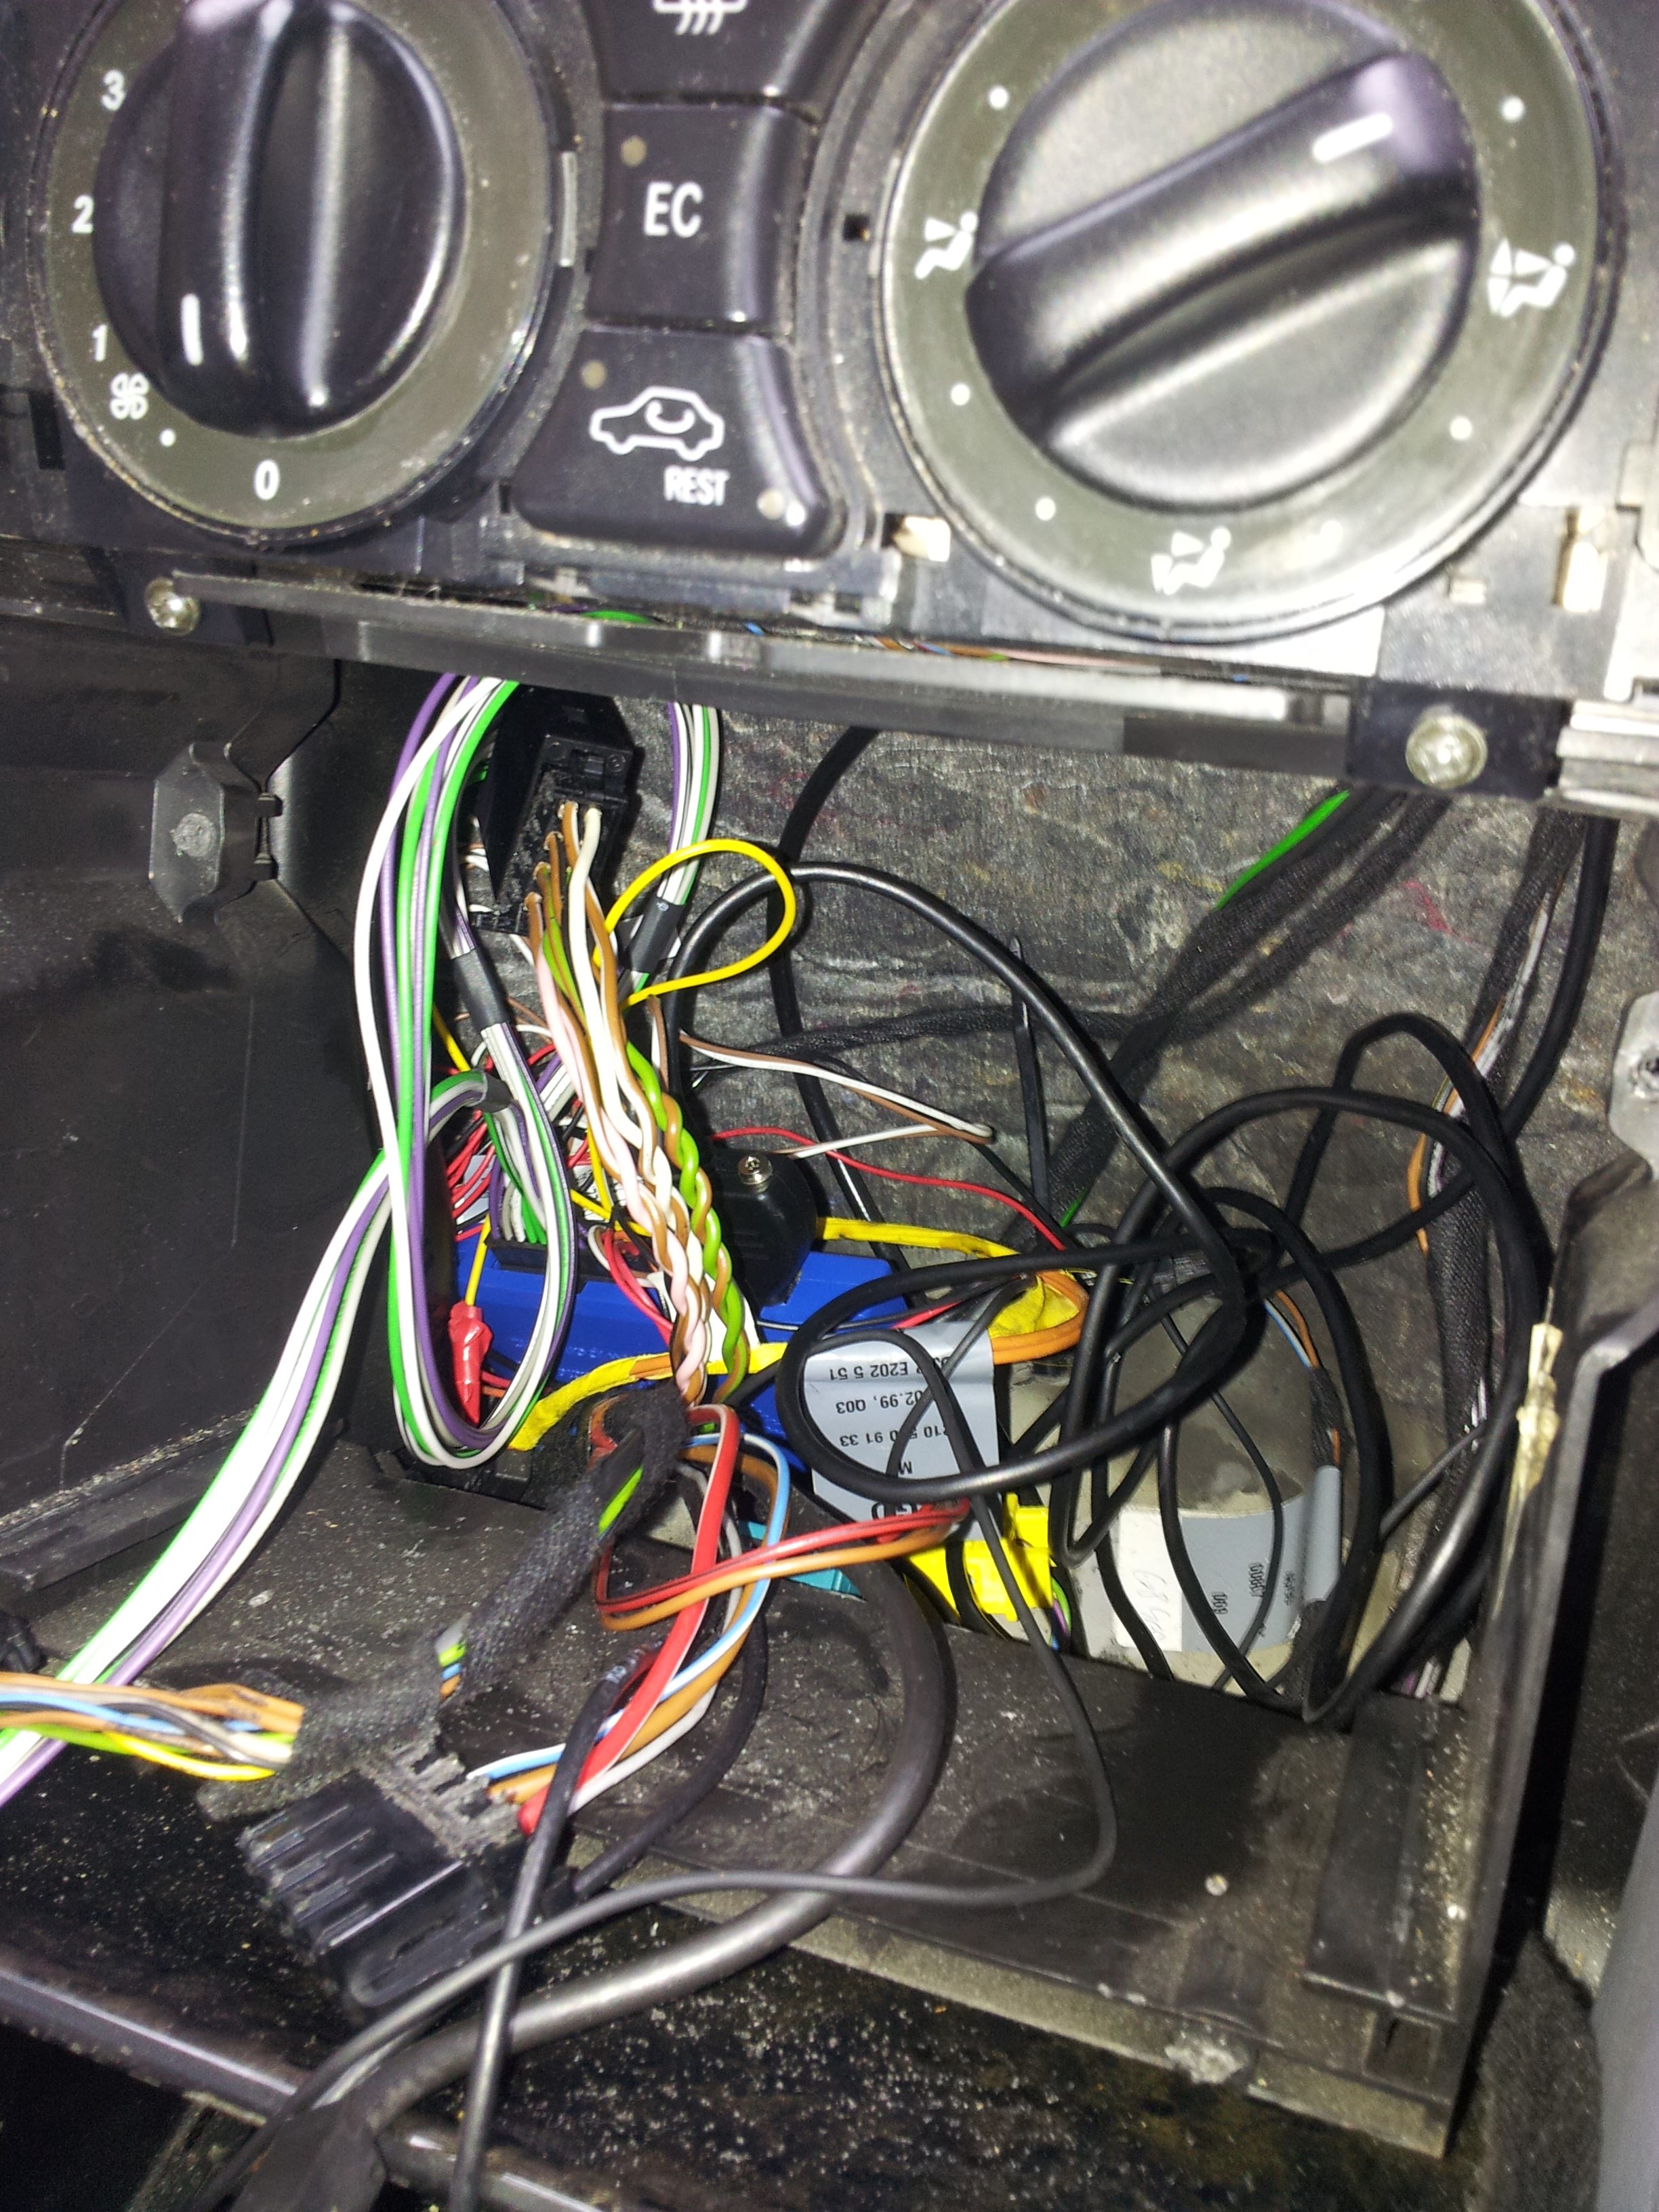
3. The Parrot connectors include an ISO speaker connection block, and individual wires to connect to Switched 12v, contstant 12v and ground. The speaker connector works in a pass through type system. So you plug the cars speaker iso connector into the parrot harness, then the parrot harness has an ISO speaker connection that goes into the back of your radio. The issue with the Mercedes one is that its one moulded block for both the power and the speaker connections, as shown in my blury picture below:
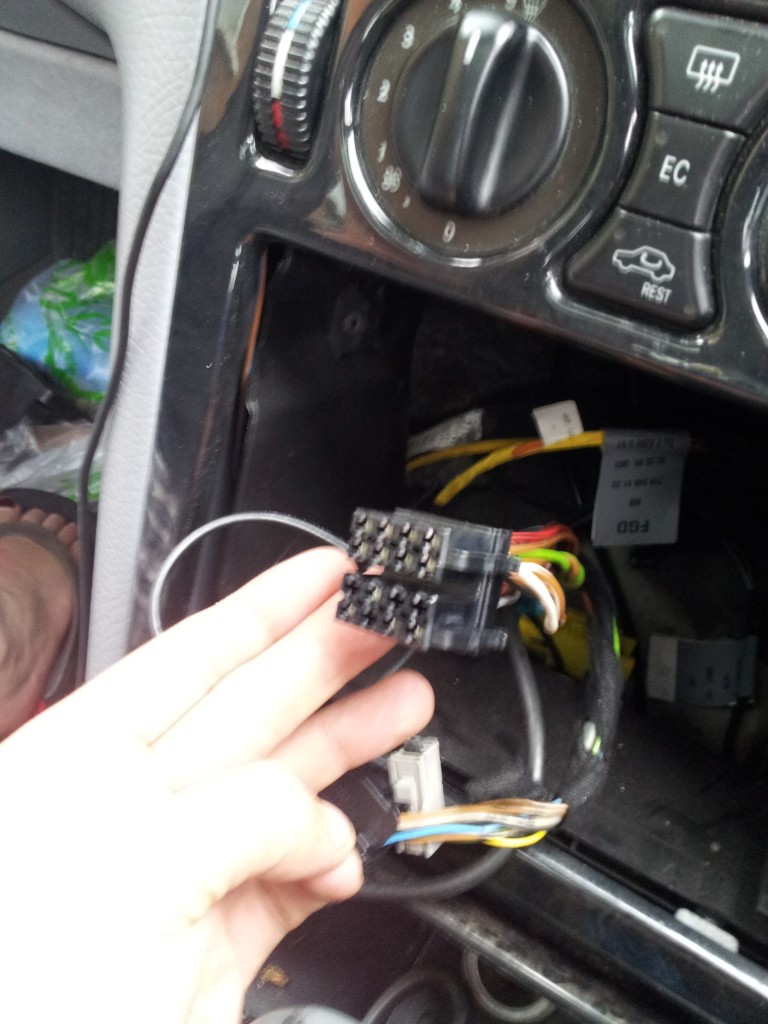
My method, rather than buying an adapter, was to get a hacksaw and cut it in half
The bottom half of the connector then went into the parrot lead, and the top half of the connector back into the command system.
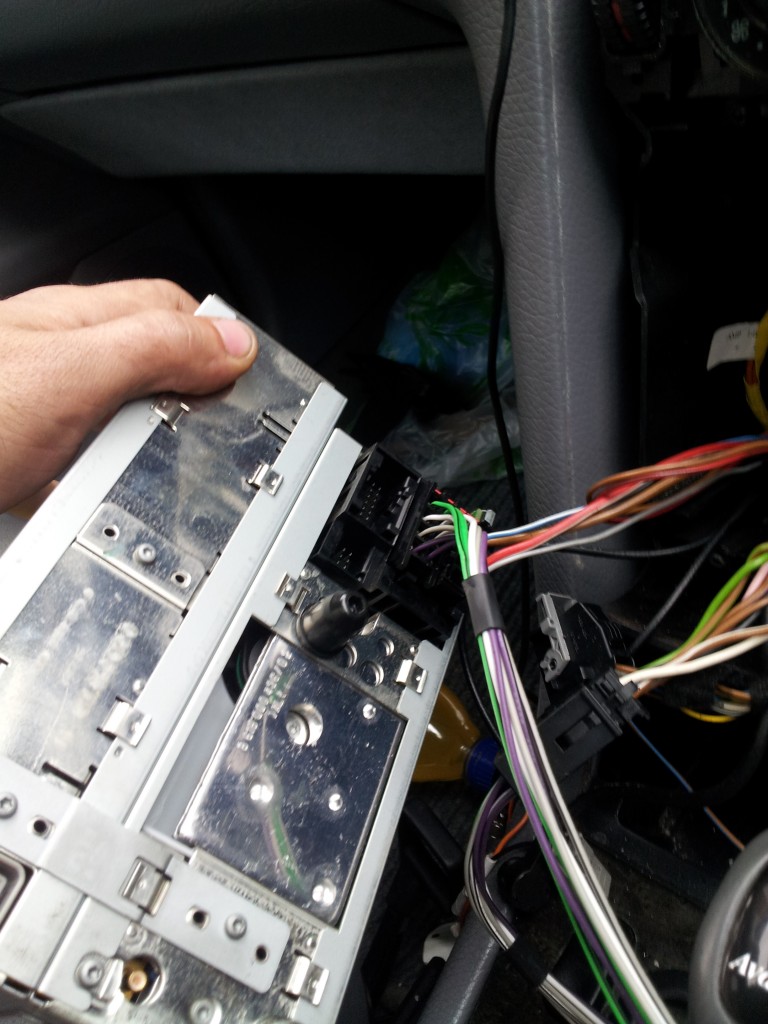
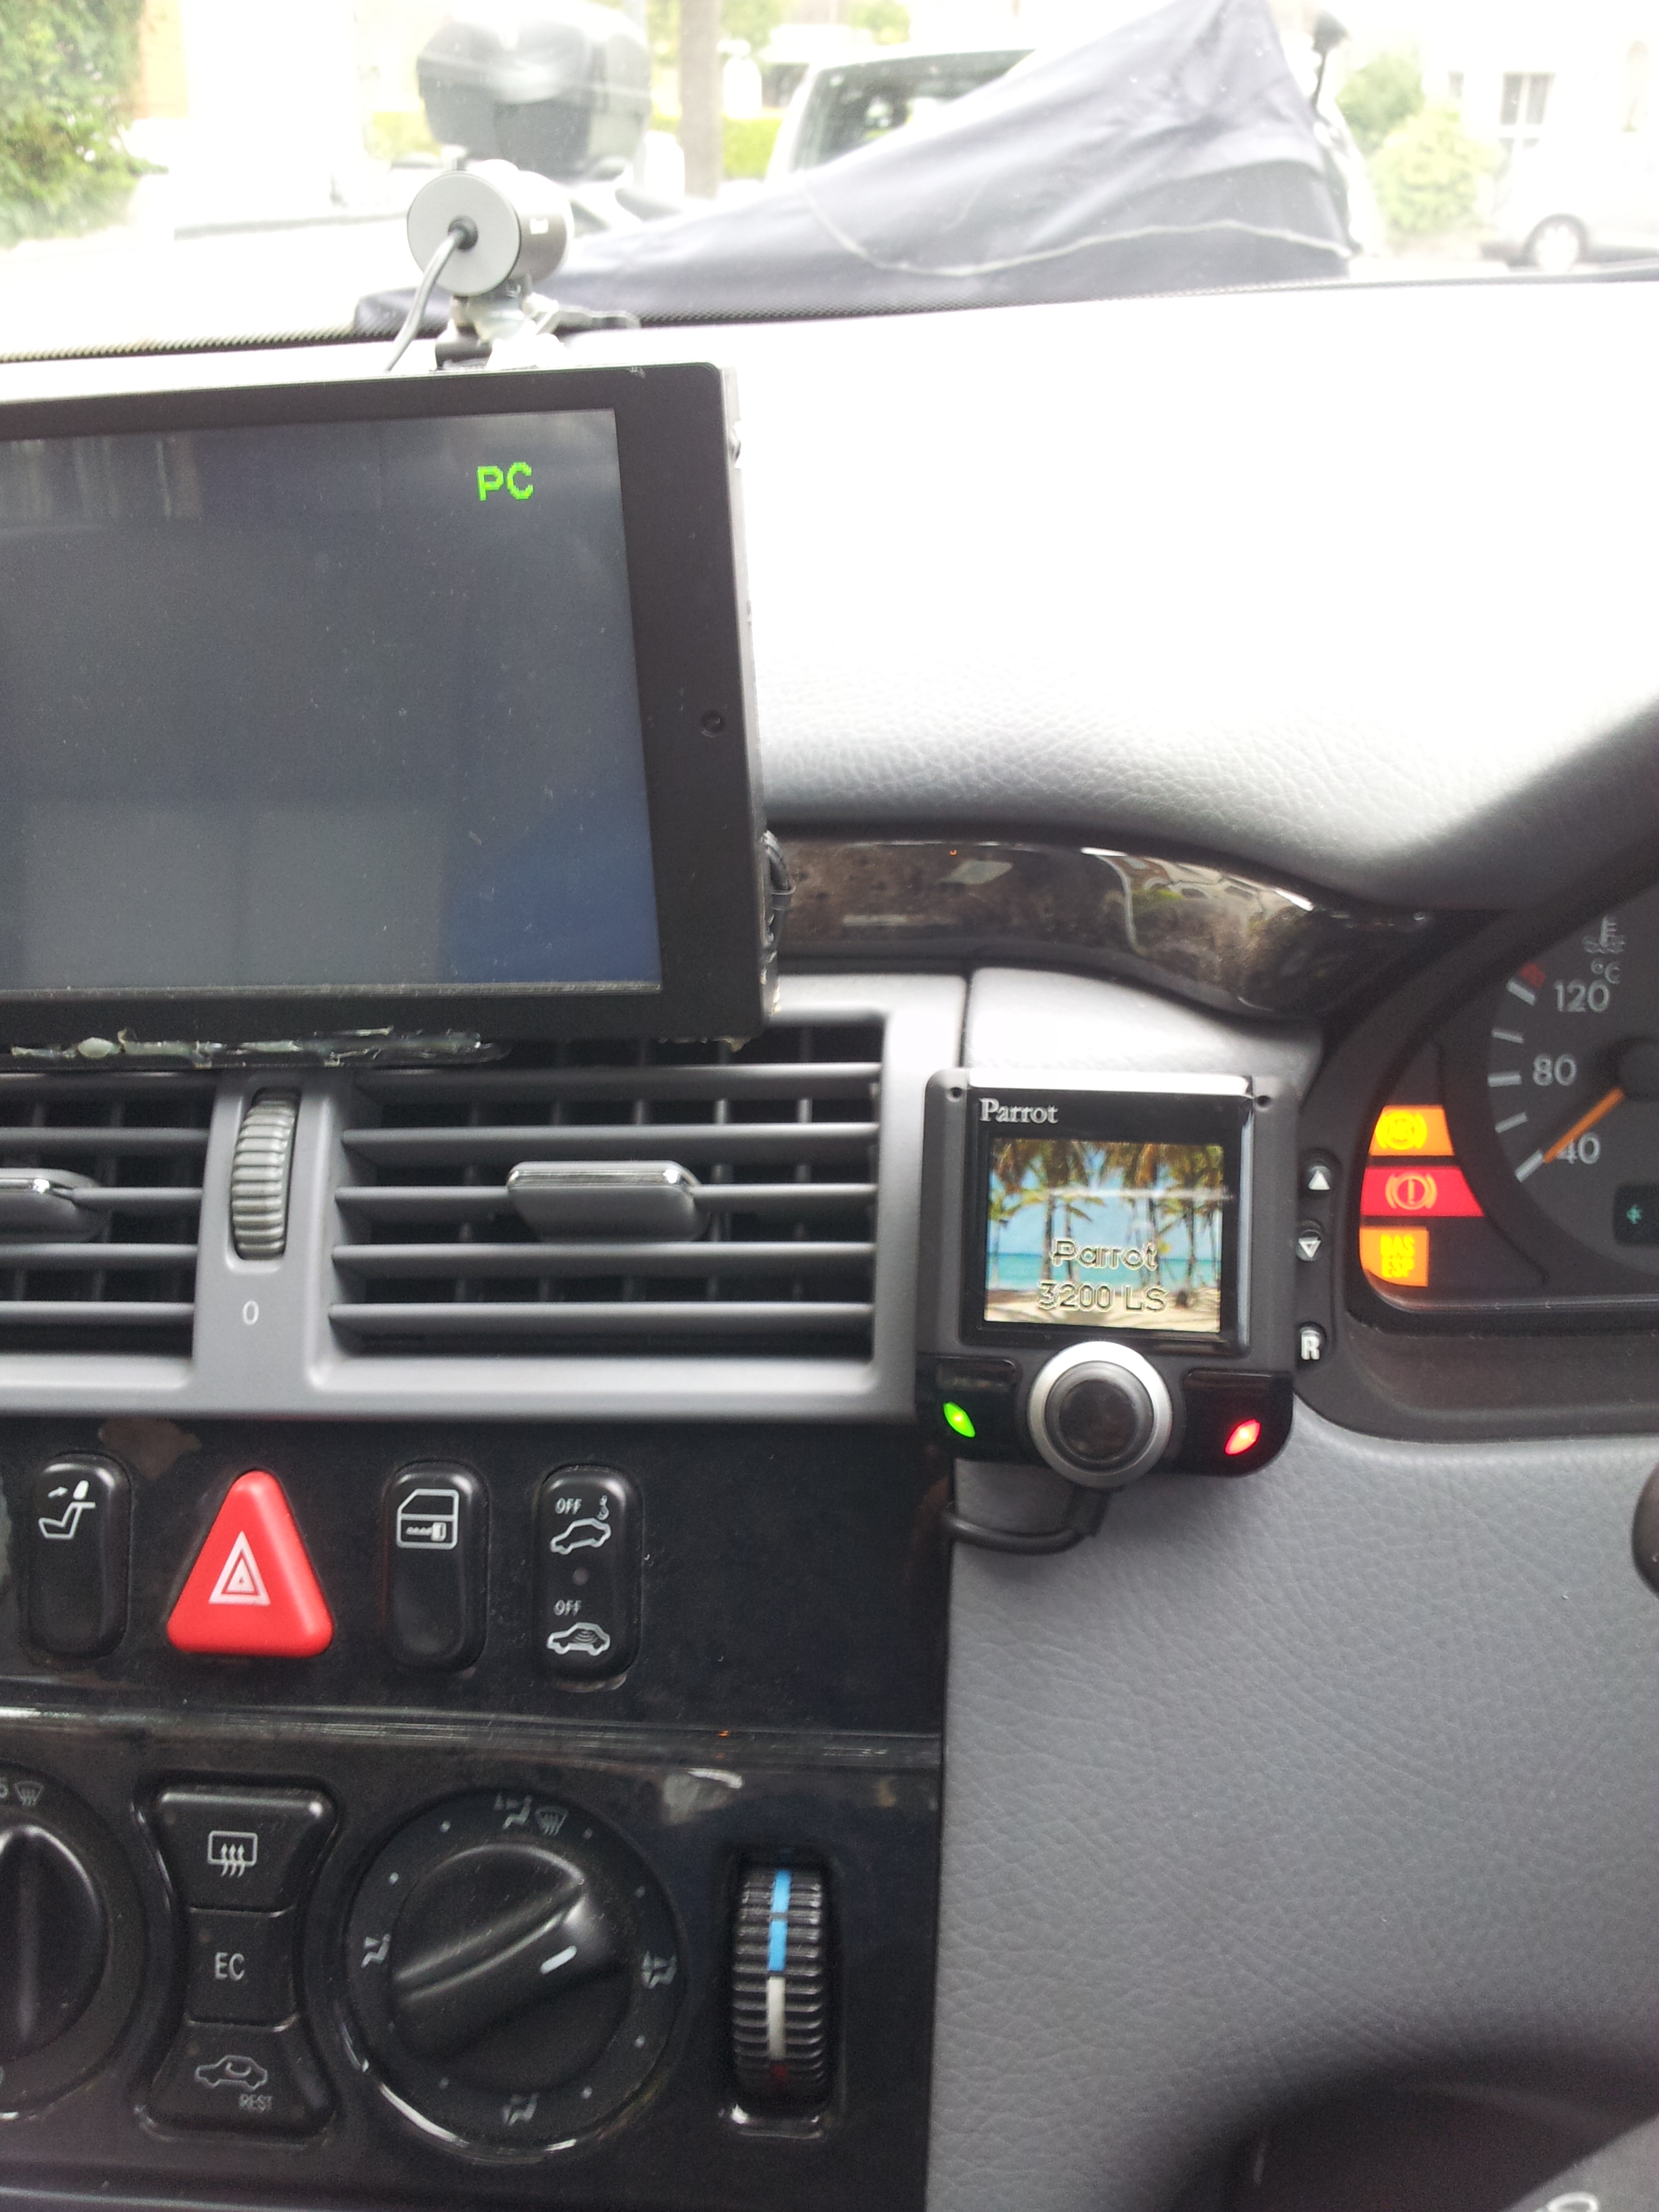
4. I then fed the parrot microphone cable, via the back of the dashboard into the space and plugged it into the screen connector, then plugged the screen connector into the parrot control box. I then placed this in the recess to the side of where the command unit would go:

In the above picture, you can see the other half (power connections etc) of the connector, that will go straight into the command system.
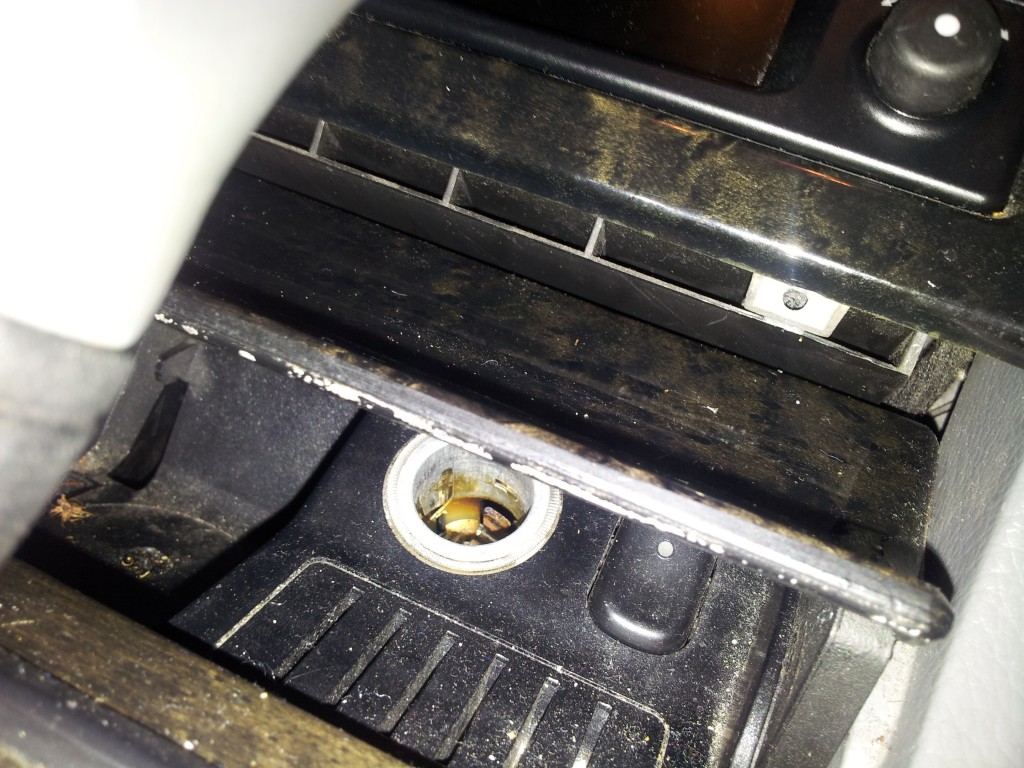
5. Connect the power cables up. As mentioned earlier, the command system requires Switched 12v+ constant 12V+ and ground. Luckily, I had routed all of these to my car pc installation previously, so I tapped into them in the passenger footwell where the car pc is installed. The switched power and ground comes from the cig lighter. The Constant 12v comes from the power distribution under the carpet on the passenger footwell (its easy to pull the carpet to get access to that there).
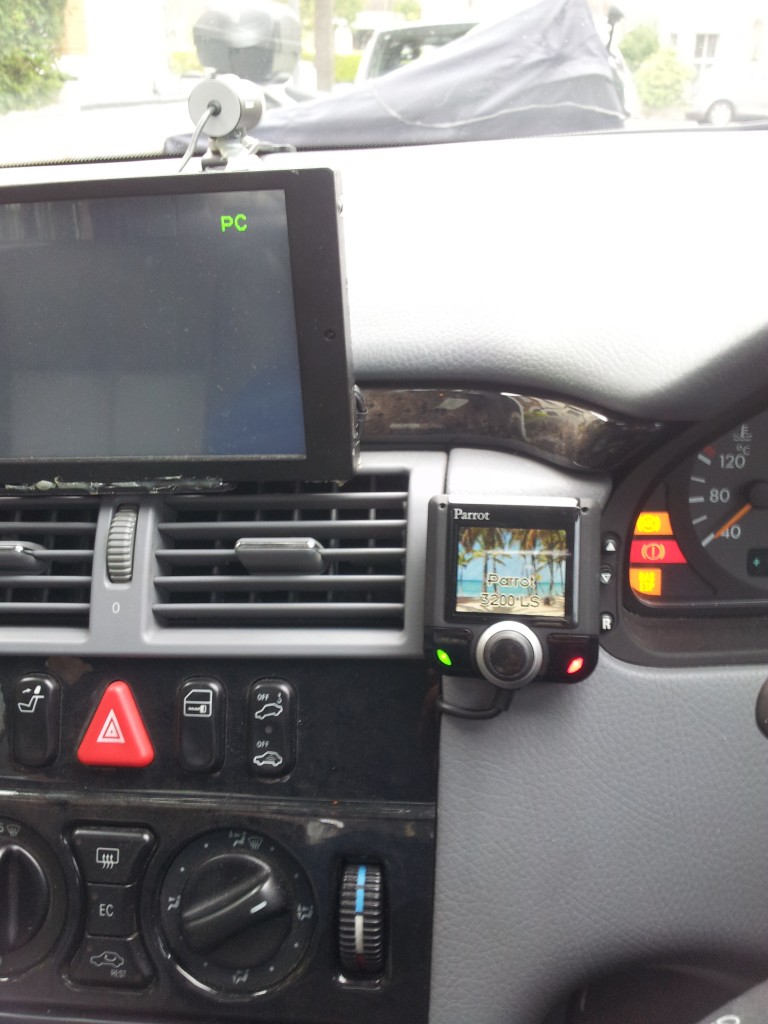
6. I then attached the screen to the right hand side of the dash board using sticky sided tape and reinserted the wood panel (After reconnecting the comand system up and screwing it back in)
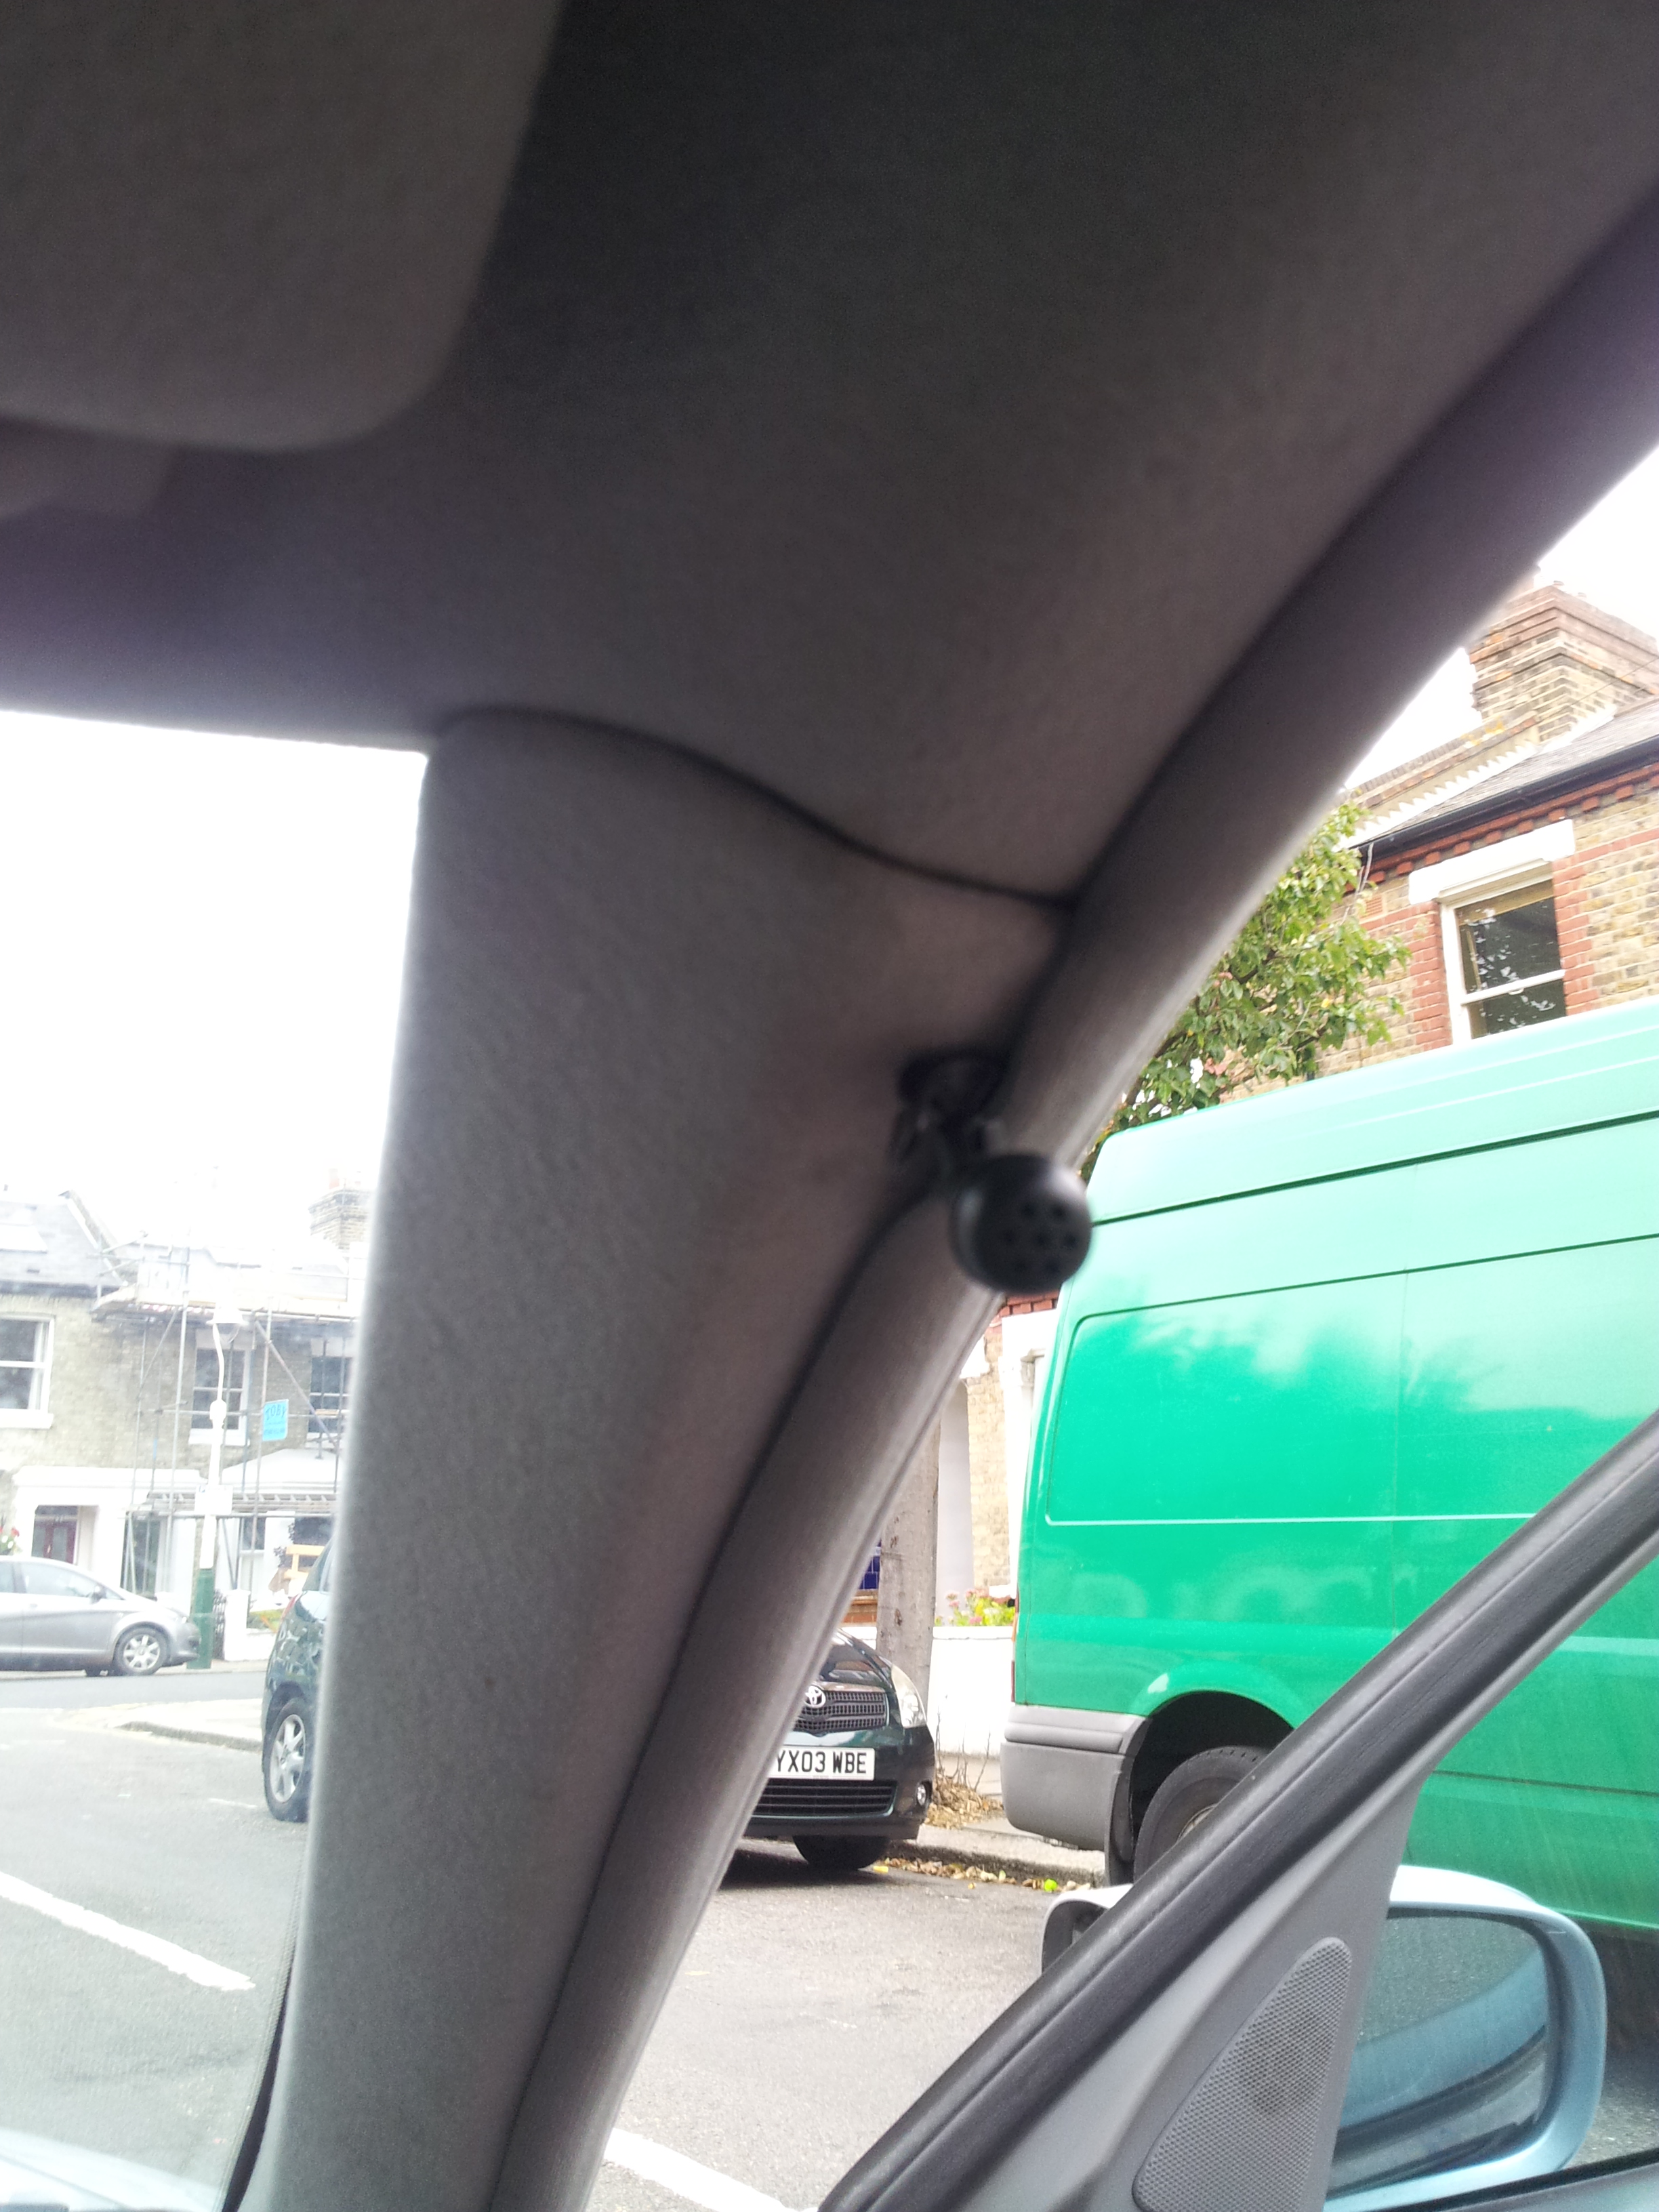
7. Last but not least, I fitted the microphone to the right hand top A pillar and routed the cable underneath the trim so that its hidden. I routed the remainder of the cable under neath the driver side footwell cover.

All done! I did rush this install a little bit, so the guide*isn't*great. Any questions please ask and I will do my best to answer them!
A friend of mine recently upgraded his car, and his old car had a Parrot CK3200 series installed in it. As it was being scrapped, he removed it and donated it to me (As his new car had factory installed bluetooth). Happy days for me! Free bluetooth. Now to get installing this:
The unit consists of a screen unit, a microphone that installs up near the sun visor and a control box you stuff behind the dash. This guide will show you how to install it in a W210 Mercedes E class with comand. The procedure is most likely very*similar*for other E classes with standard audio 10/20.
Step 1:
Remove the Screws holding the wood panelling in that surrounds the comand and the heater controls. These where hidden above the ashtray on mine, just above the door. I tried to take a picture:
There are 2 screws on either side. Once they have been removed, slide the wood panel down and out. You will be left with the comand system showing:
2. Remove the 2 torqs screws on either side of the comand system to remove it (rather than attempting to use radio removal keys like me!
)
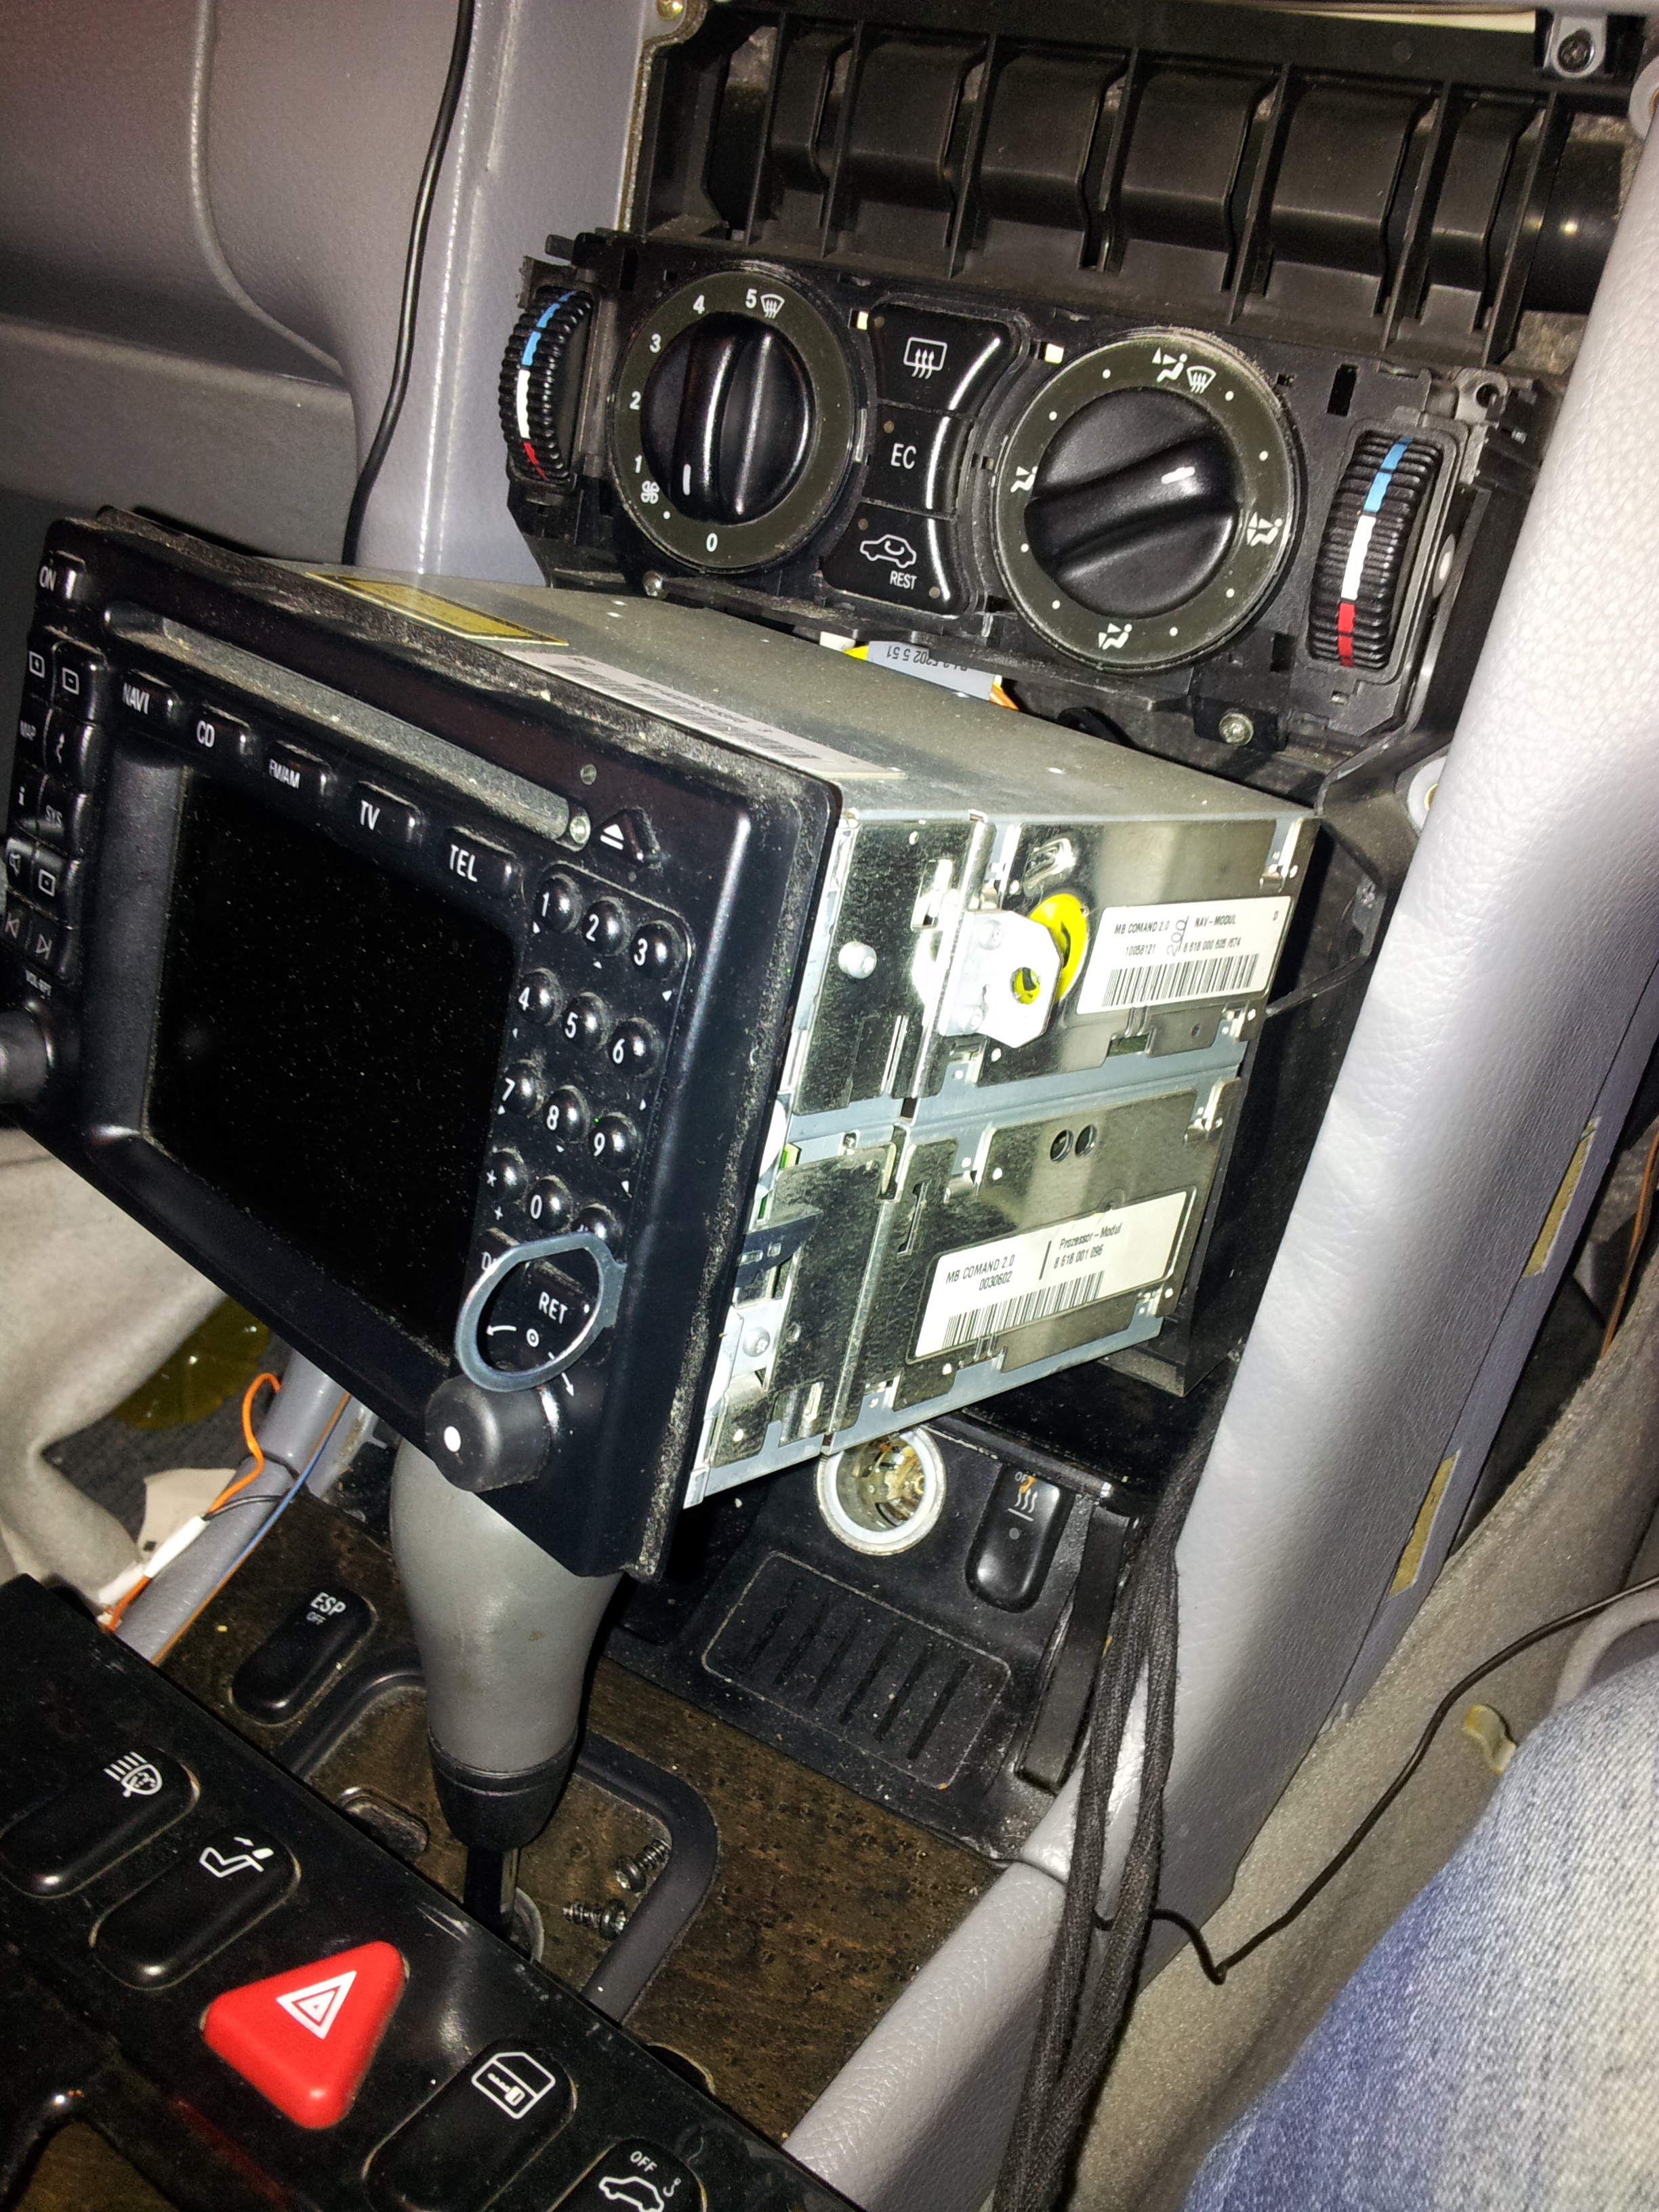
Remove all the connectors from the back of the command unit and place it aside.
3. The Parrot connectors include an ISO speaker connection block, and individual wires to connect to Switched 12v, contstant 12v and ground. The speaker connector works in a pass through type system. So you plug the cars speaker iso connector into the parrot harness, then the parrot harness has an ISO speaker connection that goes into the back of your radio. The issue with the Mercedes one is that its one moulded block for both the power and the speaker connections, as shown in my blury picture below:

My method, rather than buying an adapter, was to get a hacksaw and cut it in half

The bottom half of the connector then went into the parrot lead, and the top half of the connector back into the command system.
4. I then fed the parrot microphone cable, via the back of the dashboard into the space and plugged it into the screen connector, then plugged the screen connector into the parrot control box. I then placed this in the recess to the side of where the command unit would go:
In the above picture, you can see the other half (power connections etc) of the connector, that will go straight into the command system.
5. Connect the power cables up. As mentioned earlier, the command system requires Switched 12v+ constant 12V+ and ground. Luckily, I had routed all of these to my car pc installation previously, so I tapped into them in the passenger footwell where the car pc is installed. The switched power and ground comes from the cig lighter. The Constant 12v comes from the power distribution under the carpet on the passenger footwell (its easy to pull the carpet to get access to that there).
6. I then attached the screen to the right hand side of the dash board using sticky sided tape and reinserted the wood panel (After reconnecting the comand system up and screwing it back in)
7. Last but not least, I fitted the microphone to the right hand top A pillar and routed the cable underneath the trim so that its hidden. I routed the remainder of the cable under neath the driver side footwell cover.
All done! I did rush this install a little bit, so the guide*isn't*great. Any questions please ask and I will do my best to answer them!
