Rear wheel arches, rust and a simple modification

Status
Not open for further replies.

television

Always remembered RIP
Joined
Mar 14, 2005
Messages
164,073
Reaction score
367
Age
89
Location
Daventry
Your Mercedes
2002 SL500, 216 CL500, all fully loaded
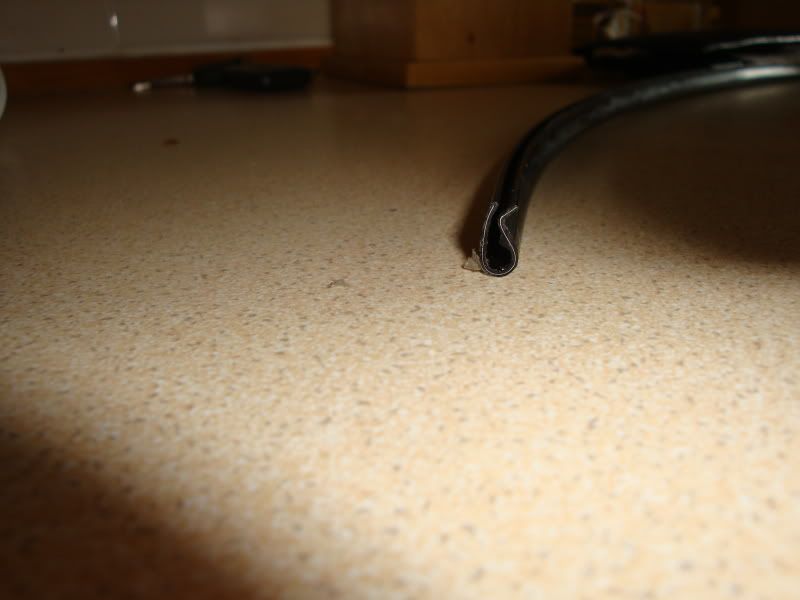
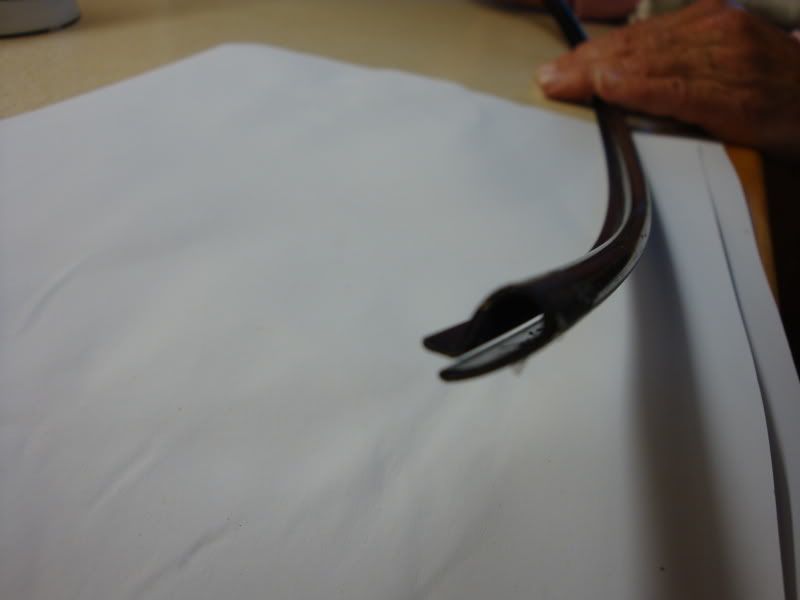
So many of our cars have this problem that I thought that a little DIY that I have done could help others, even if you do not have rust, most of it can be kept in check with a simple mod that will be in part 2
 
OP
television

television

Always remembered RIP
Joined
Mar 14, 2005
Messages
164,073
Reaction score
367
Age
89
Location
Daventry
Your Mercedes
2002 SL500, 216 CL500, all fully loaded
  • Thread Starter
  • Thread starter
  • #2
Rusty rear wheel arches and a little modification.

This will be in 2 parts this part will deal with the rust and painting. Part 2 will show a simple effective mod to stop the rear wheel arches from rusting

Part 1 loosing the rust and painting

We should all check the inside lip on the rear wheel arches, and remove all the mud that accumulates there, in the winter months the mud has salt in it, this mud will stay wet all winter eating into the poorly designed upturned lip in the wheel arch.

Most car have plastic liners the fit over the lip, sadly the MB liners do nothing more than keep the mud out of the main areas.

This upturned lip is almost 20mm deep, so a lot of mud there, I use a toothbrush handle and water to remove it, then rinse off.

Most of us can do a good repair that cannot be seen if we attend to any rust before it creeps round to the outside face, for by this time the whole side will need to be resprayed.

Cars that I have seen that have been resprayed did not impress me at all, the colour match was not good or the finish had the wrong texture.

The pictures below show my 2002 SL after 45k miles and seldom out in the rain and never ever much on salty roads.
Picture 498 497 498 499
DSC00498.jpg

DSC00497-1.jpg

DSC00499-1.jpg

DSC00496.jpg


I scrapped and sanded off all lose paint including any bubbles and lumpy edges as there will be rust under all of them. (During the time I did this work in Sept I still had only one effective hand, so the whole job was done with one hand) I used a scraper, chisel and sandpaper and no power tools were used. I was not intent on getting a perfect finish as no one could ever see it, so no flatting took place at all.

Rather than take the arch liners off, I pushed some thin cardboard between the liner and the top edge of the lip all round the arch, I was not worried about getting any paint onto the edge of the up turned lip as this would be covered later.

Paints
The aerosols that one can buy have little strength so I opted to use “Hammed” only and I used the “Hammered” in silver, as my car is “Brilliant silver” the hammered paint has a slightly mottled effect that is fine for under the arches and the little bit of face edge that shows. You may prefer to use POR or any other primers or undercoat paint that is up to you.
 
OP
television

television

Always remembered RIP
Joined
Mar 14, 2005
Messages
164,073
Reaction score
367
Age
89
Location
Daventry
Your Mercedes
2002 SL500, 216 CL500, all fully loaded
  • Thread Starter
  • Thread starter
  • #3
Painting

Although you will be spraying from the inside only outwards the side of the car must be masked, as the shape of the arches will send spray dust air born all over the car and hammered can take up to ½ hour to flash off. It is necessary to de wax the whole of the edges of the arches so that paint would stick well, and us a 600 wet paper to give some adhesion. But do this lightly or you will go straight through the good paint.
Whilst getting the first couple of coats on one does not want to get too much paint on the edges that show where the go round up the sides so to start with I masked these off. Once 2 coats had been applied I removed the masking tape and while the paint was still wet, ran my finger over the wet paint taking away the edge and blending it in with the existing where it could seen and gave to further coats as I did not want to sand or flat anything. You can in the picture by spraying still outwards to the face of the edge that shows it has all blended in and no sanding flatting or polishing took place at all. Here you can see finished the front and rear edges

DSC00501-1.jpg

DSC00507.jpg

Now it just so happens that the Hammered silver is the identical colour to the existing brilliant MB silver so the last 2 coats I sprayed onto the edges surrounding the arches where they meet the sides. For those with other colours then go over the hammered paint with an aerosol of the cars colour, do bare in mind that you are spraying outwards all the time so there will be no paint line to flat and you get a natural blend on the corners that can stay as it left the can where the inner edges meet the side face of the panel.


DSC00504.jpg

DSC00503.jpg

DSC00502.jpg

DSC00509.jpg


Once you are happy with the result it must be left to harden off, as Hammered takes a long time to go off, a heat lamp and heat gun are wonderful things, getting the work areas hot before you start spraying will prevent runs and sagging as the paint will flash off soon after hitting the work area. This method will also enable you to do this work in the colder weather.

When dry and hard I filled the rear of the lip with several coats of Waxoil and left to harden off a little before applying the mod as in part 2
DSC00511-1.jpg


The mod will be in Part 2
 
OP
television

television

Always remembered RIP
Joined
Mar 14, 2005
Messages
164,073
Reaction score
367
Age
89
Location
Daventry
Your Mercedes
2002 SL500, 216 CL500, all fully loaded
  • Thread Starter
  • Thread starter
  • #4
Stopping the rear wheel arches from rusting Part 2

Stopping the rear wheel arches from rusting.

202.203,209 210,211,215 220,230 and a few more.


The design of the rear wheel arches leave a lot to be desired, the upturned edge has several welds along it and this is something near impossible to paint properly when the car was built. Other car makers use wheel arch liners that fit onto the metal arches and are water tight, but not MB as the liner has a good ½ inch gap between the edge of the liner and the metal wing.

So my thought were to have a plastic channel that could be pushed down over the upturned lip all the way round the wheel arch, this would be filled with Waxoil before and during the fitting.

The only plastic trim that I could find that is perfect for the job is the black “Mini” gutter trim from the 60’s, yes it is inside out for its natural curve, but that is easily rectified. You can buy it from Ebay for about £8 and enough to do 2 to 3 cars. It is available in chrome but that is a little bling.

This is the trim
DSC00520.jpg

DSC00605-1.jpg

First cut the plastic gutter trim to length, and it can be inside out to do this, as the length is the same. Next fill the kitchen sink with hot water and place the trim and leave it to warm up, as it warms you can gently bend the plastic in the opposite way so that the round face is on the inside, once to the right curve and shape hold the trim while it cools down. Do not be tempted to rush or force the plastic as it will kink and be of no use.
You can use a warm air gun when fitting it, but again you have the danger of putting a hump or kink on it. Finally warm each end again and push a blade into the slot for a few inches, and open the slot a little, as this will enable you to get it started to push on the inner lip.

Brush some Waxoil all around the arch as in the post above after cleaning out the mud.
Have someone open the slot with a blade in the plastic trim and brush Waxoil into the slot along the length of the plastic strip; this will act as a lubricant and seal when fitted.
Start at either end, you will meet a double skin join half way round, just push and pull the outer edge and it will open and slide over this join.
This is the effect once fitted to my 230
515-1 513 514
DSC00513.jpg

DSC00507.jpg

DSC00515-1.jpg

DSC00514.jpg
 
Status
Not open for further replies.


As a member of ourMercedes Owners' club, you will enjoy numerous savings on an expanding range of services including, Insurance, Parts and Servicing, RAC Membership plus much more.MBOmembers can save around £200.00 a year. You can join from as little as £30.00 and start to enjoy these savings immediately. You receive our monthly magazine and free classified ads when you decide to trade up a model.
Top Bottom