GUIDE: Changing your anti roll bar bushes (ARB) on a W208

JSeaman

Senior Member
Joined
Mar 15, 2011
Messages
237
Reaction score
11
Location
Derbyshire
Your Mercedes
C220 CDI 2005
ARB Anti roll bar, antiroll bar, sway bay, stabiliser/stabilizer bar, whatever you want to call it - we will go for ARB for this!

The ARB is a metal bar that joins both sides of the car, sometimes connected at each end by 'drop links' but on a W208 Mercedes it is a simple bolt on affair (at the front). If you have a knocking over bumps which is really annoying you then this is one of the suspects, it can really make the car feel like new if you cure an issue like a knock so this is a great place to start.

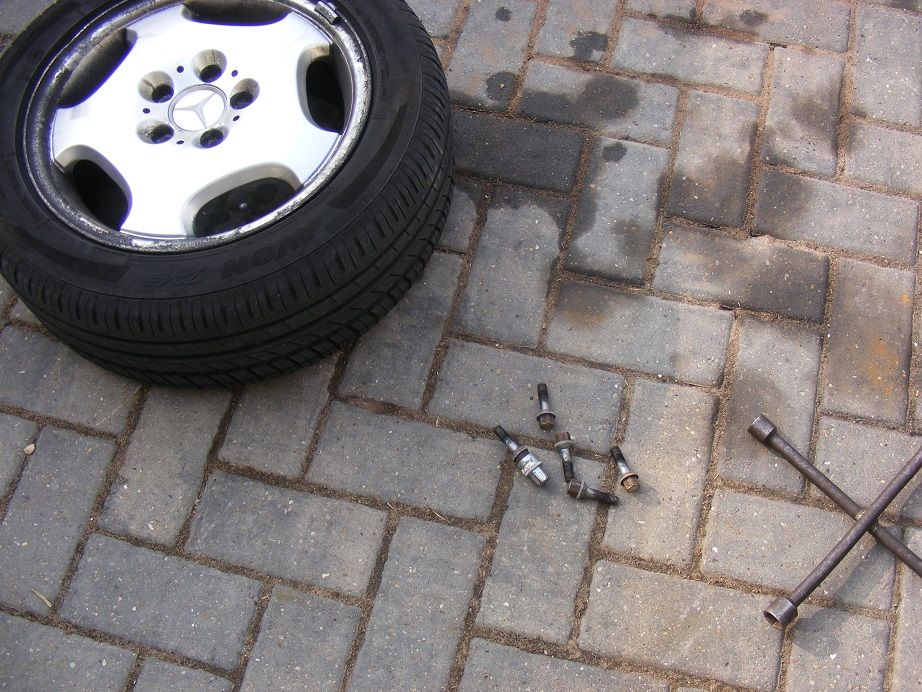
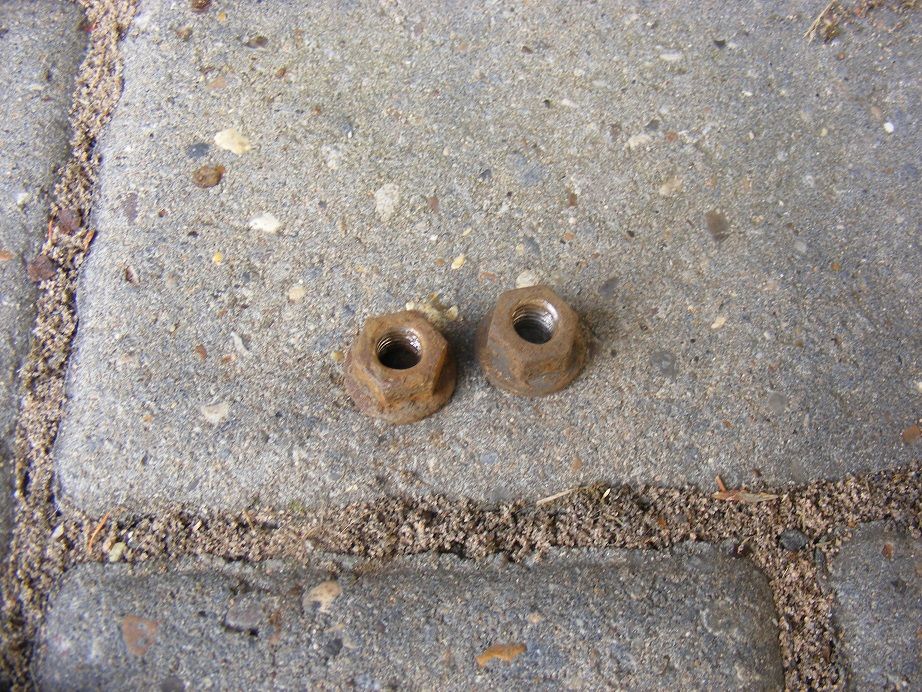
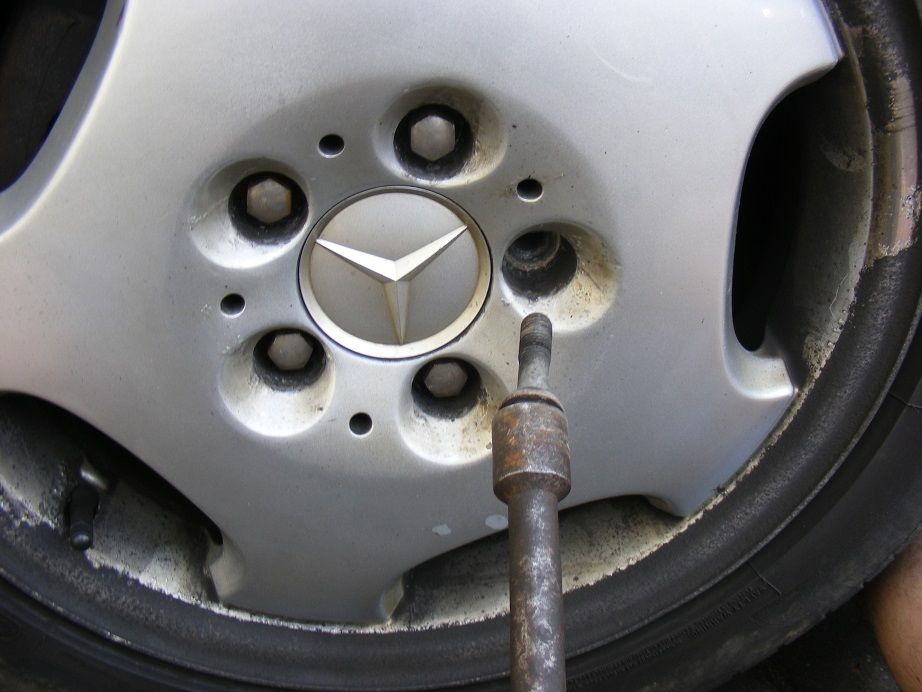
Step 1 - Crack off the wheel nuts with the car on the ground (both front wheels)
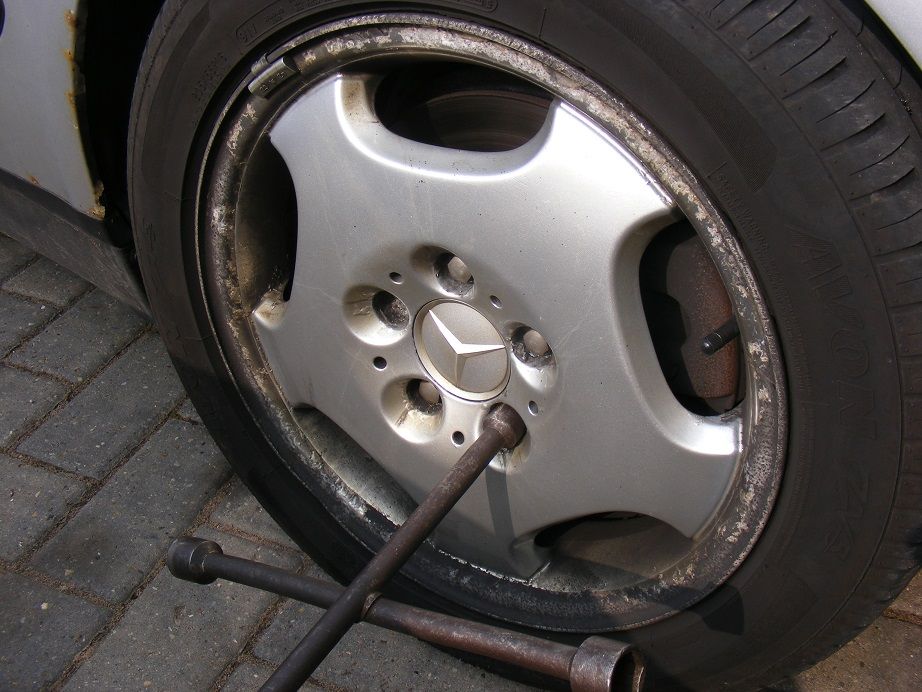
ARBStep1.jpg


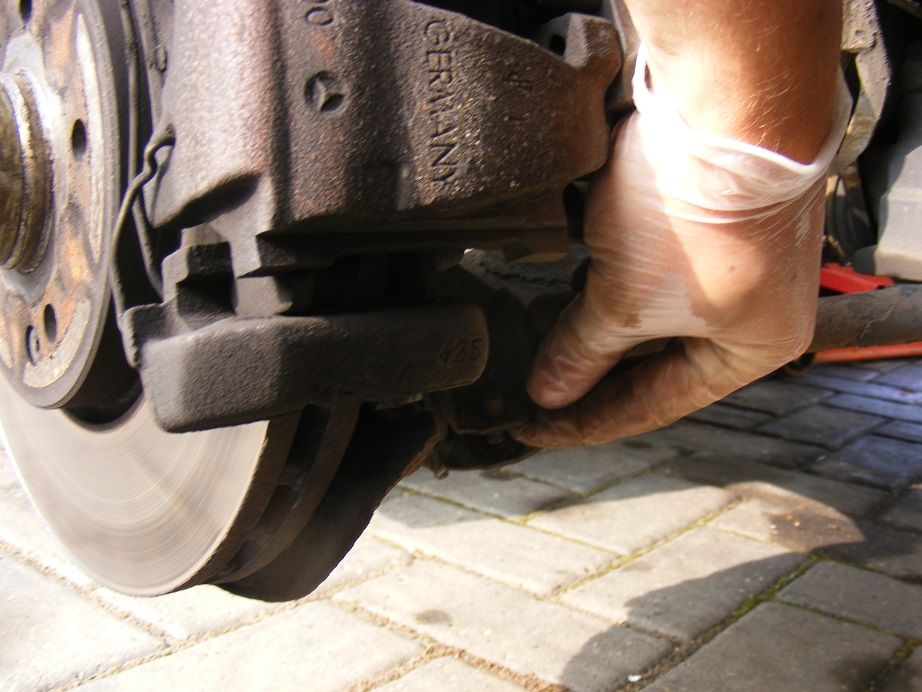
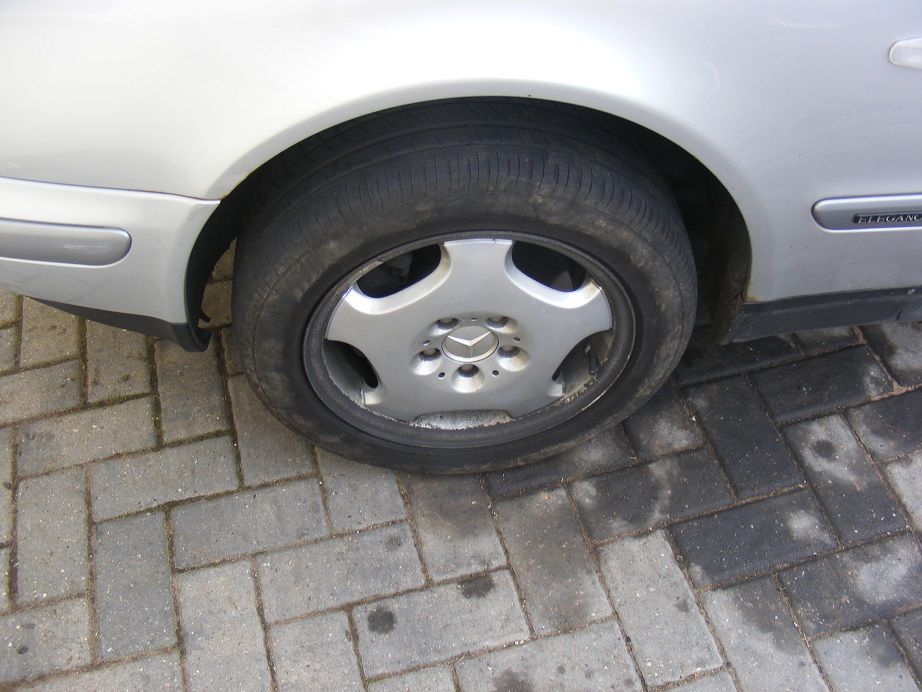
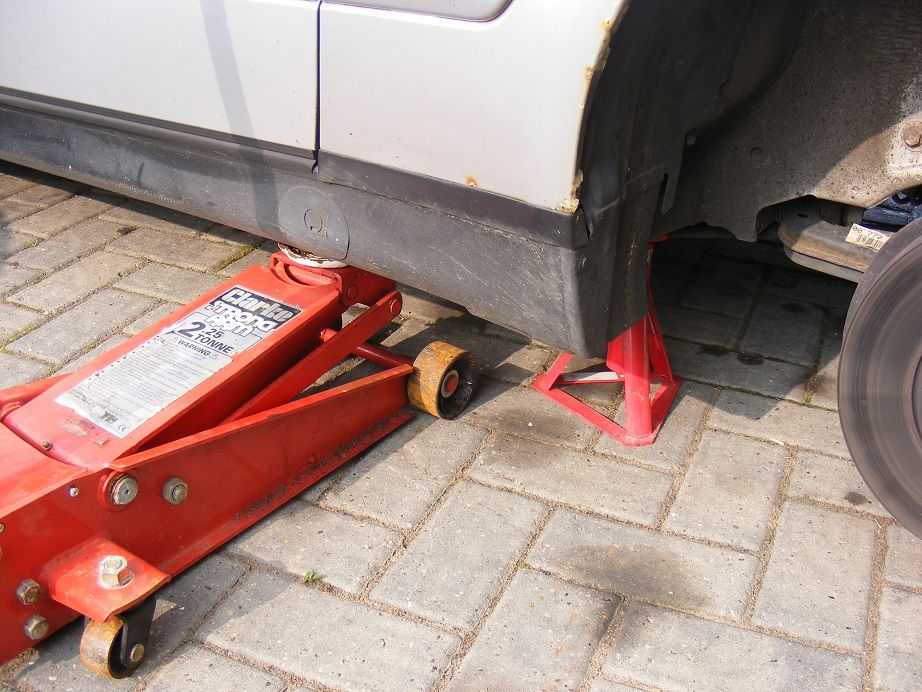
Step 2 - Jack the car up and support on axle stands and remove the wheel, do this on both sides
ARBStep2a.jpg

ARBStep2b.jpg


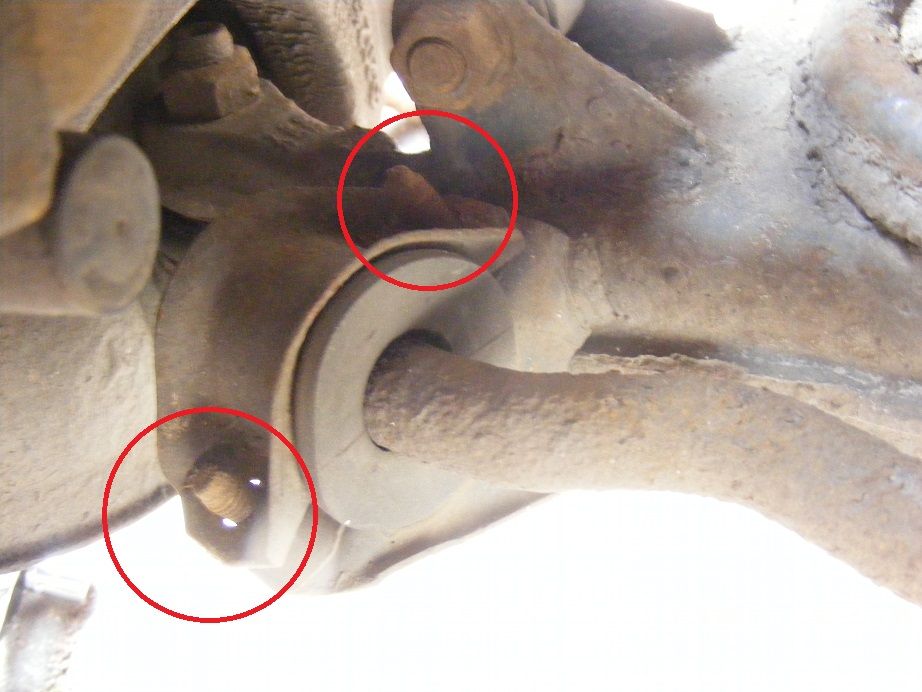
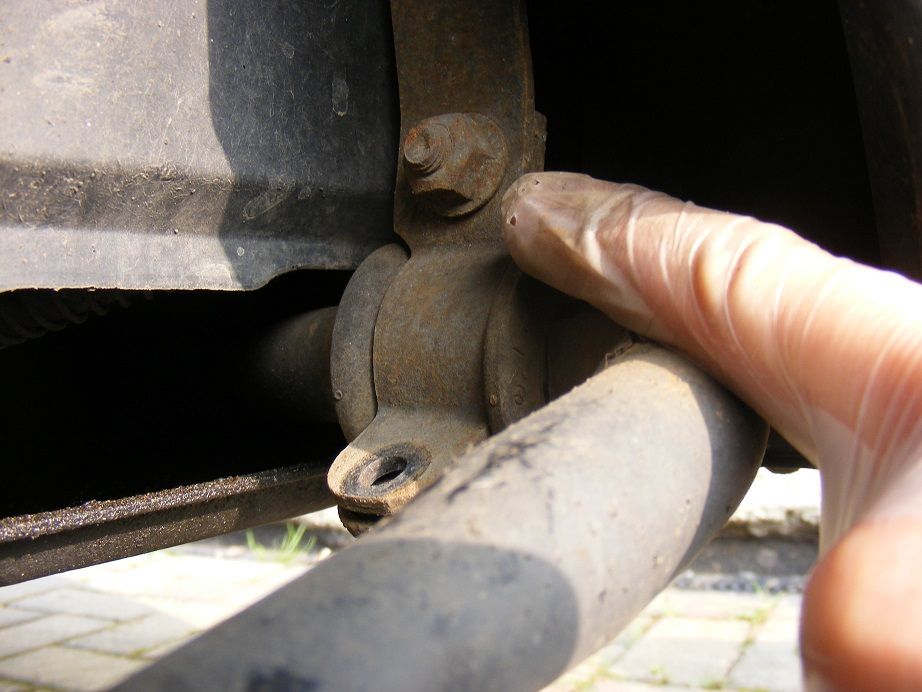
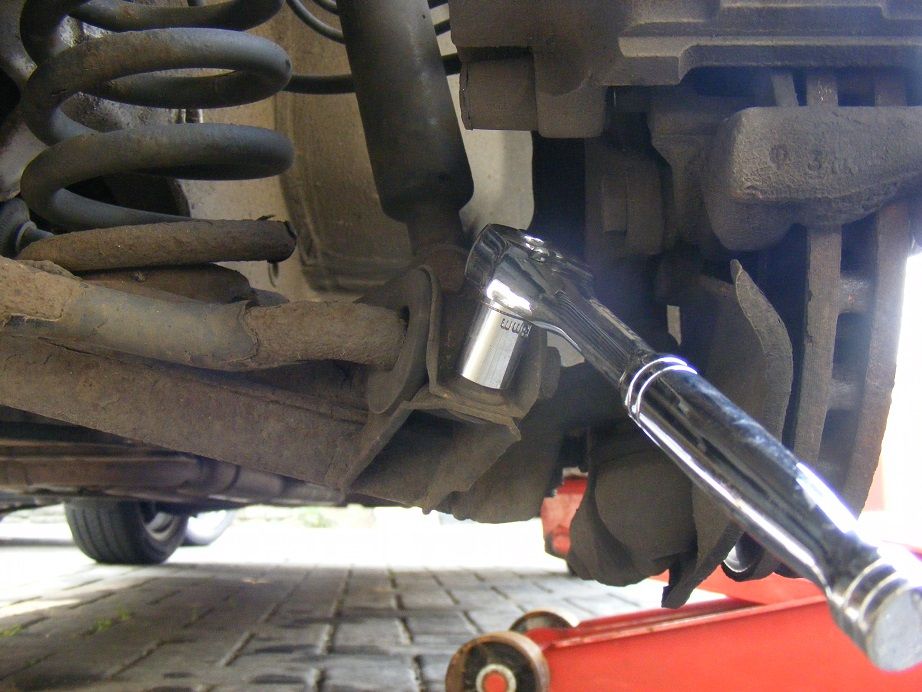
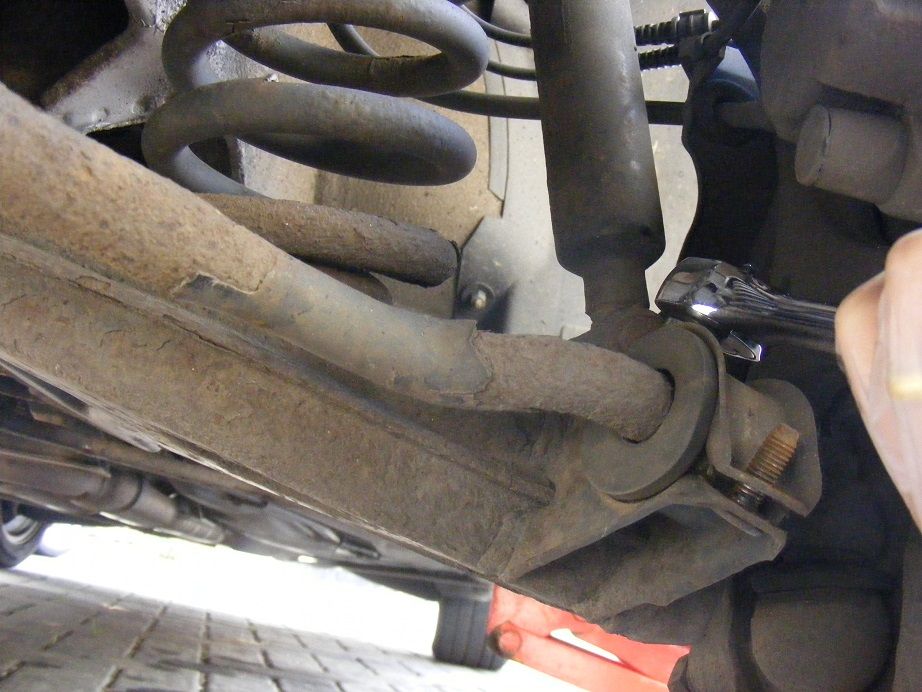
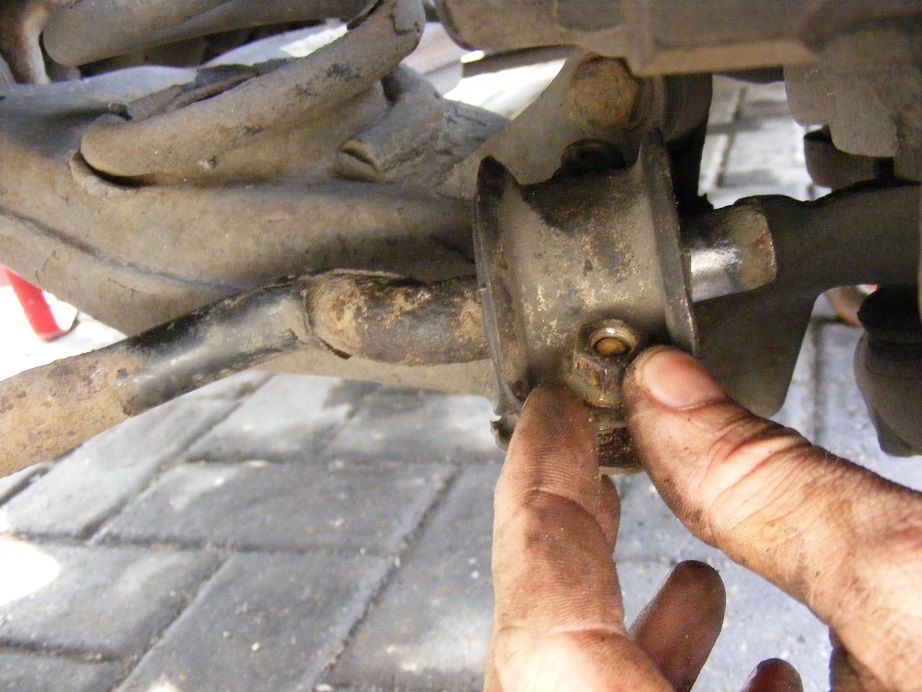
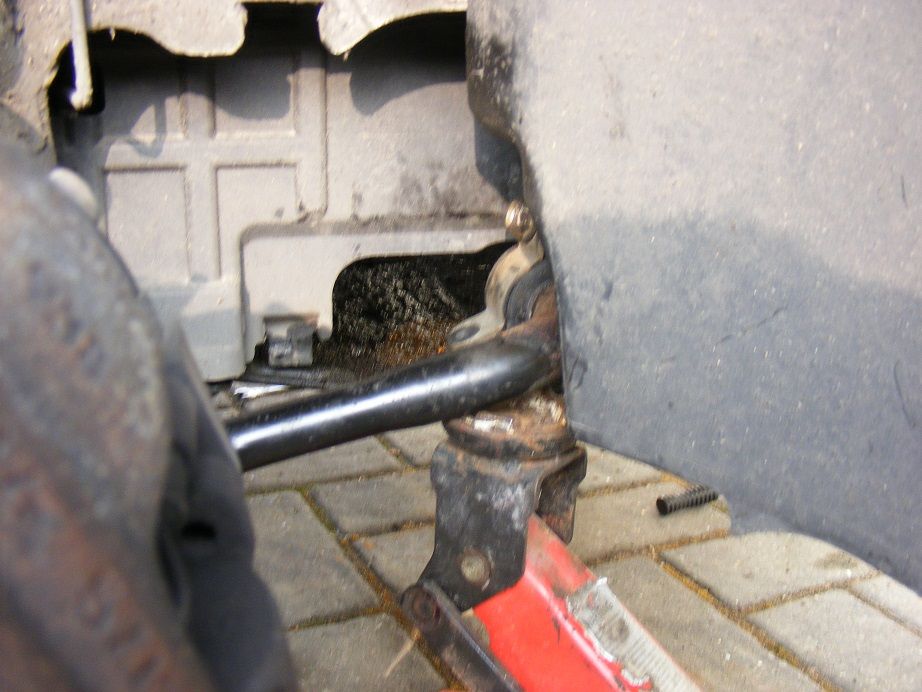
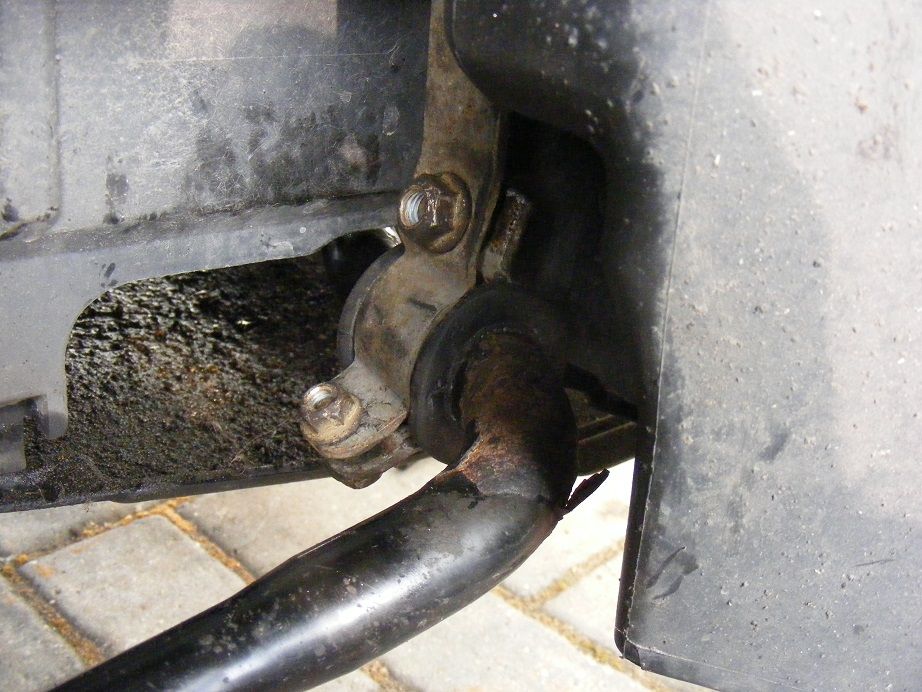
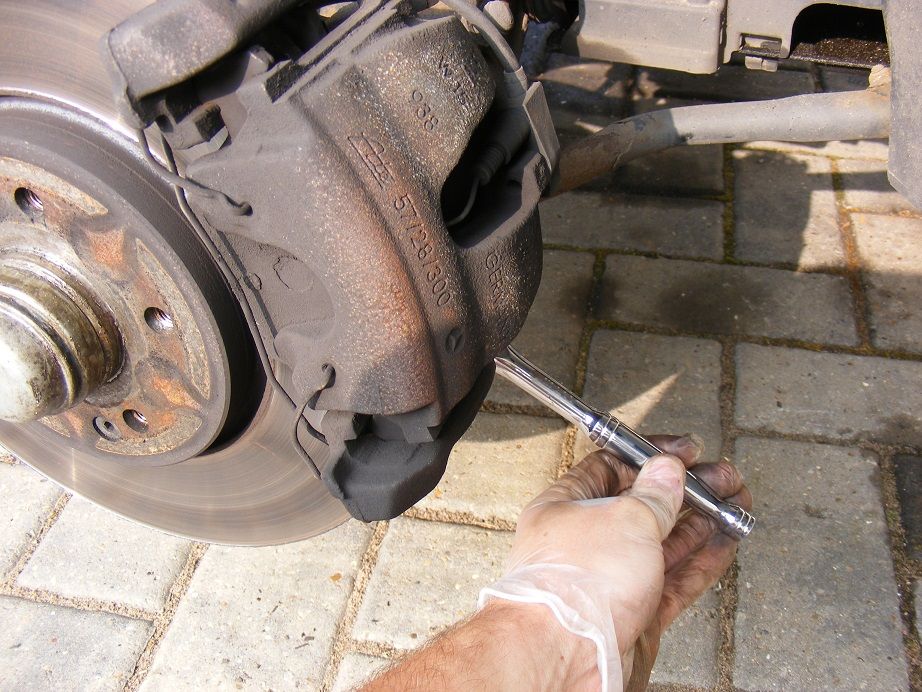
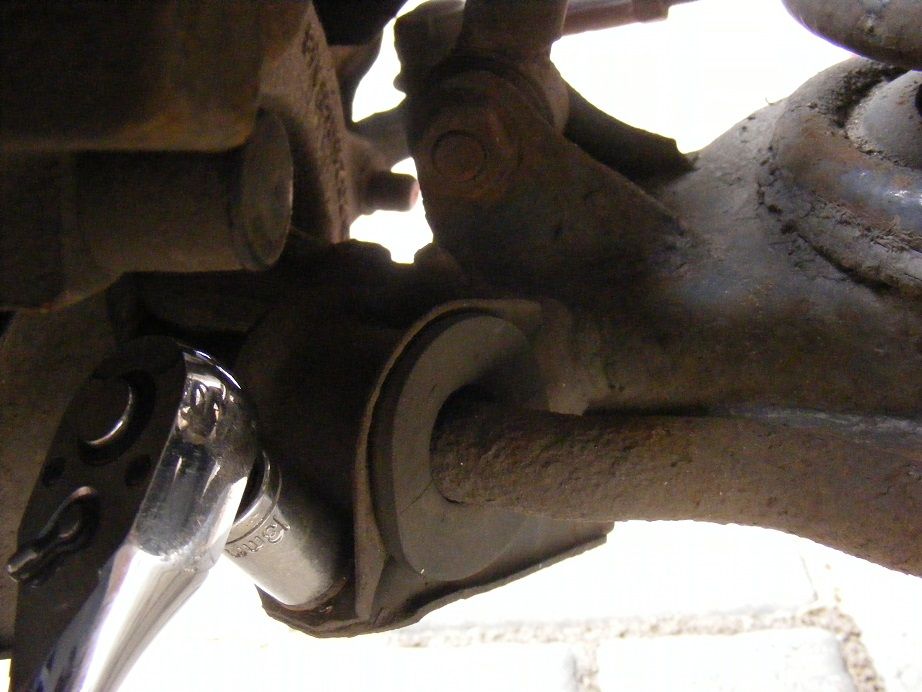
Step 3 - The first thing we are going for is where the ARB joins the lower arm/bottom arm/wishbone (lots of names for the same part). Basically you have two studs that stick out of the bottom arm and then the bush (piece of rubber) for the ARB sits in a recess and is bolted down using the studs.

Over the top of the bush is a U shaped clamp which has two holes for the studs to go through.

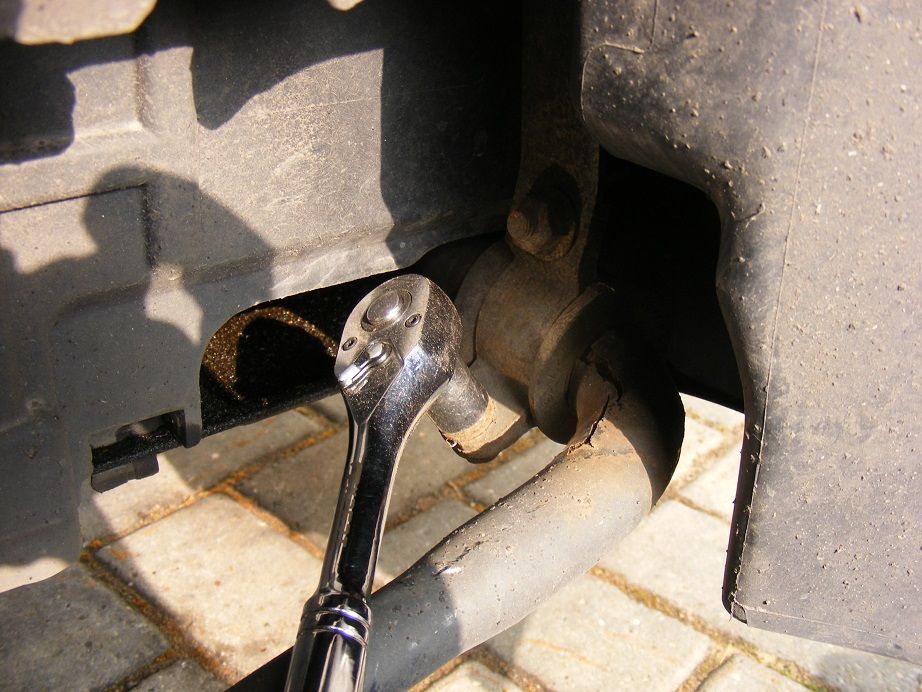
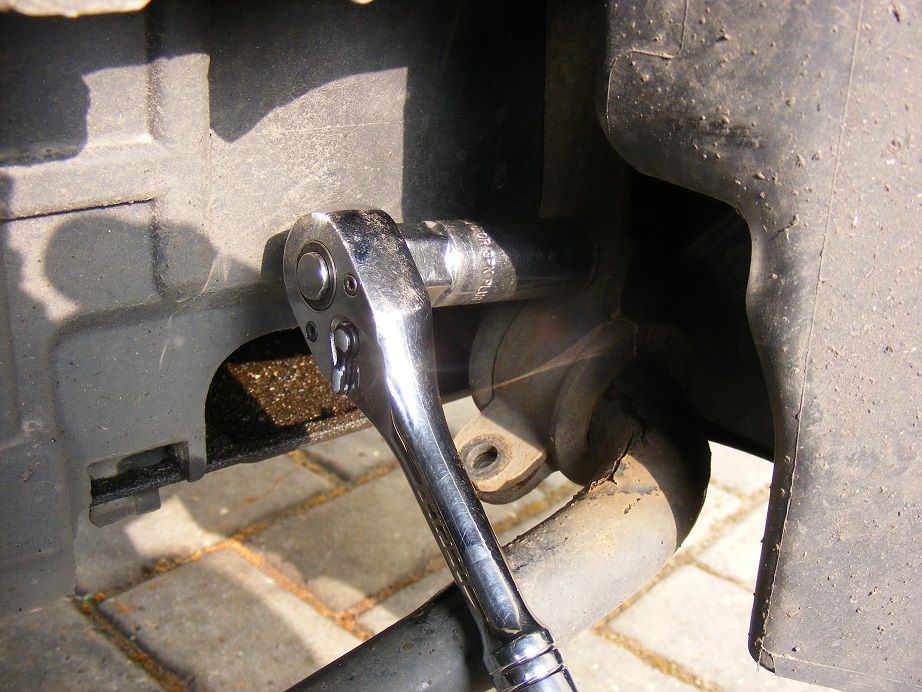
The first picture gives you an idea of where the nuts we remove are and the second picture shows the front one. Slacken the two nuts off in a few passes to relieve the pressure on both sides evenly
ARBStep3a.jpg

ARBStep3b.jpg
 
OP
J

JSeaman

Senior Member
Joined
Mar 15, 2011
Messages
237
Reaction score
11
Location
Derbyshire
Your Mercedes
C220 CDI 2005
  • Thread Starter
  • Thread starter
  • #2
Step 4 - Remove both nuts completely

ARBStep4a.jpg

ARBStep4b.jpg


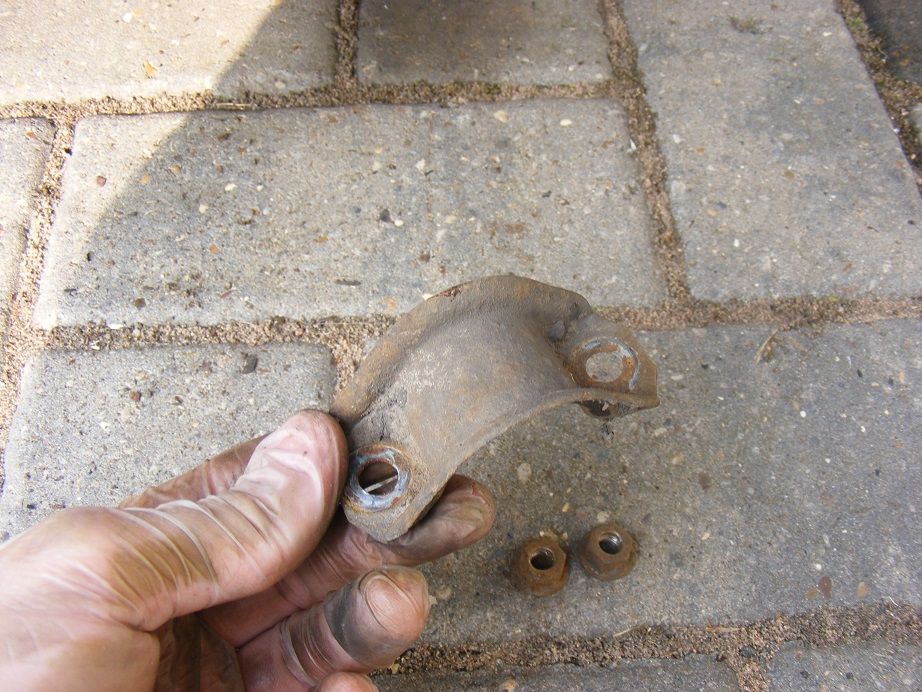
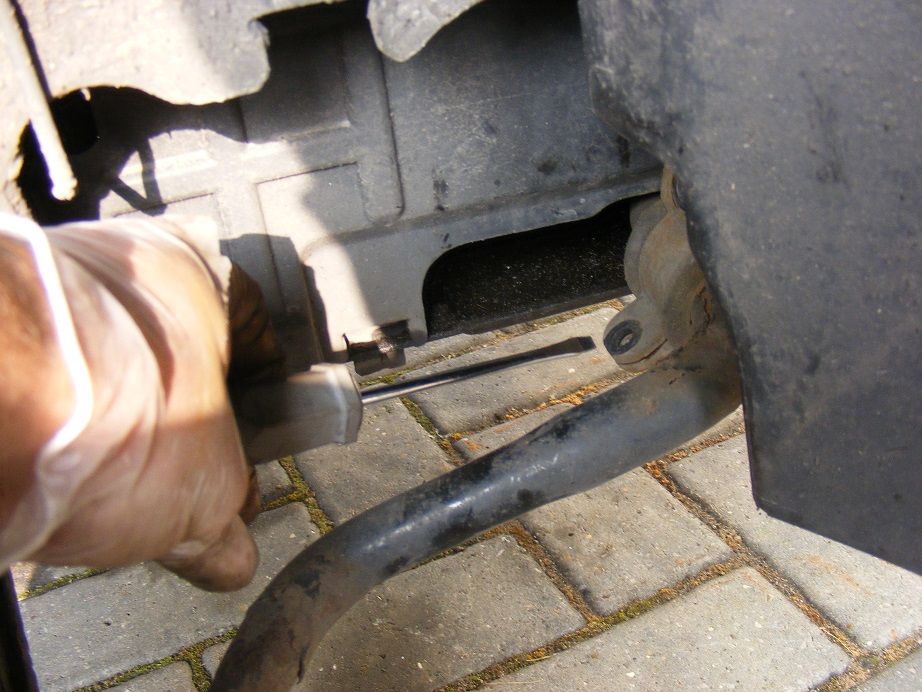
Step 5 - You may need a flatblade screwdriver to free off the top clamp but wriggle it out and place to one side (you will re-use it later)

ARBStep5a.jpg

ARBStep5b.jpg


Step 6 - Now if you follow the ARB round you will find the second bush is clamped on just in front of the wheel, the first bolt is a 13mm but this is a nut and bolt so you will need to put a spanner/another 13mm socket on the other side as shown in the second picture

Remove the nut and bolt completely

ARBStep6a.jpg

ARBStep6b.jpg

ARBStep6c.jpg
 
OP
J

JSeaman

Senior Member
Joined
Mar 15, 2011
Messages
237
Reaction score
11
Location
Derbyshire
Your Mercedes
C220 CDI 2005
  • Thread Starter
  • Thread starter
  • #3
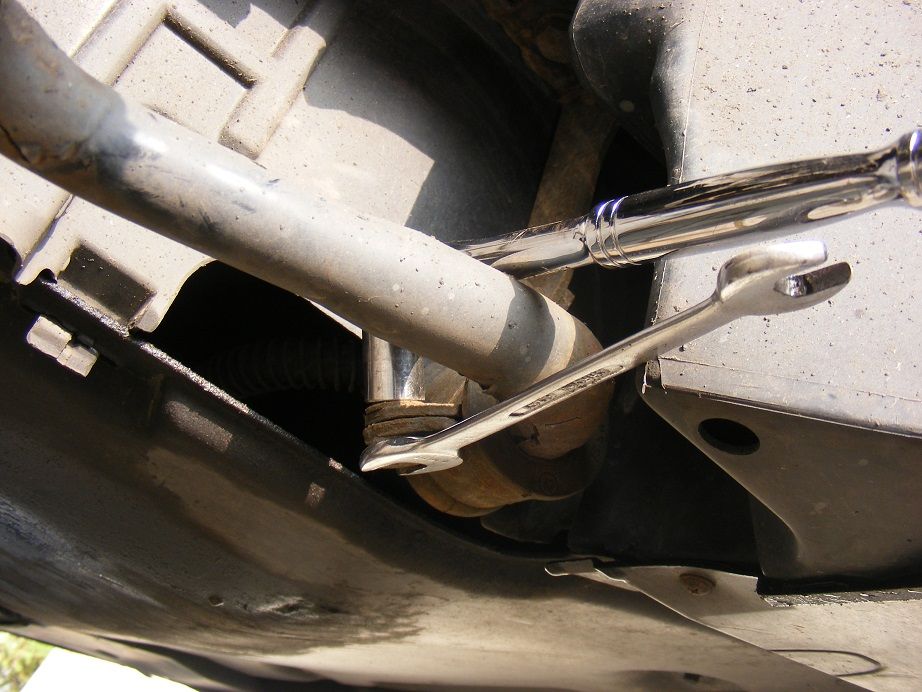
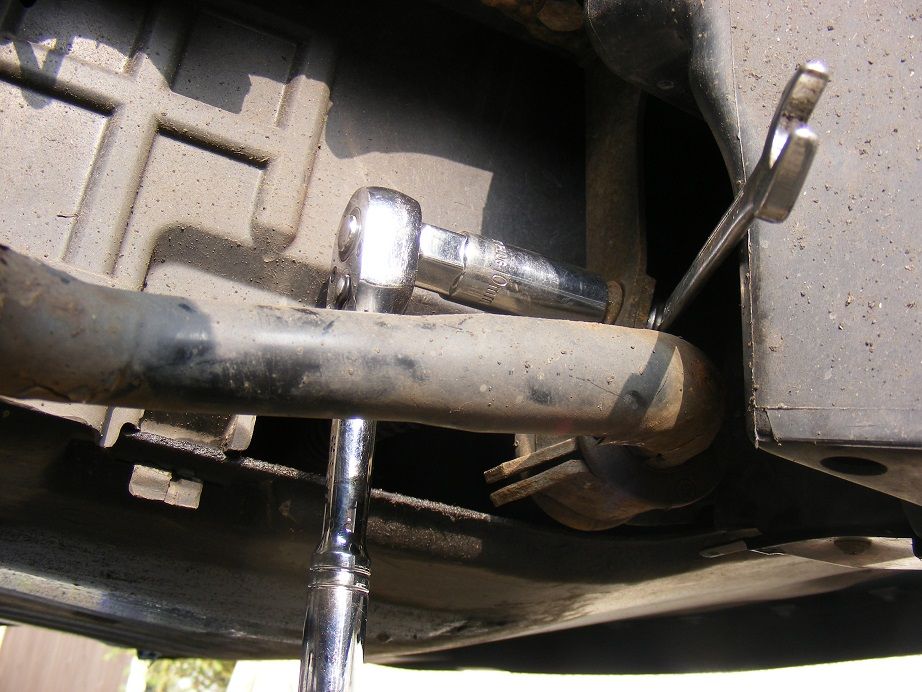
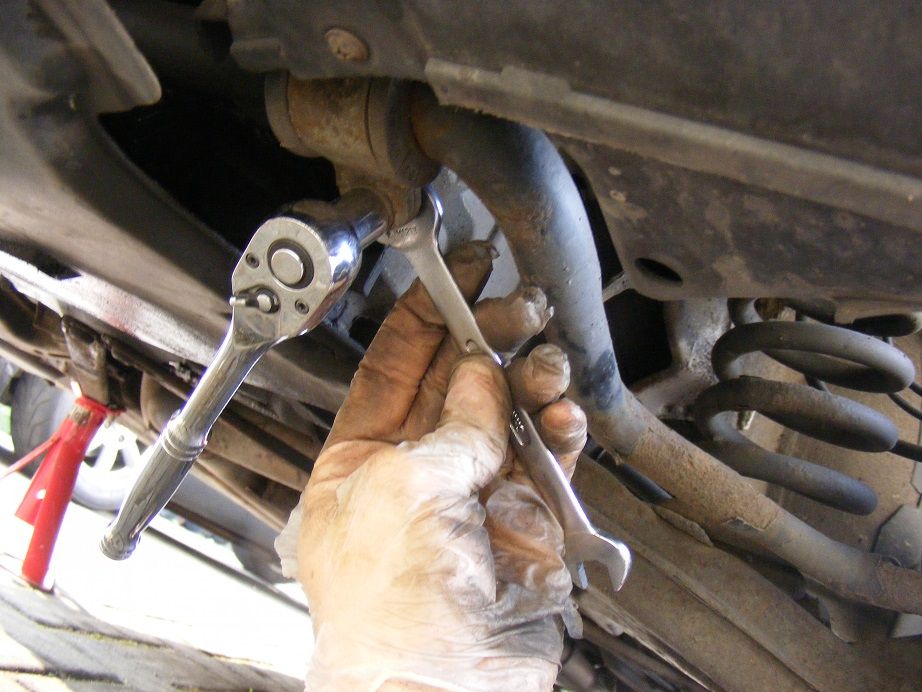
Step 7 - The last one is a 16mm nut and a 13mm bolt, you will find that a small spark plug socket is 16mm in case you don't have a 16mm socket in your set!

Hook your socket on and get a crank ended 13mm ring spanner to pop over the back of it (see picture 3) - it is a little fiddly but it does fit I assure you

ARBStep7a.jpg

ARBStep7b.jpg

ARBStep7c.jpg


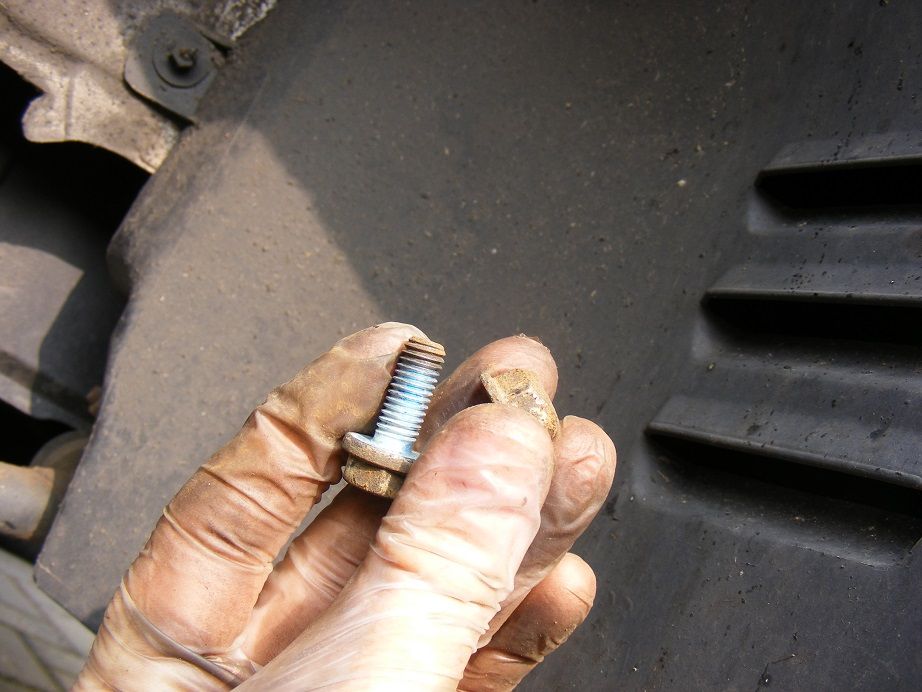
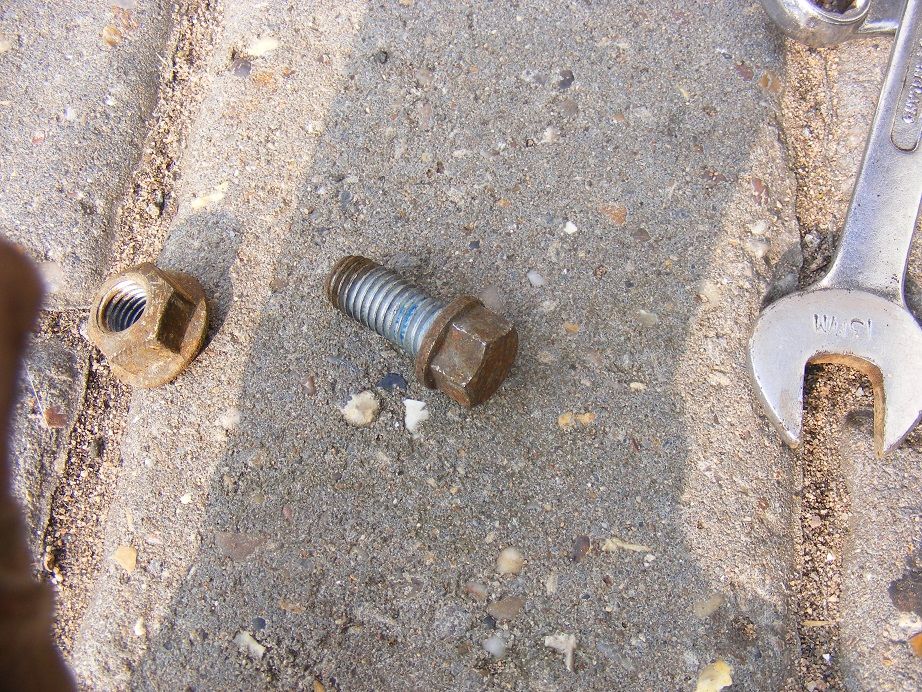
Step 8 - remove the nut and bolt completely

ARBStep8.jpg


Step 9 - Again, use a flatblade screwdriver to ease the clamp off

ARBStep9.jpg
 
OP
J

JSeaman

Senior Member
Joined
Mar 15, 2011
Messages
237
Reaction score
11
Location
Derbyshire
Your Mercedes
C220 CDI 2005
  • Thread Starter
  • Thread starter
  • #4
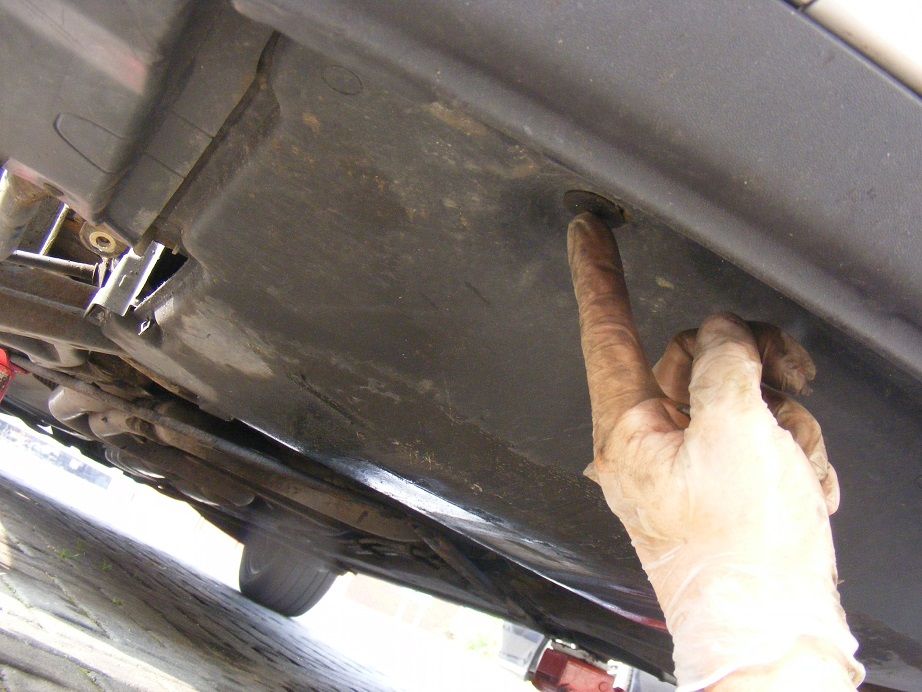
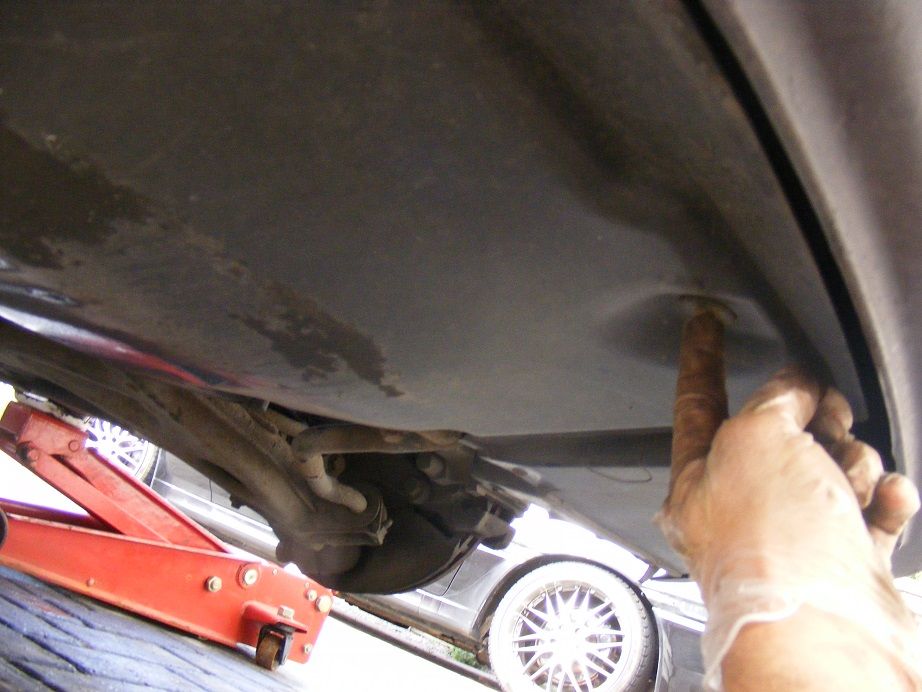
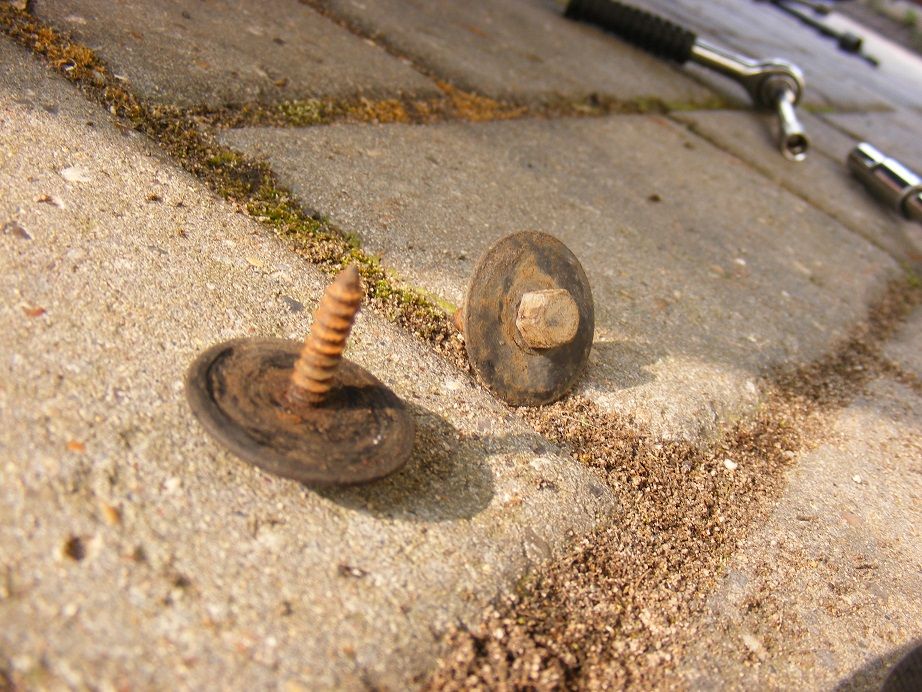
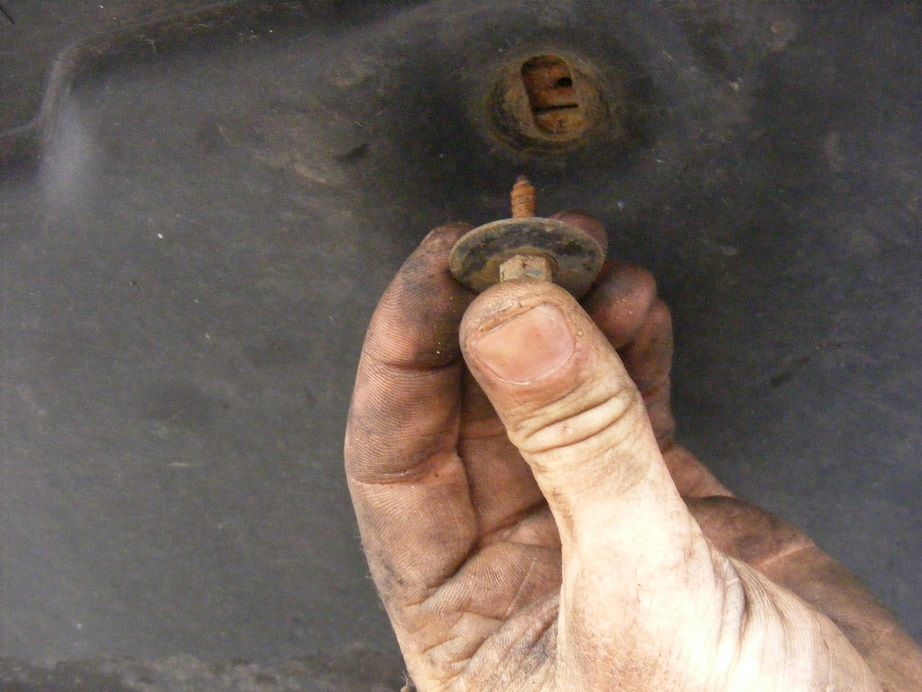
Step 10 - As we move round to do the other side, remove the two 8mm screw bolts that hold the front of the undertray in place

ARBStep10a.jpg

ARBStep10b.jpg

ARBStep10c.jpg


Step 11 - Now we repeat the process on the nearside (passenger side), remove the two lower 13mm bolts and clamp

ARBStep11a.jpg

ARBStep11b.jpg


Step 12 - Then the inner bush's 13mm nut and bolt

ARBStep12.jpg
 
OP
J

JSeaman

Senior Member
Joined
Mar 15, 2011
Messages
237
Reaction score
11
Location
Derbyshire
Your Mercedes
C220 CDI 2005
  • Thread Starter
  • Thread starter
  • #5
Step 13 - And finally the 16mm nut and 13mm bolt to leave your complete set

ARBStep13.jpg


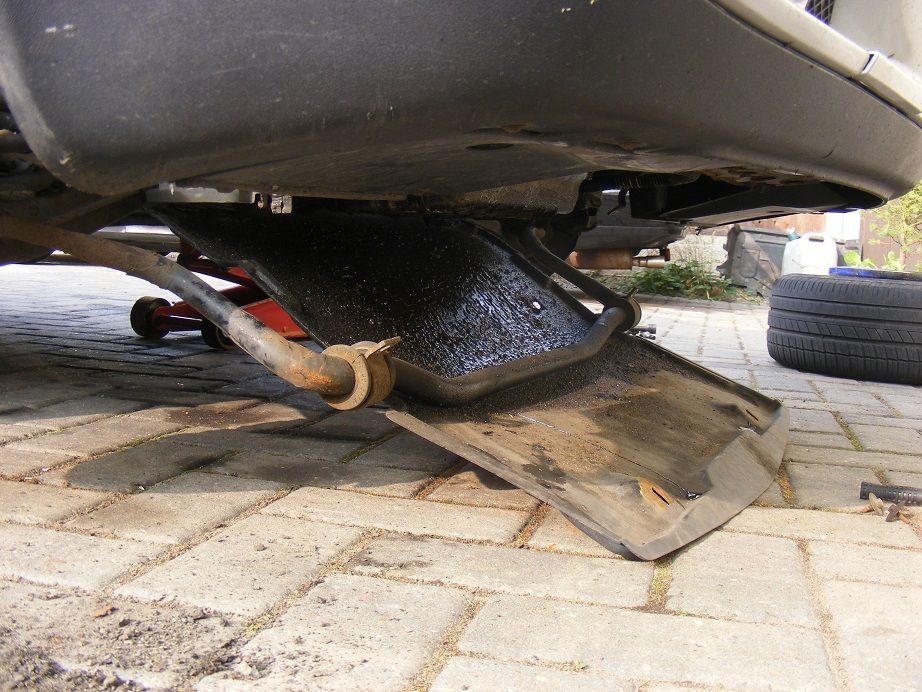
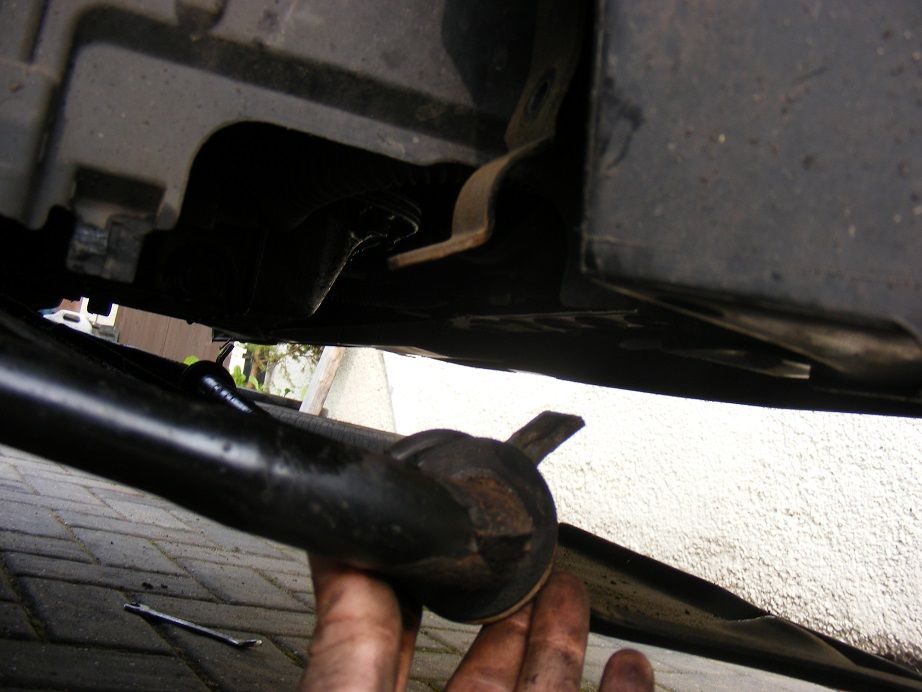
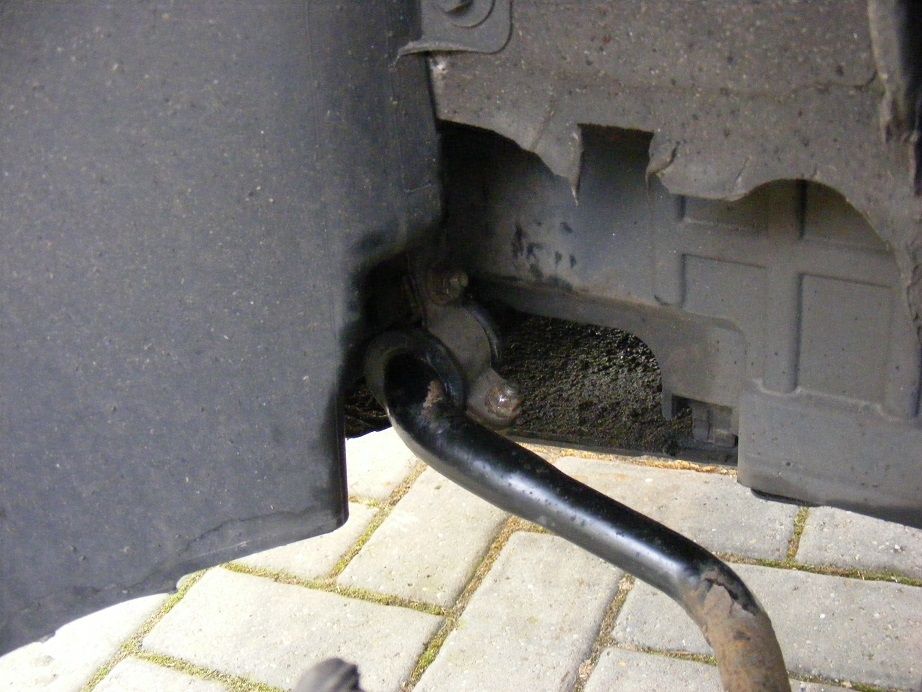
Step 14 - With the undertray detached at the front and all the bolts off, the ARB will drop down as shown

ARBStep14.jpg


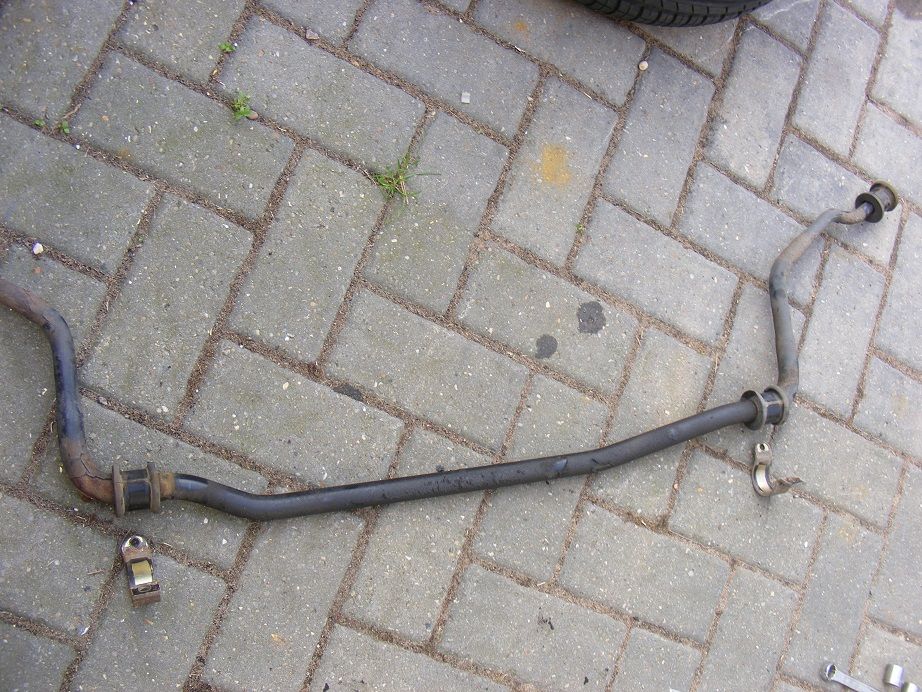
Step 15 - Move the ARB clear of the car to work on it

ARBStep15.jpg
 
OP
J

JSeaman

Senior Member
Joined
Mar 15, 2011
Messages
237
Reaction score
11
Location
Derbyshire
Your Mercedes
C220 CDI 2005
  • Thread Starter
  • Thread starter
  • #6
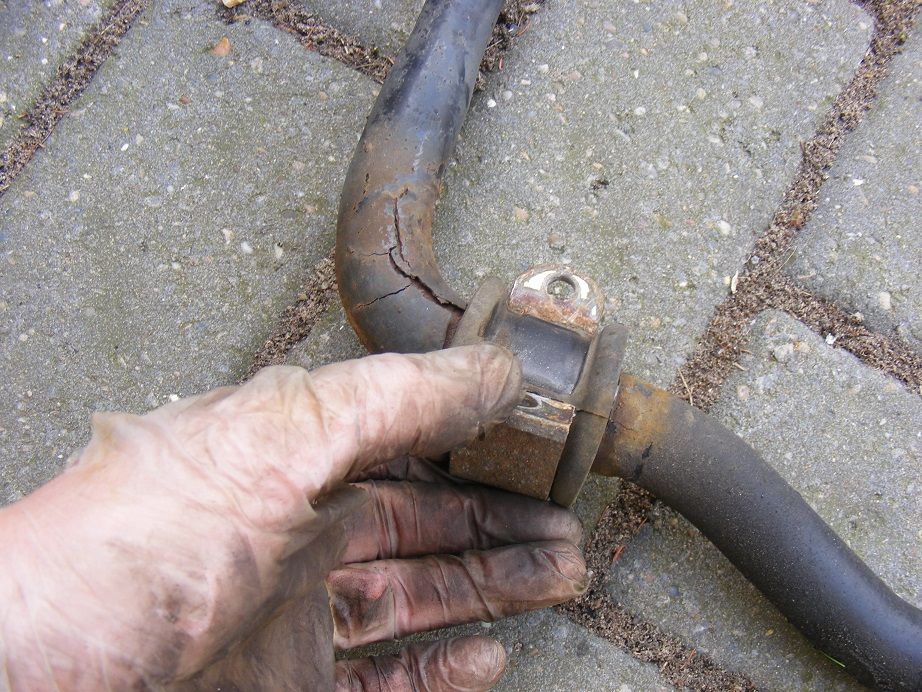
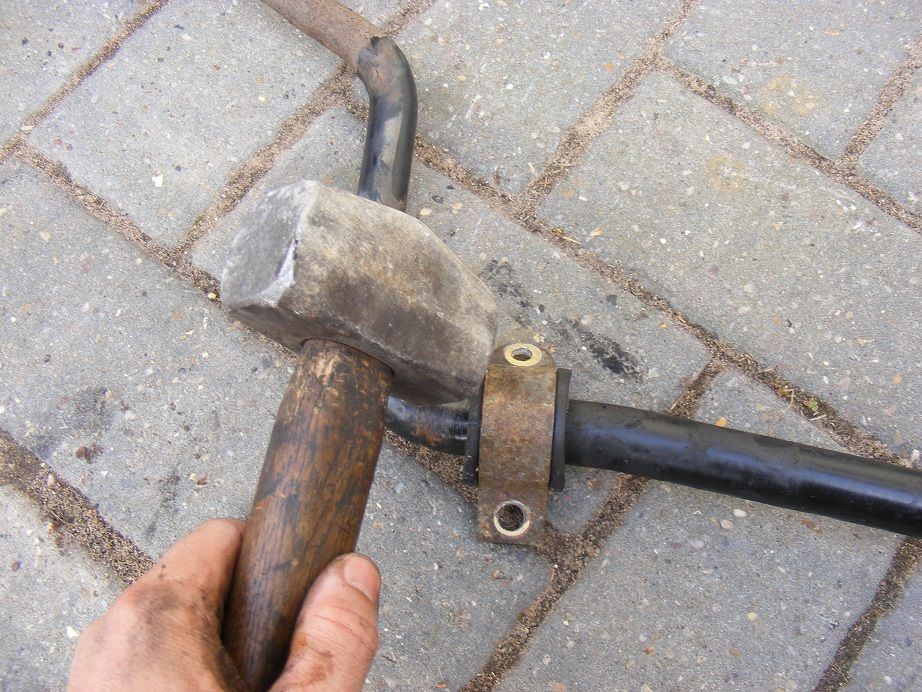
Step 16 - Remove the clamps (note the orientation, the smaller hole is towards the rear of the car and the bigger hole towards the front of the car)

ARBStep16a.jpg

ARBStep16b.jpg


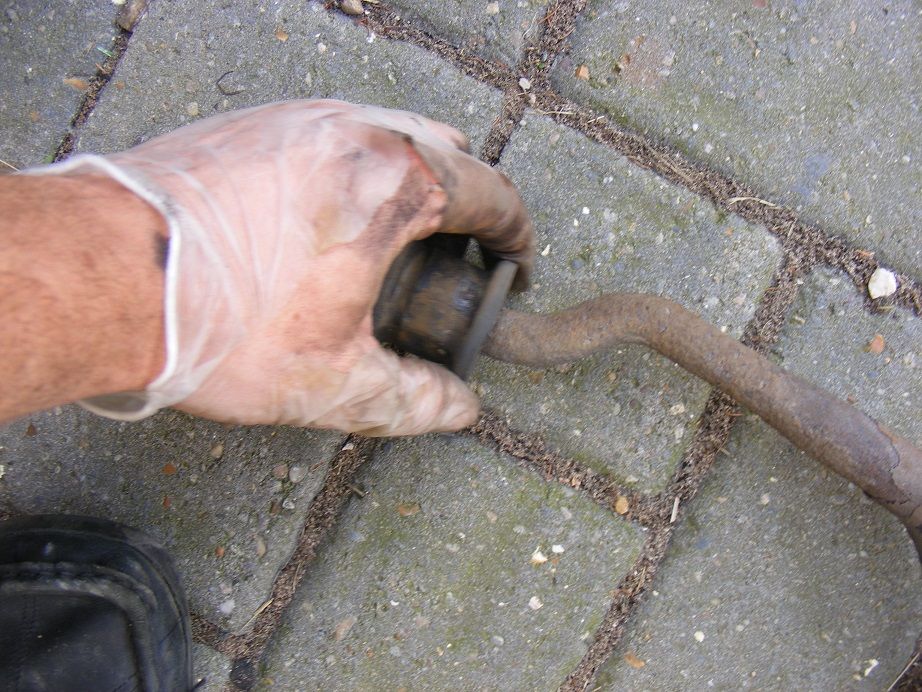
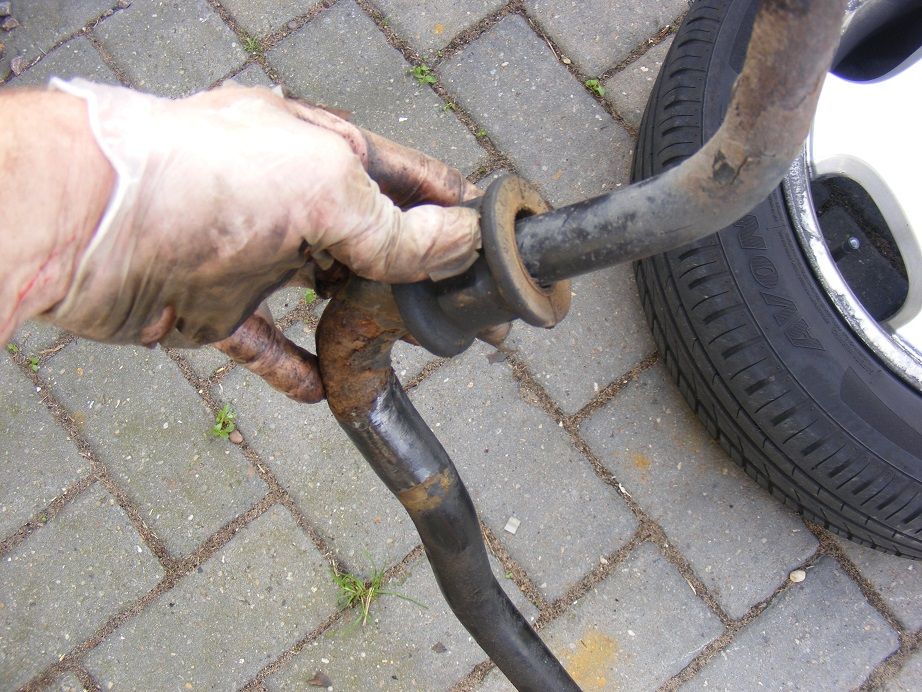
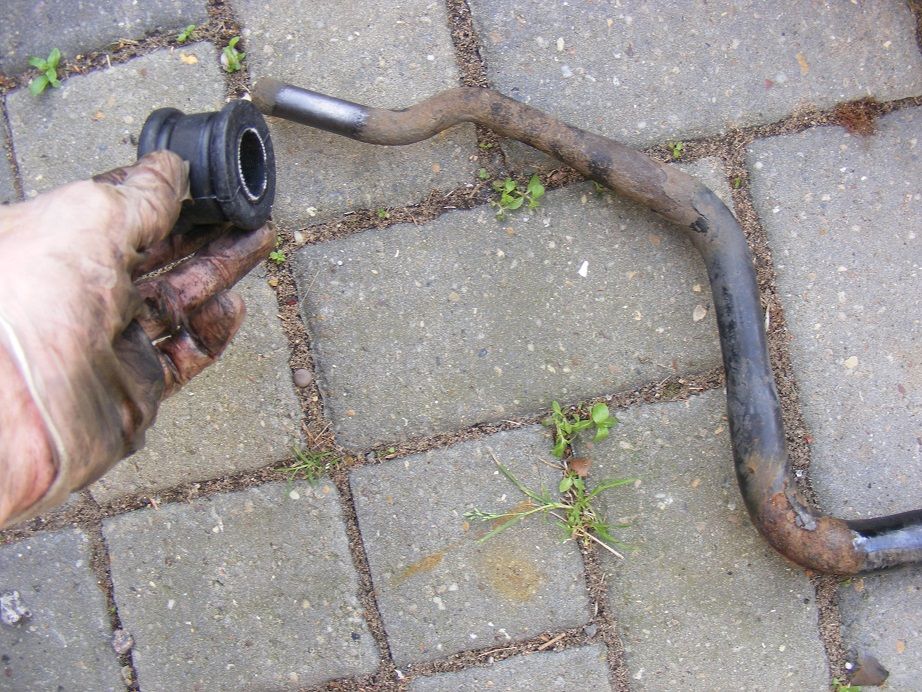
Step 17 - Slide the bushes off, you will need to twist them and pull at the same time, always twist them when you are trying to slide them along the ARB, it's much easier than just pulling. This is a bit tricky so have a friend to help steady the bar while you twist and pull - gloves are a good tip as well

ARBStep17.jpg


Step 18 - Once you have done the outer ones (the easy ones) you need to get the big fat inners off round the corners, twist all the way

ARBStep18.jpg
 
OP
J

JSeaman

Senior Member
Joined
Mar 15, 2011
Messages
237
Reaction score
11
Location
Derbyshire
Your Mercedes
C220 CDI 2005
  • Thread Starter
  • Thread starter
  • #7
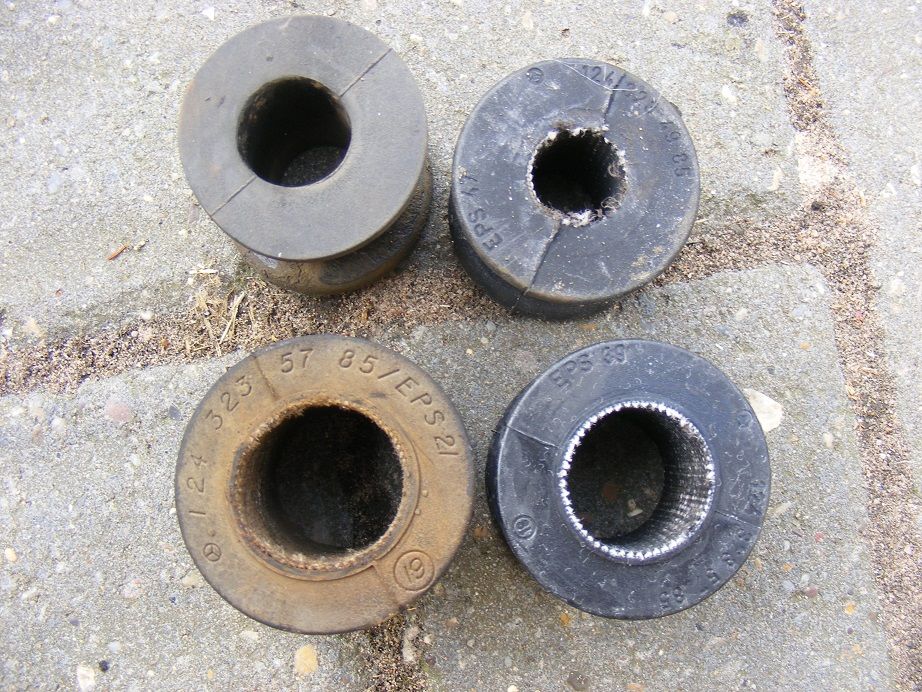
Step 19 - Check out the difference, the old ones on the left have big oval holes and the new ones are nice and tight and circular. I found they were a main dealer only part but only £31 inc VAT for both the inner and outer bushes
ARBStep19.jpg


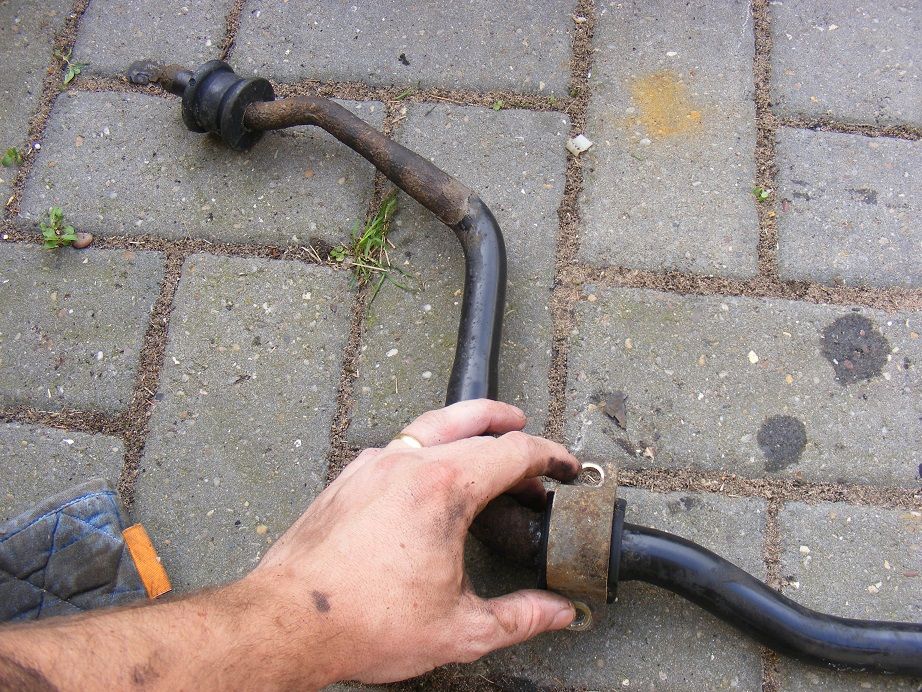
Step 20 - Slide the inner bush on first (the bigger one), it doesn't matter which way round and make it sit on the marks the old one left behind - it will almost certainly leave marks behind but you can mark it before removal if you prefer
ARBStep20.jpg


Step 21 - Once you have put your outer bush on, slide the inner one into place and pop your clamp over the top of the inner - you may need to persuade it on! Make sure it is well lined up, the lip of the bush should sit around the outside of the clamp as shown

ARBStep21a.jpg

ARBStep21b.jpg
 
OP
J

JSeaman

Senior Member
Joined
Mar 15, 2011
Messages
237
Reaction score
11
Location
Derbyshire
Your Mercedes
C220 CDI 2005
  • Thread Starter
  • Thread starter
  • #8
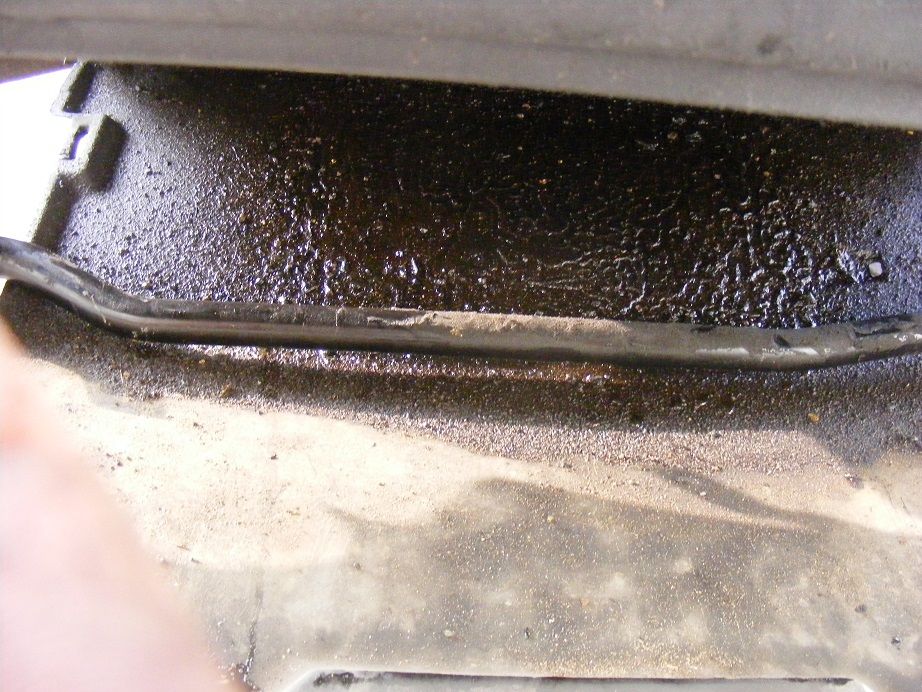
Step 22 - Once you have done both sides, slide the ARB up the undertray

ARBStep22.jpg


Step 23 - Now comes the trickiest part, strong fingers help - wriggle the ARB up and down whilst popping the clamp over BOTH studs on the wishbone/lower arm. Once you have threads showing, pop the nut on a couple of turns

ARBStep23a.jpg


Step 24 - Once you have done the outer clamp you need to move onto the inner which is also tricky, if the bushes aren't in alignment with the clamps then give them a little wriggle and then shove the ARB into place and pop your 13mm nut/16mm bolt in (quite easy once you have got used to the 13mm crank spanner position)

You may find using a jack helps with this

Note I've done the harder to get to nut/bolt first because whichever one you do second is under tension and therefore more difficult.

ARBStep24.jpg

ARBStep24b.jpg
 
OP
J

JSeaman

Senior Member
Joined
Mar 15, 2011
Messages
237
Reaction score
11
Location
Derbyshire
Your Mercedes
C220 CDI 2005
  • Thread Starter
  • Thread starter
  • #9
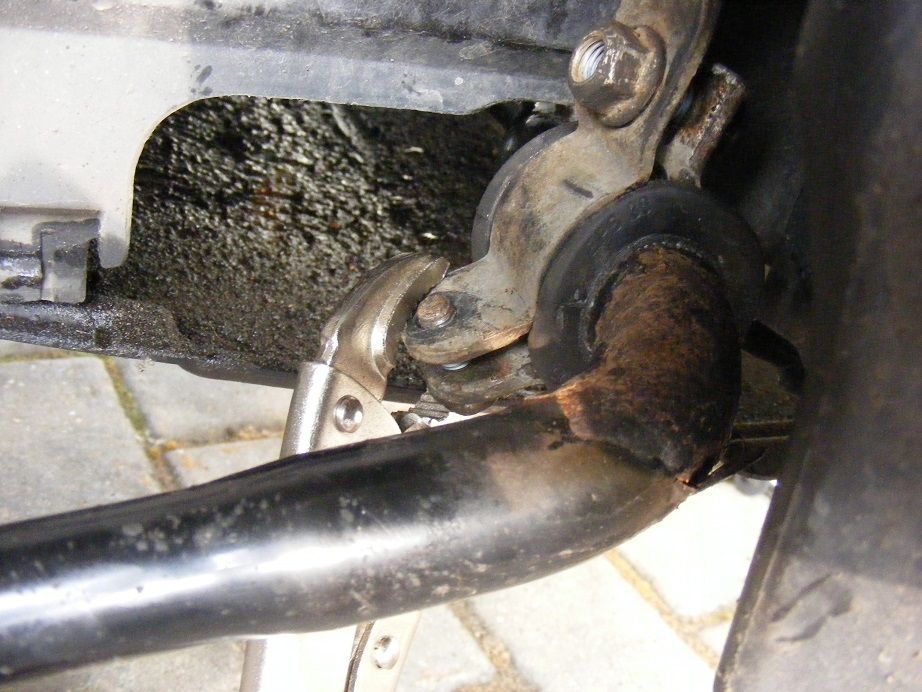
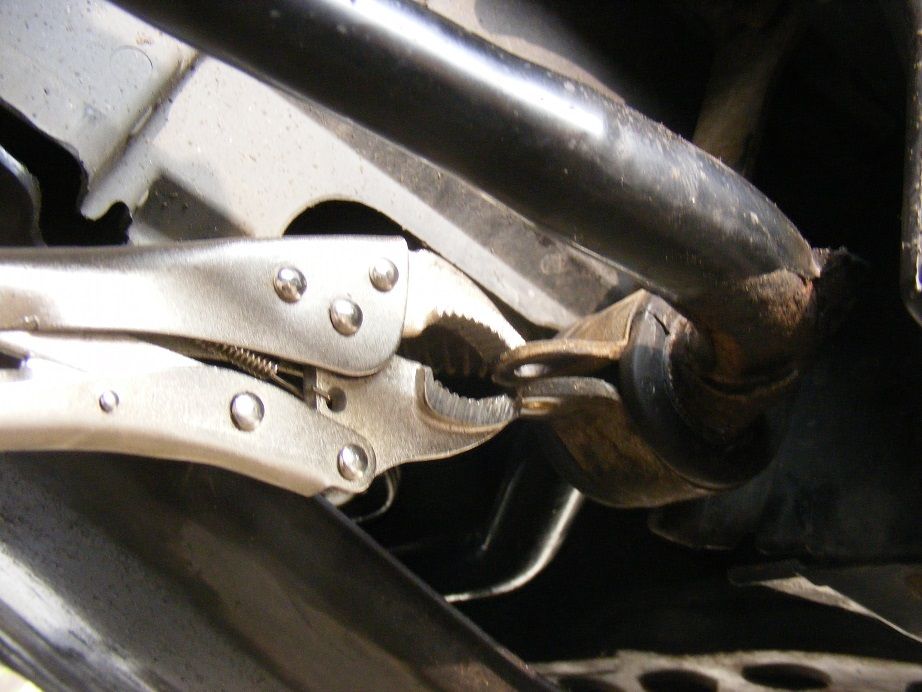
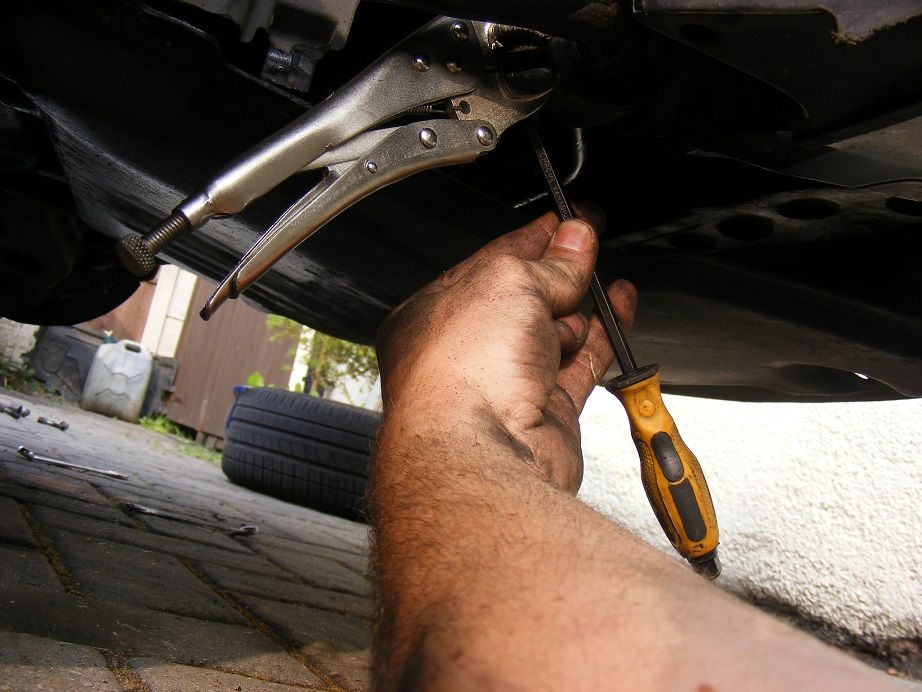
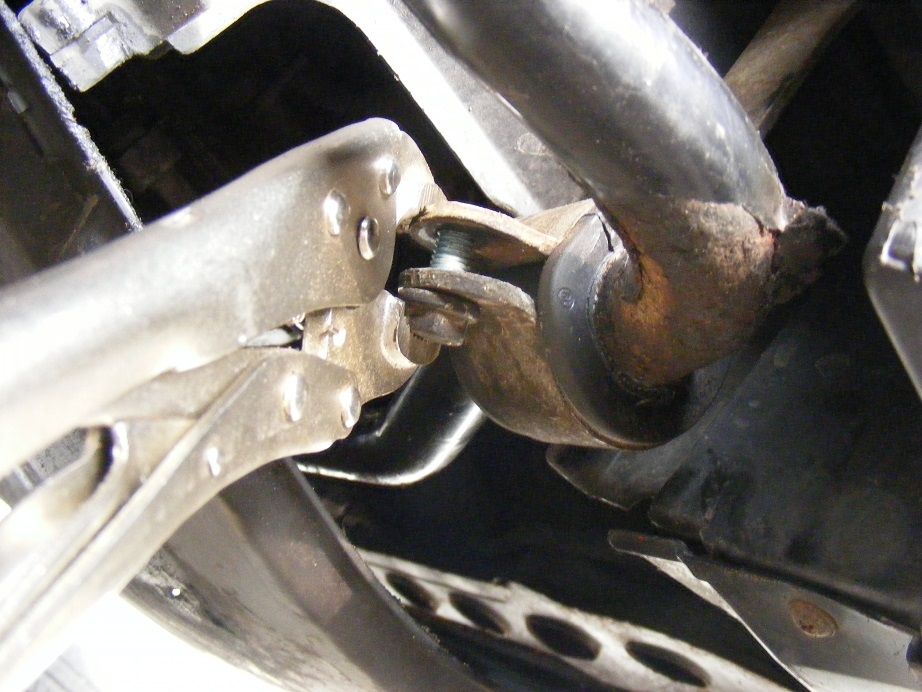
Step 25 - First, using mole grips, clamp the joint together (start with a nice wide jaw and then bring it in a bit a couple of times until you can close it right up) as shown in the first picture.

You may find using a screwdriver helps line up the two holes (picture 2), slide it through both holes and move the screwdriver around to pull them in line

Finally, pop your bolt through and use the mole grips over the bolt but on the edge of the clamp, pull the two pieces together (picture 3) and you will be able to pop the nut on

ARBStep25a.jpg

ARBStep25b.jpg

ARBStep25c.jpg


Step 26 - Repeat the process on the other side of the car

ARBStep26.jpg


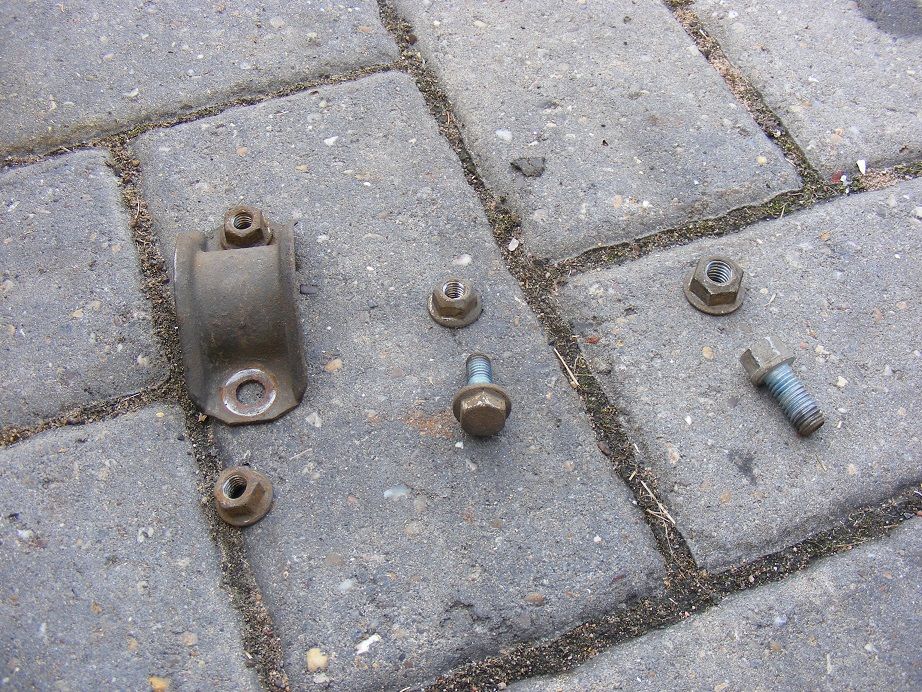
Step 27 - Once you have got all 8 nuts/bolts loosely fitted as shown in the picture you can tighten them all up

ARBStep27a.jpg

ARBStep27b.jpg
 
OP
J

JSeaman

Senior Member
Joined
Mar 15, 2011
Messages
237
Reaction score
11
Location
Derbyshire
Your Mercedes
C220 CDI 2005
  • Thread Starter
  • Thread starter
  • #10
Step 28 - Then refit the undertray 8mm screw/bolts

ARBStep28.jpg


Step 29 - Pop the wheel back on

ARBStep29.jpg


Step 30 - Lower the car down and torque the wheel nuts up

ARBStep30.jpg


Now you can enjoy knock-free driving hopefully!
 
Top Bottom